
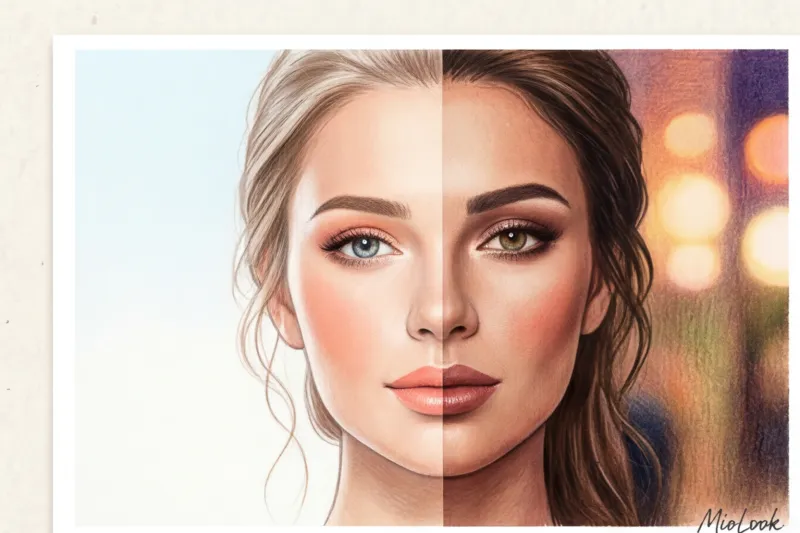
Wedding makeup vs. evening makeup: what's the fundamental difference?
Have you ever noticed a paradox? A girl gets ready for a lavish party, applies her tried-and-true foundation, and creates a perfect winged eyeliner—and just four hours later, in the restaurant restroom, she discovers in the mirror a smudged lip line and a telltale shiny forehead. On a Friday night, this is easily solved with a simple blotting paper. But imagine the scale of the disaster if this happens on a day when dozens of cameras and video cameras are constantly pointed at you.
As a practicing stylist, I constantly explain to my clients: quality wedding makeup It's not just "a beautiful evening look, but with added radiance." It's a complex engineering challenge. We're literally building an architecture on the face, where the laws of coloristics must work flawlessly in tandem with the chemistry of polymers. We need to harmonize water-based, silicone-based, and oil-based textures so that they don't reject each other when exposed to sebum, temperature changes, and salty tears of happiness. By the way, to visualize in advance how different textures and shades will fit into the overall style of your event, I always recommend creating mood boards and testing ideas in the app. MioLook - It's amazing at relieving pre-wedding anxiety.
The first fundamental difference lies in the specific timing. Classic evening makeup lasts for 4-5 hours. You put it on at 6:00 PM, arrive at the event, and by midnight you're already removing it with cleansing oil. A wedding look, however, must withstand a merciless 12-16-hour marathon. From the first hugs with relatives early in the morning to passionate dancing to a cover band late at night. Regular lightweight foundations (tinted moisturizers), so good for short dates, simply capitulate under such extreme conditions and separate into pigment and base.
The second critical factor is the aggressive transformation of lighting. Your look will experience several completely different visual lives in a single day. In the morning, as you're getting ready, you'll be greeted by cool, diffused daylight by the window—it will mercilessly highlight any overdone matte powder, instantly revealing your skin texture. During the day, at an off-site wedding reception, the harsh sun will create sharp, contrasting shadows under your eyes. And in the evening, you'll be faced with the dim lighting of the banquet hall, the colorful strobes of the dance floor, and the photographer's directional flashes.
Over 10 years of working on fashion shoots for European glossy magazines, I'm constantly alongside photographers and reviewing the originals directly in the playback. The most important professional rule every bride should learn is that the camera lens and powerful studio flashes inevitably "eat away" about 30% of the makeup's intensity. What seems alarmingly bright to you in the mirror will look like a delicate, barely noticeable blush in the final professional shots.
If you are looking for the perfect balance of durability not only for a wedding, but also for working on camera or in public, I recommend studying our specialized material about business makeup for executives In the meantime, we'll delve into the nuances of the interaction between modern cosmetics and digital technology.
The influence of camera and HD video on tone density
Modern 4K filming and crystal-clear lenses no longer forgive the "mask effect." Just fifteen years ago, makeup artists liberally applied heavy stage makeup to brides to achieve a porcelain, doll-like smoothness in low-resolution photographs. Today, digital camera sensors capture the skin's microrelief, the finest hair follicles, and every invisible flake. If the foundation lays on thick, the videographer will surely capture it, and on the big screen during the editing of the wedding film, the face will appear unnaturally heavy and visually older than its age.
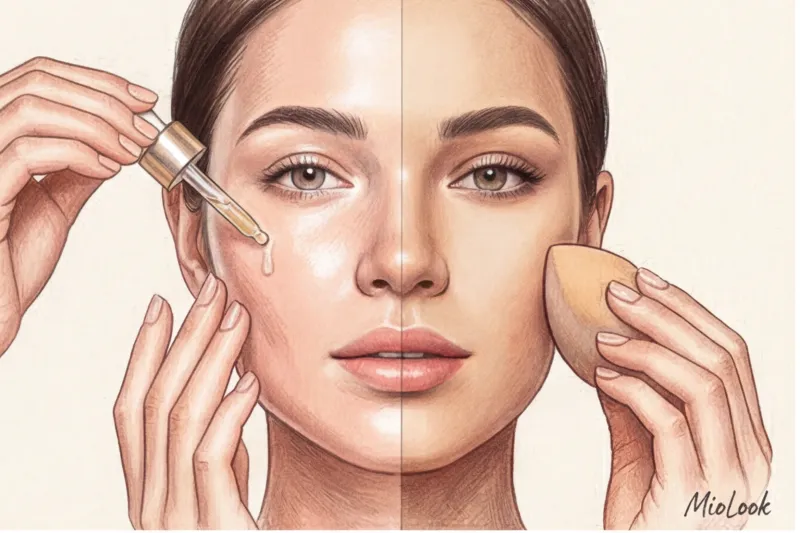
The art of a wedding makeup artist lies in finding the perfect balance between product coverage and maintaining the skin's vibrant, breathable texture. We no longer apply a single, impenetrable layer of foundation to the face. A professional approach requires a "glazing" technique: an ultra-thin, flexible fluid base is applied to the entire face, evening out the overall undertone. Problem areas are then targeted using pinpoint concealing. This is achieved by using a highly pigmented dry concealer, applied with a tiny brush directly to the affected area, sparing the surrounding clean skin.
Why is it that what looks so harmonious in your bedroom mirror often gets lost in a photo? It's all about the physiology of perception. A mirror gives us binocular vision—our brain perceives volume and the dynamic play of light and shadow. A camera lens, however, transforms your three-dimensional face into a flat, two-dimensional image, inevitably flattening the relief. That's why properly placing accents is a technical necessity. Only by correctly placing shadows will you remain yourself in every photo. And to better understand how makeup helps convey your individuality and character through photos, I recommend reading our article about archetype makeup.
Skin Prep: Why Primers Often Ruin Wedding Makeup
When it comes to creating an extra-long-lasting look, most women's first impulse is to buy the most expensive and thick makeup primer. For decades, marketing has convinced us that without a special primer, our faces will inevitably "run." However, modern research in cosmetic chemistry and the practice of leading makeup artists prove otherwise: in most cases, it's thick silicone primers that cause wedding makeup to treacherously crease within five hours of application.
Let's debunk this popular myth. Traditional mattifying or smoothing primers are almost always based on heavy polymers (look for this in the ingredients). dimethicone or cyclopentasiloxane (At the top positions). They truly create the illusion of flawlessly smooth, porcelain skin at first touch—it's as if pores were erased with an eraser. But this artificial film works like a greenhouse. The skin underneath has a life of its own, secreting sebum and moisture that has nowhere to evaporate. As a result, the silicone layer simply peels off from the epidermis, along with the foundation applied on top, creating the effect of a cracked mask.
This is where the rigorous chemistry of cosmetics comes into play—the inevitable clash of formulas on the bride's face. Imagine a classic salad dressing: no matter how vigorously you whisk the oil and water, they will always repel each other. The same thing happens on your skin. If you apply a modern water-based foundation over a thick silicone primer, the products immediately react with each other. The pigment doesn't stick to your face, but instead begins to slide across the silicone base, forming unsightly patches in fine lines, on the sides of your nose, and on your chin.
So how do you make the product last for sixteen hours straight? The answer lies in a strict professional rule—the "sticky layer" law. For the pigment to adhere securely to the skin without weighing it down, it needs a slightly damp, tenacious layer ( tacky ) surface, not a perfectly slippery one. My main counterintuitive insight, which will forever change your approach to makeup: completely abandon traditional primer in favor of expertly layered skincare. Your own skin, perfectly hydrated, functions as a base much better than any polymer.
Multi-layered moisturizing and a checklist a month before the celebration
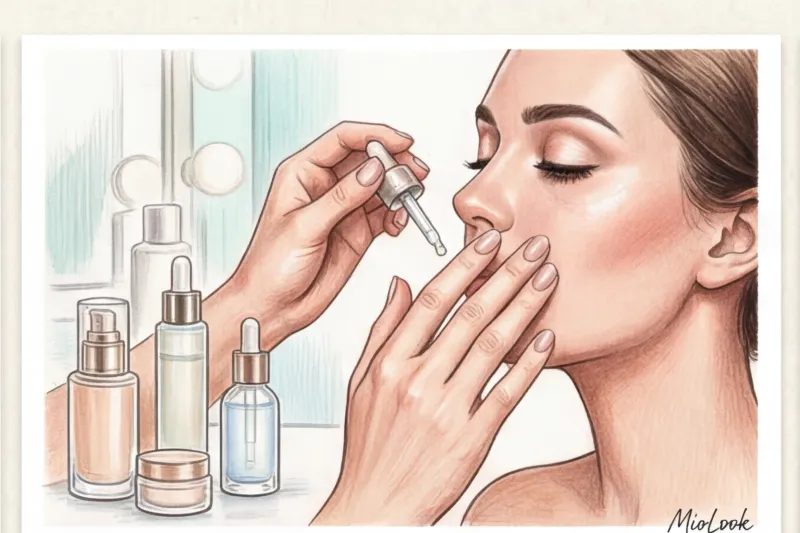
Instead of one thick, €150 cream that will feel like a heavy shell on your face, use the rule of three thin layers of moisturizing. The first step is a basic toner or essence that restores the pH balance after cleansing. The second and most important step is a lightweight hydrating serum with hyaluronic acid. It's this, when patted in with your fingers, that provides the perfect micro-stickiness for perfect foundation adhesion. The third step is a weightless emulsion cream that locks in the moisture. A strict rule: give each layer at least 60 seconds to fully absorb.
However, no serum, even the most expensive one, will save the situation if you violate the prep protocol. Last season, while working with a client before a lavish ceremony on Lake Como, we had to urgently save her skin: three days before the wedding, she decided to get a "refreshing" salon peel. The result was predictable—micro-flaking, making any pigment look like dry clay. Remember the golden rule: absolutely no deep cleansing, harsh chemical peels, or introducing new active creams (especially those with retinol or high doses of vitamin C) into your routine a week before the wedding. All beauty experiments should be strictly completed a month before the big day.
On the morning of the big day, your best investment is a 5-7-minute lymphatic drainage facial massage. Apply it directly over cleanser or a light, gliding oil, then rinse thoroughly. Use cooled rollers, a gua sha tool, or simply your knuckles, following precise massage lines from the center outward. This action instantly reduces morning puffiness, contours the cheekbones, and stimulates microcirculation. Your skin tone will improve so much that you'll need half the foundation to look fresh and rested in all your photos.
Access to MioLook for €0.99 — one-time payment
A smart AI stylist will select the perfect look.
Get access — €0.99 onceThe Architecture of Longevity: How to Keep Your Makeup in Place for 16 Hours
At the spring show in Paris a few years ago, I watched legendary makeup artist Pat McGrath's team at work. The heat in the historic pavilion was unbearable, the models were literally melting under the spotlights, yet their skin remained flawless. It was then that I first saw a technique that forever changed my understanding of long-lasting makeup. Setting spray was used not as a final touch before the runway, but as a veritable "building cement" between layers of foundation.
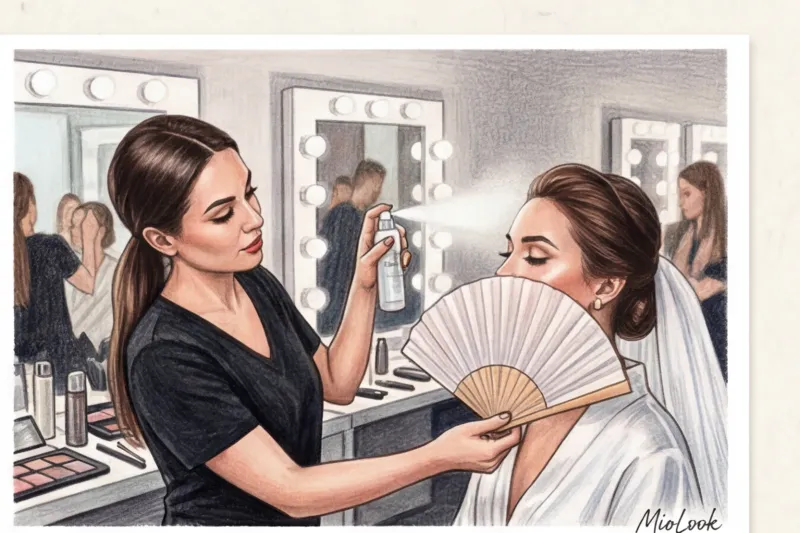
Most brides generously spray setting spray only at the very end, when their makeup is already set. The secret layering method works differently: you apply a thin layer of setting mist (like the cult formulas from Urban Decay or Charlotte Tilbury) immediately after primer, then after liquid foundation, and finally, over all the powder. The polymers in the spray dissolve dry textures, fusing them with creamy ones into a single, elastic film. The face no longer looks like a layer cake, and the makeup becomes a waterproof shell that won't crack when you smile.
And here we come to the main anti-trend that makeup artists still, out of habit, offer their clients. It's a strict rejection of "baking"—the technique of baking concealer under the eyes with a thick layer of loose translucent powder. Let's face it: this technique originated with drag culture and heavy stage makeup. Sure, it creates a perfectly Photoshopped effect through a smartphone lens with a ring light. But in harsh daylight, when you're standing at the altar at two in the afternoon, baking instantly ages your skin by a decade. It dries out the epidermis and accentuates fine lines and wrinkles you never even knew you had. Instead of heavy powders costing €40-50, use a weightless pressed powder with light-reflecting particles, applying it with a fluffy brush exclusively to the T-zone.
If we don't "bake" our faces with powder, how can we guarantee that our blush won't fade by the time we cut the cake? This is where the technique of doubling comes into play. The golden rule of wedding coloring: every cream product must be set with its dry counterpart. First, blend the cream blush into the apples of your cheeks—it creates a natural, lit-from-within glow. Then, apply a powder blush of the same shade over it like a light veil—it locks in the pigment. Creamy textures contain waxes that melt in the skin's warmth, while dry pigments absorb excess sebum. When combined, they form a durable composite material.
This dual-action formula ensures that even if the top powder layer wears off slightly during endless hugs with guests, the vibrant creamy tint remains. A quick tip for practice: when applying a dry base coat, never drag the brush across your face. Pat the pigment in gently, tapping movements to avoid disturbing the underlying layer.
This multi-step approach requires a clear understanding of your color palette. To avoid experimenting blindly during makeup trials, I recommend downloading reference images of your desired looks and color palettes in advance. MioLook This will allow your makeup artist to immediately select the perfect complementary pair of products that will seamlessly complement your overall wedding look.
The Perfect Skin Tone: Choosing Texture and the SPF Trap
When photographers hand over the first shots from an evening reception, the most common cause of disappointment for brides is a chalky white face that contrasts sharply with the neck and décolleté. In professional circles, this phenomenon is called flashback (light glare). And it's not the retoucher's fault, nor the wrong foundation shade, but your sunscreen or high-SPF foundation.
According to cosmetic chemistry research, physical UV filters—primarily titanium dioxide and zinc oxide—have an extremely high refractive index (approximately 2.61). The physics behind this process is extremely simple: these mineral particles act like millions of microscopic mirrors on your skin. Under mild daylight, they discreetly reflect ultraviolet light. But when a professional camera's powerful flash light (200 to 600 joules) is aimed at you, the filters aggressively reflect the entire visible spectrum back into the lens. As a result, the camera captures a bright, flat glare, turning even a premium $100 tint into a white mask.
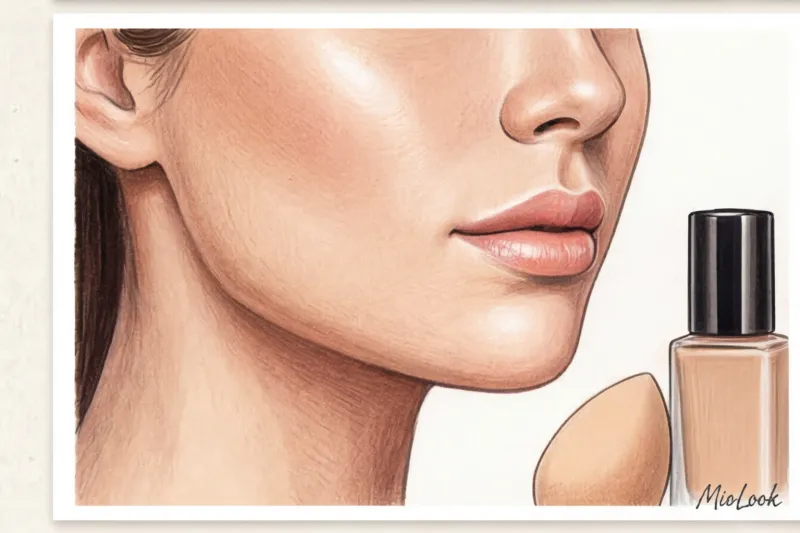
What to do? Wedding makeup requires uncompromising solutions. Unless you're holding your ceremony under the scorching sun on the beach, choose foundations without SPF. If protection is needed, use a lightweight skincare cream with a new generation of chemical filters (such as Tinosorb S), which absorbs radiation rather than reflects it. Apply it 20-30 minutes before makeup to allow the formula to fully penetrate the lipid layer.
The rejection of thick, protective foundations leads us to the following principle: the bride's skin should remain a living substance, not a canvas coated in acrylic. To conceal acne, post-acne marks, or localized pigmentation, forget about layering heavy camouflage all over the face. Instead, use the technique pinpoint concealing (spot camouflage).
You'll need a highly pigmented concealer in a jar (a thick, waxy texture, not runny) and a very fine eyeliner brush. Apply a microdose of the product directly to the redness, avoiding the surrounding healthy skin. The key: let the pigment sit on the skin for 30-40 seconds to dry and set, then gently tap with your finger to blend only the very edges. This ensures 90% of your face is covered in a light, radiant fluid, and all color nuances are locally concealed. Your face retains its natural texture and transparency.
Wedding makeup requires special attention to color. My golden rule, which I never tire of repeating, is to apply blush exactly 20% brighter than your usual everyday color.
Why 20%? Firstly, powerful studio lighting, flashes, and shooting distance literally "kill" up to half the color saturation. What appears to be a perfect peachy flush in the mirror looks like a sickly pallor in the original full-length shots. Secondly, over the 12-16 hours of active celebration, the skin naturally absorbs some of the makeup. To ensure the color lasts until the cake cutting, I always use a doubling technique: first, I blend in a cream blush or a liquid tint that blends with the skin, and then set it with a powder blush of the same shade.
Sculpting: Soft shadow instead of hard contouring
When it comes to what irreparably ages a look, harsh, graphic contouring a la 2016 is enemy number one. The deep gray-brown lines under the cheekbones, which look so striking in short videos with special ring lights, are a disaster in real life. In natural daylight, especially outdoors or near panoramic restaurant windows, this gray pigment looks like dirty spots or sunken bruises.
To create a harmonious wedding makeup, we rely on bronzing , rather than aggressive contouring. Our goal isn't to reshape the face, but to create the effect of rested skin, as if you've just returned from a luxurious weekend. Choose bronzer powders with a warm, subtle satin glow. Apply them with a fluffy brush along the edges: along the upper forehead at the roots of the hairline, lightly at the temples, and gently pull along the jawline.
To avoid getting the temperature of your blush and bronzer wrong (the wrong undertone can give your face a sallow complexion), I recommend experimenting with a virtual try-on beforehand. Upload your photo to MioLook — The app's smart algorithms will help you determine your natural contrast and suggest the most complementary makeup color schemes.
When it comes to radiance, highlighter is a powerful tool when applied with precision. The biggest mistake brides make is sweeping brush strokes. Where should you actually apply highlighter to avoid looking greasy by midnight? Only the highest point of your cheekbones, the inner corners of your eyes, and your Cupid's bow above your upper lip. Absolutely avoid the T-zone (the center of your forehead, bridge of your nose, and chin). In flash photos, the camera will unmistakably interpret the artificial glow in these areas as a greasy shine, ruining the elegance of your look.
Access to MioLook for €0.99 — one-time payment
Start creating perfect images with the help of artificial intelligence
Get access — €0.99 onceWedding Eye Makeup: From Tears of Happiness to Dancing Until the Morning
Few brides consider the chemical composition of emotions until they begin to corrode their perfectly blended makeup. Human tears contain about 0.9% sodium chloride. This salt, combined with the skin's natural sebum, acts as an aggressive solvent. The outer corner of the eye is especially vulnerable—that's where moisture naturally rushes when you blink. If your wedding makeup If the eye is built solely on classic dry shadows, the salt trail will instantly create a "dirty spot" effect that will be impossible to smooth out with a sponge.
To avoid disaster, we professionally use the "tinting" technique for eyelids. The method involves abandoning classic silicone primers in favor of liquid or cream eyeshadows (reference products include Armani Eye Tint or the iconic MAC Paint Pot). They act like a cast-iron base. You apply the liquid pigment, quickly blend it in with a synthetic brush, and within 30-40 seconds, the formula polymerizes, bonding securely to the eyelid. Only then do we duplicate the color with dry textures. This multi-layered "pie" becomes completely impermeable to moisture and friction.
My rule of thumb when working with complex eyes is to always highlight the outer corner with a long-lasting gel pencil or cream tint, even if the rest of the look is done with a translucent watercolor technique. This is your main safety net.
The paradox of waterproof mascara deserves special attention. Many people mistakenly believe that the "waterproof" label solves all problems. In fact, waterproof formulas repel water beautifully, but are often vulnerable to oils. By mid-party, sebum from the eyelids begins to break down the mascara, causing treacherous flaking and the infamous "panda effect" under the eyes. To avoid this, use a tubing mascara, which coats each lash with a polymer sleeve that can only be removed with warm water (at least 38°C). An alternative trick: apply classic waterproof mascara exclusively to the upper two-thirds of your lashes, deliberately avoiding the roots, where contact with the skin is greatest.
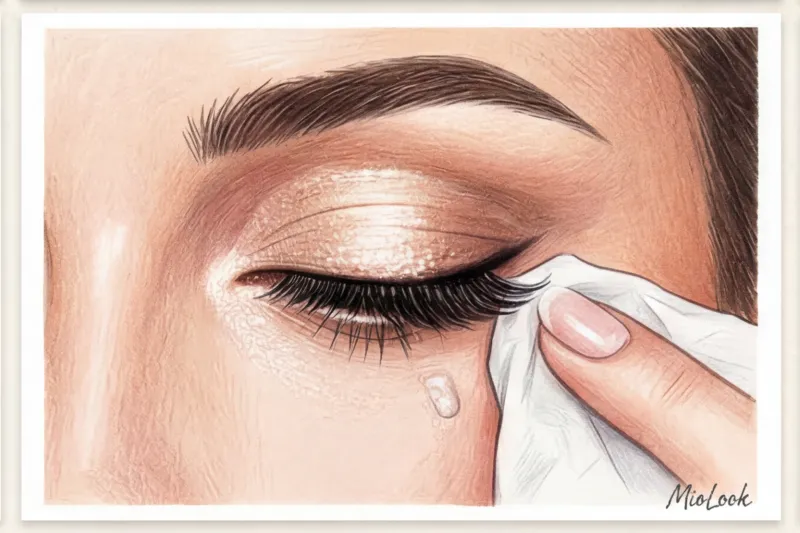
When it comes to false eyelashes, we're faced with the harshest ultimatum: individual fan lashes versus strip lashes. I'll be blunt: fan lashes are the only truly safe choice for a bride. Strip lashes are a ticking time bomb. The inner and outer edges of the strip are under constant mechanical stress from blinking, smiling, and crying. If even a millimeter comes loose (and with 16-hour wear, this happens 90% of the time), the strip will hang over the eye like a foreign object.
Individual lashes, on the other hand, are precisely applied with micro-droplets of latex glue. They don't distort the shape of the eyelid or tighten the skin. Even if you lose a lash or two during a passionate embrace with your family, the architecture of your gaze won't be disrupted, and no one, including a photographer's macro lens, will notice. Furthermore, lashes allow you to precisely adjust your natural features: elongate your eyes into an elegant fox-like shape or open them up in the center.
Before making a final decision on the shape of the lash line and volume, I recommend experimenting with a virtual try-on. You can upload a photo of yourself to MioLook and test different makeup schemes. This preliminary visualization helps you clearly understand which geometry best supports your anatomy, saving you and your makeup artist hours of time during trial rehearsals.
Long-lasting lip makeup: how to survive a banquet and kisses
A glass of ice-cold champagne and the traditional "Bitter!" are the two main factors that can ruin a makeup artist's hours of work right at the start of a celebration. Experience shows that the lip area requires correction most often and most quickly.
For a long time, the cosmetics industry offered one uncompromising solution: liquid, super-long-lasting matte lipsticks. Sure, they can withstand dinner and kisses, but at what cost? The specific nature of their chemical composition means that formulas that set permanently inevitably draw moisture from delicate skin. Within two to three hours, you'll experience uncomfortable dryness, telltale cracks, and that unsightly, "eaten away" center of the lip, which contrasts sharply with the remaining, vibrant contour. The most frustrating thing about matte textures is that they can't be easily reapplied: a fresh coat will lay over the old one in rough patches, reminiscent of cracked plaster.
Before we move on to the correct application technique, let's focus on a critical aspect: color. I regularly analyze wedding backstage photos and see the same mistake: choosing a completely beige shade that blends into the skin. Remember this strict rule of camera work: lips that are too nude will irreversibly "erase" the lower third of the face in full-length photos. The lens absorbs about 30% of the contrast in makeup. To ensure your lips don't disappear in group portraits, the shade should be at least one and a half to two shades darker than your natural lip color. Dusty rose, muted berry, or a universal classic like the iconic Pillow Talk shade from Charlotte Tilbury (average price per stick: about €32) will work perfectly. To find that perfect balance of brightness and naturalness without dozens of test purchases, I recommend choosing a palette on your selfies. MioLook - this will eliminate any doubts on the eve of the celebration.
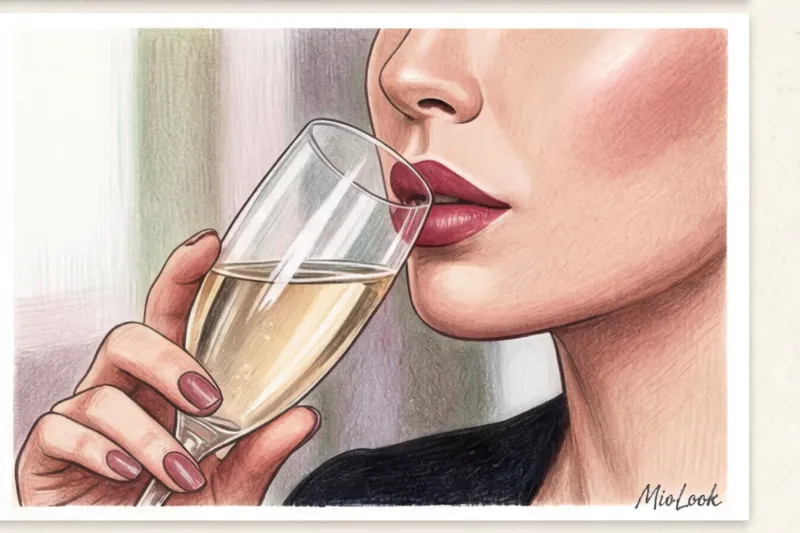
How can you achieve phenomenal wear without leaving your lips looking desert-like? The secret lies in layering. This precise step-by-step guide is the gold standard of professionals, extending the wear of classic moisturizing lipsticks from a basic 2 hours to 8 hours without drying out.
- Correct base: Apply a thick, nourishing conditioner 15-20 minutes before applying makeup. Before handling the color product, be sure to remove any remaining conditioner with a dry cloth—the pigment won't adhere to the slippery, oily texture.
- Wax frame: Take a long-lasting lip pencil and don’t just outline the lip line, but fill it in tightly. the entire surface This will create a waterproof base that will hold subsequent layers.
- Driving in pigment: Instead of applying creamy lipstick directly from the stick with sweeping strokes, pick up the color with your fingertip or a flat synthetic brush. Use a tapping motion to literally work the pigment into the pencil base.
- Oil removal: Blot your lips with a tissue (use one thin layer). This step instantly removes excess oils and waxes from the lipstick, leaving only clean, well-adhered color.
- Live finish: Add a light gloss or a drop of lip oil, but apply it strictly to the center of your lower lip. This will restore visual volume and provide comfort, preventing the gloss's active ingredients from dissolving your contour.
Your ideal image
it begins Here
Join thousands of users who look flawless every day with MioLook.
Get access — €0.99 onceTypical mistakes brides make that add age
I recently analyzed archives of fashion shoots and hundreds of private photographs from the past decade. Do you know what was the most striking discovery? Comparing photos of real brides 10 years later clearly demonstrates: classic wedding makeup always wins out over the latest trends. Women who chose a subdued, radiant aesthetic in 2014 look fresh and timeless in photos today. Meanwhile, those who succumbed to that season's aggressive fashion trends visually added five to seven years to their age. Let's explore specific technical mistakes that are harming your youth and freshness.
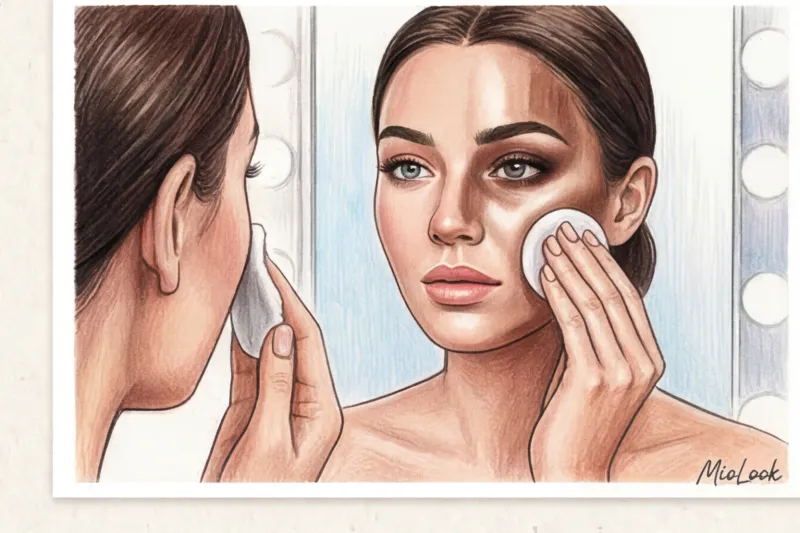
The first and most striking detail is clear, graphic eyebrows "like a stencil" instead of fluffy and natural ones A densely filled, ruler-like shape with a sharp square at the bridge of the nose hopelessly weighs down the look. The face instantly takes on a stern, tense expression. Modern makeup strongly recommends preserving the "air" between the lashes: use a clear setting gel and a very fine marker only to fill in the gaps.
The second common disaster is too much matte powder under the eyes, emphasizing fine lines The periorbital area is physiologically very thin and practically devoid of its own sebaceous glands. When you generously apply a thick layer of powder over concealer (especially using the popular "baking" technique), the dry texture mercilessly draws precious moisture from the skin. After a couple of hours, the skin turns into parchment, and even a twenty-year-old woman will develop a deep, non-existent wrinkle pattern.
The third insidious trap is hidden in eye makeup. This is Using black kohl on the waterline for girls with small eyes Contrary to popular beauty myth, black pigment in the mucous membrane does not make the eyes appear larger or more expressive. On the contrary, it acts like a visual vice: it firmly defines the edges and "squeezes" the eye, making it appear narrow and deep-set. A soft peach, beige, or warm bronze shade of eyeliner is the optimal alternative for opening up the gaze.
And finally, the main conceptual problem is blindly following short-lived trends instead of classics Complex Instagram shading, a thick layer of highlighter on the tip of the nose, or an exaggerated lip contour look great in short ring light videos, but ruin a delicate look in real life. To avoid falling victim to fleeting trends, test out your look beforehand. I always recommend my clients use Smart wardrobe and styling tools in MioLook By uploading your selfie, you can virtually try on different makeup looks and see how different eyeshadow intensities affect your natural features. This will protect you from impulsive decisions and help you choose that elegant foundation you'll thank yourself for years to come.
A bride's emergency kit: what should be in her purse?
Do you know what most often happens to the luxurious makeup bags that brides frantically pack on the morning of the wedding? They end up in the hotel room. Over 12 years of supervising weddings—from the humid climate of the Amalfi Coast to the windy chateaux of Provence—I've developed a strict, minimalist checklist. You don't need a makeup artist's entire arsenal. A tiny clutch (or the groom's jacket pocket) should contain just four strategically important items that will truly save your wedding makeup at a critical moment.
The main rule for the middle of a party: forget about the powder compact and puff. Layering dry powder on top of sebum and sweat is a surefire way to create a messy complexion. Instead, use high-quality blotting papers, preferably made from rice or hemp paper. They act like microscopic sponges: they instantly absorb excess oil, leaving the pigment and light-reflecting particles of the foundation in place. Simply gently apply the paper to your T-zone, being careful not to rub your skin.
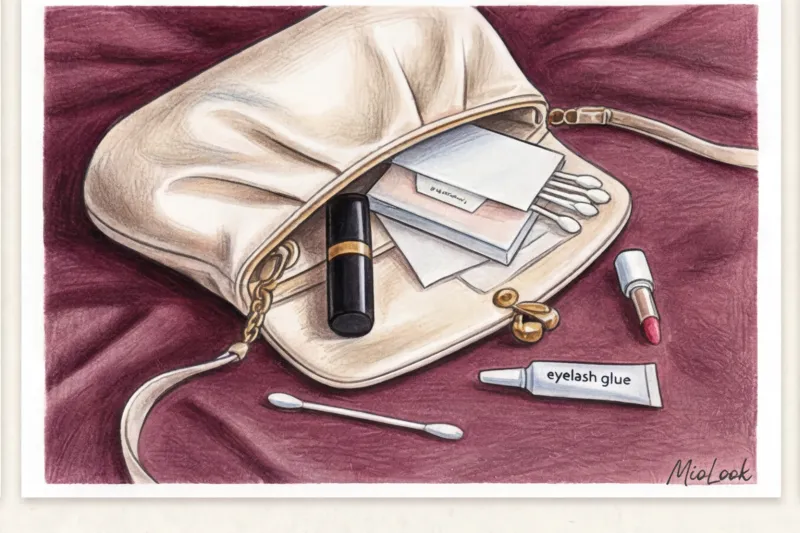
The second essential item is your lipstick or color-refreshing gloss. Even the longest-lasting professional $40 formula will inevitably give in after a banquet menu and endless kisses. Third, cotton swabs. Place a few dry ones and a couple soaked in micellar water in a sealed bag. This is your go-to tool for correcting mascara flaking: a damp swab will completely erase the blackhead under your eye, and a dry one will instantly remove any remaining moisture to prevent your concealer from bleeding.
And finally, my personal emergency secret: a miniature clear eyelash glue, just in case. If a lash tuft comes loose from intense hugs or happy tears in the corners of your eyes, you can put it back in place in a few seconds right in the ladies' room. To avoid missing these crucial little things in the pre-wedding rush, I recommend organizing your beauty shopping lists in advance. MioLook — this way, your virtual stylist will control every detail of your look.
Conclusion: Your ideal image is timeless
According to a large-scale study conducted by the wedding portal Brides in 2023, 38% of women admitted that years later they only regretted one thing: looking like a stranger in photos on their big day. In the pursuit of trends and complex contouring techniques, it's very easy to lose your own individuality. Therefore, the main secret that determines a truly successful wedding makeup , it sounds banal and simple: you should recognize yourself in the mirror.
One of my recent clients, a top IT executive, asked for a "complete makeover" at our first meeting, because her Pinterest savvy dictated it. I gently declined. My professional philosophy, in line with the legendary Bobbi Brown, is that a special occasion look should be your best, most relaxed self, not a theatrical mask. When you walk down the aisle, your partner's gaze should reflect admiration for you, not the makeup artist's skill. If you choose a light fluid foundation and clear balm for everyday life, avoid aggressive smoky eyes and thick false eyelashes on your wedding day.
That's why the importance of a makeup trial (rehearsal) cannot be overstated—it's not a whim, but a strict technical necessity. I always make my brides do a rigorous crash test of their look "in the field." Studio lighting from a makeup artist's mirror is incredibly deceptive—it smooths out microrelief and softens colors. The true picture will only emerge after a few hours of wear in real conditions.
What exactly does proper testing involve?
- Checking with natural light: Take a series of photos by the window on both cloudy and sunny days. Direct sunlight will instantly reveal any texture clashes or poorly chosen foundation undertones.
- Temperature stress test: Go try on a dress, take a brisk walk, or sit in a warm café. We need to understand how the T-zone reacts to sebum production under layers of makeup.
- Active Facial Expressions Test: Eat, drink, talk, and laugh a lot. The goal is to make sure your concealer doesn't settle into your fine lines and your lipstick doesn't bleed after a cup of coffee.
To objectively evaluate the results of this test, take a photo of yourself every hour in different lighting conditions. Then I recommend uploading these shots to MioLook The app will help you create a structured gallery for side-by-side comparisons of looks. Visual analysis of makeup dynamics will relieve 90% of your anxiety before the big day—you'll know exactly how your skin texture changes from morning to late evening.
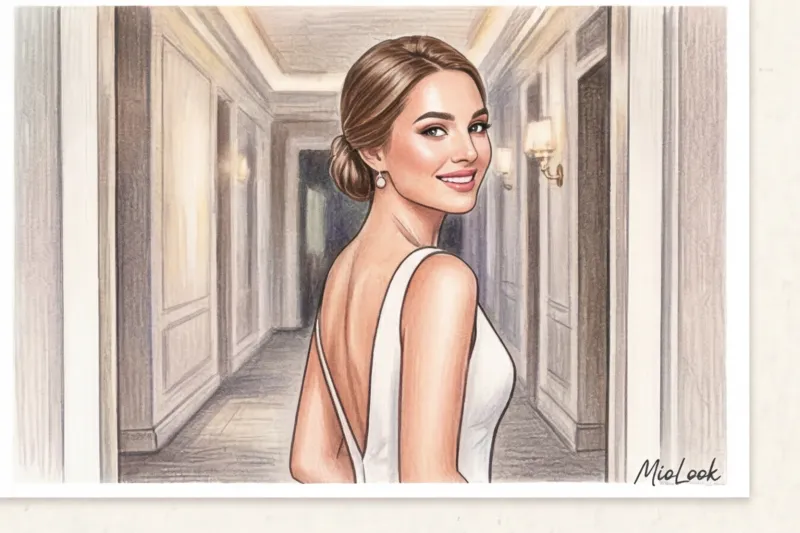
I'll be brutally honest with you (and this is a limitation often overlooked in glossy magazines): not even the most innovative setting spray will withstand the pressure of aggressively rubbing your face with a paper napkin after crying tears of joy. Any cosmetic product has a physical limit to its durability. If the warm embraces of dozens of guests leaves a subtle glow on your cheek, or the contour of your lips softens slightly after cutting the cake, this will only make you look more alive in photo shoots. A touch of casualness at the end of the evening always looks more aesthetically pleasing than a rigid, immobile face.
So my final message: focus on your emotions, not on worrying about bleeding foundation. We've already created a well-designed layering system, chosen the right textures, and assembled the perfect makeup kit—the technical side of things is completely covered. Now you know how to set your makeup so it works for you. Allow yourself to laugh heartily, cry in the arms of loved ones, and dance until the morning. Your only goal today is to enjoy the moment, confident that you look flawless.
Guide Chapters
Makeup for a corporate event: how to look bright and appropriate
Forget frantic office preparations. Learn how to create a stylish and long-lasting corporate beauty look that will become your best tool for diplomacy.
Wedding Makeup Trends: How to Create a Long-Lasting Look
Learn how to adapt runway trends to real life. We reveal the secrets to creating a beautiful and incredibly long-lasting bridal look.
Preparing Your Skin for Makeup: A Bride's Beauty Plan
Properly preparing your face for a wedding isn't just a sheet mask on the day; it requires a well-thought-out plan. We'll explain how to avoid flaking and achieve the perfect complexion.
Wedding makeup for blondes with blue eyes
Why does classic nude often lose out to camera flashes, turning the face into a pale blur? We explore the key makeup rules for blonde brides.
Mother of the Bride Makeup: Lifting Makeup Rules
Age-appropriate makeup requires a special approach and understanding of facial architecture. We'll explore the key rules of rejuvenating makeup for mothers at weddings.
Long-lasting lipstick for a wedding: secrets to perfect lips
Find out why matte textures can ruin a bride's look. We'll share a professional technique for creating the perfect lip makeup for the big day.
Evening Smokey Eye Makeup: Techniques and Secrets
Modern smoky eyes aren't about aggressive black, but rather architectural design and a smooth gradient. We'll break down the technique for a flawless, perfect evening look.
How to Make Your Makeup Last: The Best Bases and Fixatives
A faded foundation not only ruins your look but also risks staining your clothes. Let's examine makeup longevity as a rigorous engineering challenge.
Makeup for a Studio Photoshoot: Secrets to the Perfect Shot
Studio lighting dictates its own rules, and everyday makeup can play tricks on you on camera. We'll break down common mistakes and share secrets for the perfect look for photo shoots.
How to Do Your Own Wedding Makeup: A Bride's Guide
Skipping a makeup artist isn't a compromise, it's an opportunity to be yourself. Learn how to create the perfect, long-lasting holiday look yourself.
Wedding Makeup for Brown Eyes: A Step-by-Step Guide
The camera often "eats" makeup, making brown eyes look dull in photos. We reveal the secrets of long-lasting wedding makeup that will withstand happy tears and flashes.
Hollywood Makeup: Perfect Eyeliner and Red Lips
Secrets to creating a classic retro look from a professional makeup artist. We'll explore the secrets to perfect winged eyeliner and long-lasting red lips.
Evening Makeup Step-by-Step: An Easy Tutorial for Beginners
Why daytime makeup doesn't work in the evening, and how to avoid looking washed out in photos? A simple tutorial on creating a stunning evening look for beginners.
Evening Makeup for Drooping Eyelids: Lifting Secrets
Is your eyeshadow hiding in your crease and your mascara smudged? Discover secret makeup techniques for drooping eyelids that create a surgically lifted effect.
Delicate wedding makeup: a trend for naturalness
Naturalness is the biggest wedding trend of the year. Learn how to create the perfect nude makeup look that will last through happy tears and dancing until dawn.