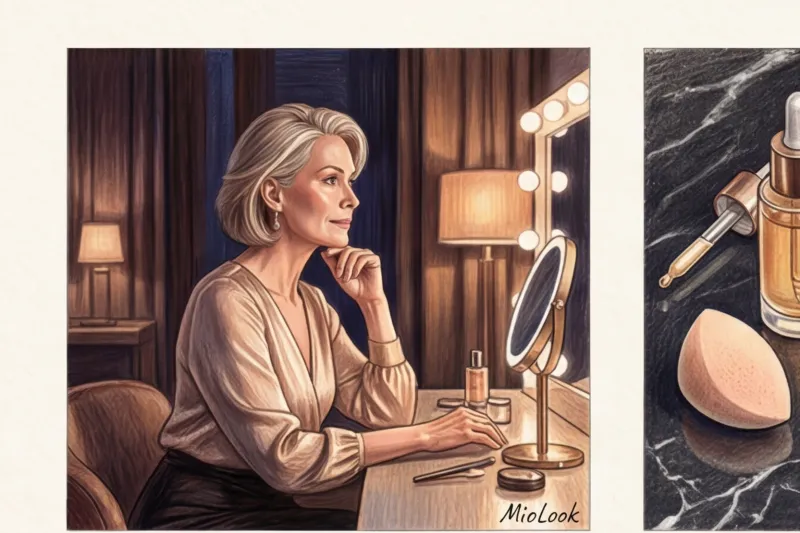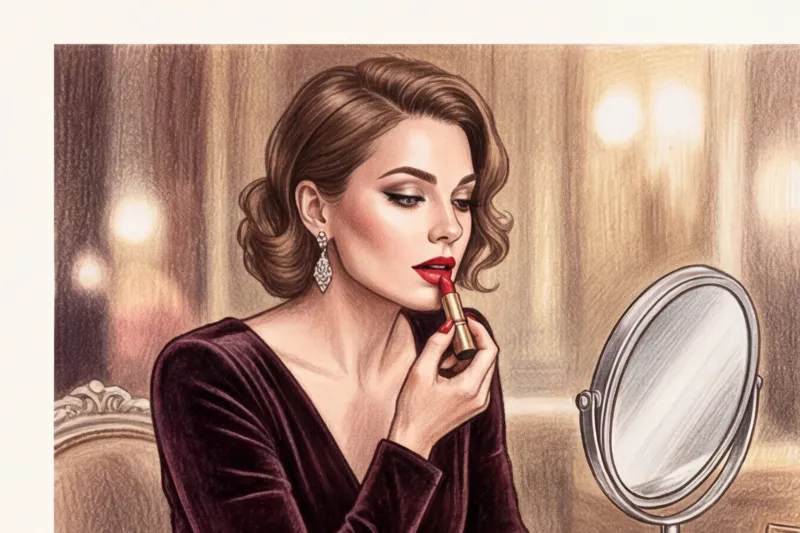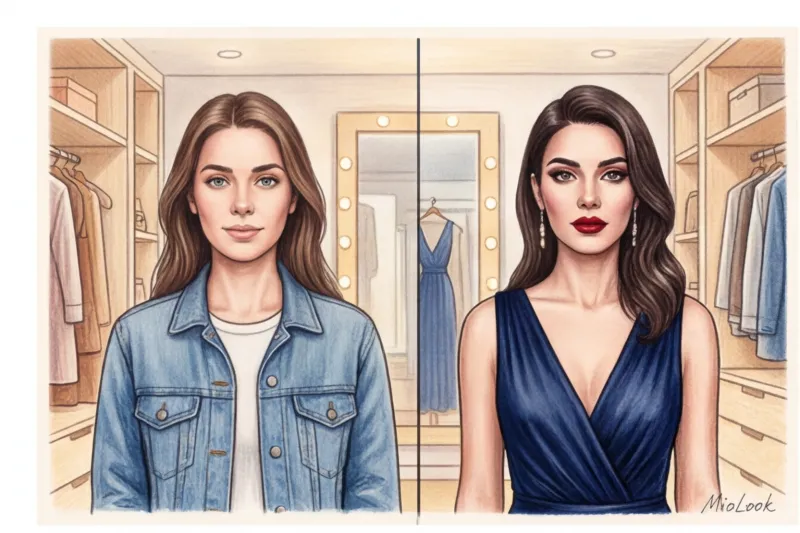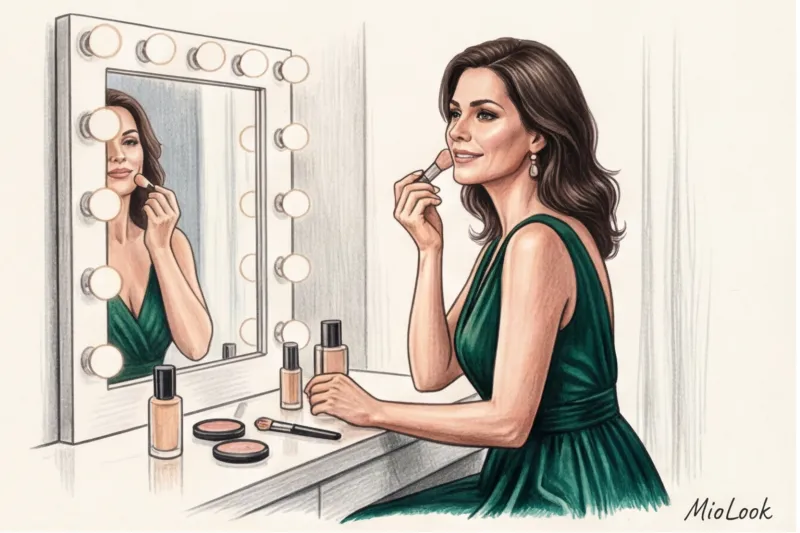

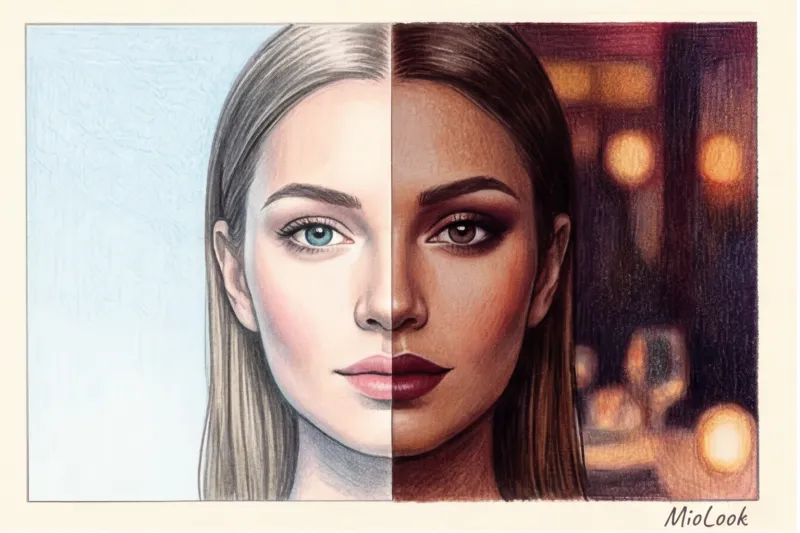
Sound familiar? You spend forty minutes carefully blending your eyeshadow in front of a bright bathroom mirror, applying the perfect, weightless foundation, heading out to a party, and in your morning restaurant photos, you discover... a completely bare face. Your eyes are lost, your contouring has vanished, and your skin looks flat and tired.
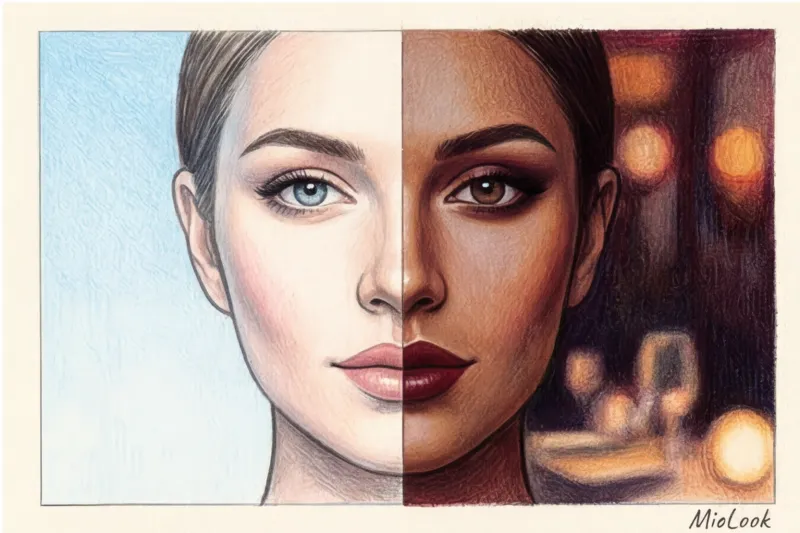
Over 12 years of working as a colorist and image consultant, I've discussed this mistake with my clients hundreds of times. Recently, a woman came to me who had created a stunning daytime makeup look for an evening corporate event, but the camera flash simply ate up all her work. The problem here isn't cheap cosmetics or a lack of skill. The biggest enemy of a beginner is a lack of understanding of the physics of light.
Of course, if you're planning a marathon of dancing until the early hours, tears of joy, and hugs from dozens of guests, you'll need some heavy artillery. We wrote about this in detail in the article about Wedding makeup: rules for a long-lasting festive look But for a formal dinner, a date, or a four- to five-hour theater outing, you don't need a rock-solid look. What you need is the right facial architecture. Today, we'll break down evening makeup step by step: without the heavy mask effect, complicated patterns, or buying twenty new brushes.
Why evening makeup is different from daytime makeup: lighting secrets
The artificial light in restaurants, clubs, and theater foyers is radically different from sunlight. Incandescent and candlelight bulbs have a low color rendering index (CRI), and their spectrum is skewed toward the warm yellow-orange range.
What does this mean in practice? According to the laws of color theory, subdued, warm light absorbs up to 30–40% of the saturation of shades on our faces. Cool pink blush becomes invisible, light contouring turns into a gray spot, and delicate lip gloss simply blends into the skin. That's why something that seems too bright in the bathroom will look perfect in candlelight.
The rule of contrast dictates that in the evening, we need to artificially enhance shadows and highlights on the face. Daytime makeup is based on midtones, while evening makeup is based on bold accents and light reflection.
The Biggest Myth: Why Beginners Should Forget About Black Smokey Eyes
Open any old beginner tutorial, and you'll be told to create a classic black smoky eye. As a practicing stylist, I strongly disagree with this advice.
Black pigment is the most difficult to work with. In the wrong hands (and in poor restaurant lighting), it instantly creates a "panda" effect, aging the face by 5-7 years and making the eyes appear smaller. Furthermore, matte black absorbs light, making the eyes look heavy.
According to the PANTONE Color Institute (2024), complex satin textures in deep, jewel-toned shades reflect light much more effectively than a dull black. What can you use instead of charcoal on your eyelids to look "expensive"?
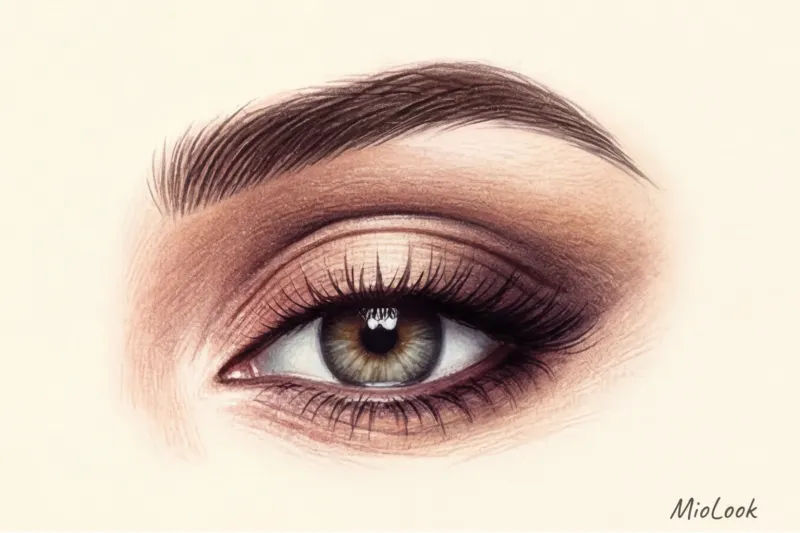
- For light eyes (blue, gray): Warm copper, peach, bronze. The contrasting warmth will draw out as much blue as possible from your eyes.
- For green eyes: deep plum, eggplant, wine tones.
- For brown eyes: emerald, deep cobalt blue or rich cold chocolate.
Access to MioLook for €0.99 — one-time payment
A smart AI stylist will select the perfect look for your complexion and makeup.
Get access — €0.99 onceThe bare minimum: what's really needed for a tutorial
When sorting through my clients' makeup bags, I regularly see piles of 40-color palettes they never use. A 2024 study of consumer habits by McKinsey shows that women spend an average of 45 minutes getting ready in the evening, a good half of which is spent trying to fix fallen eyeshadow or uneven foundation. To avoid this, pare down your makeup arsenal.
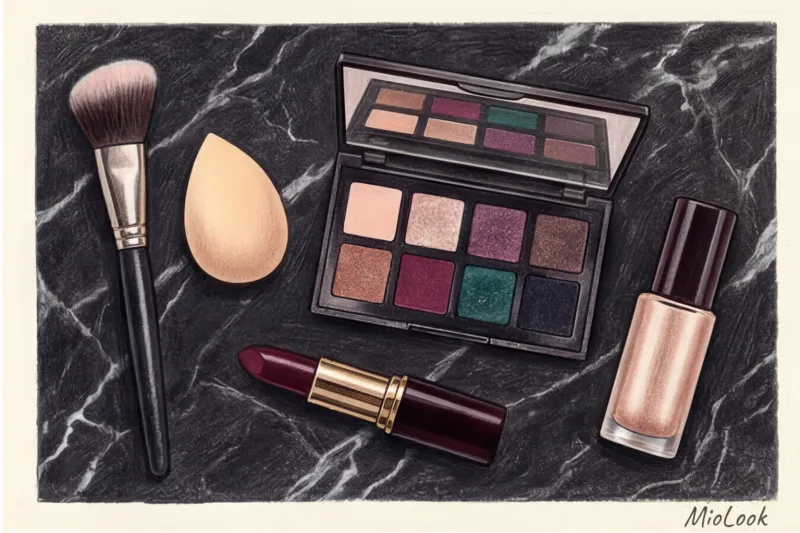
You will need only 3 brushes: a fluffy synthetic brush for creamy textures (foundation and blush), a fluffy natural brush for blending shadows, and a small flat brush for spot work.
Basic products for our equipment:
- A radiant makeup base or a rich moisturizer.
- Lightweight fluid foundation (not a thick matte putty!).
- Dense concealer in skin color.
- A universal eyeshadow palette with 4 colors (base, shading, highlight, contour).
- Long-lasting gel lip liner and lipstick.
Step-by-step evening makeup: creating the perfect canvas
The biggest mistake beginners make is trying to cover their entire face with a thick matte foundation. In the dim light, such a face looks like a plaster mask. The goal is vibrant, breathing, and slightly dewy skin.
Start with a double moisturizer. Apply your usual cream, let it absorb for 2 minutes, then add a drop of illuminating primer to high points (cheekbones, bridge of the nose).
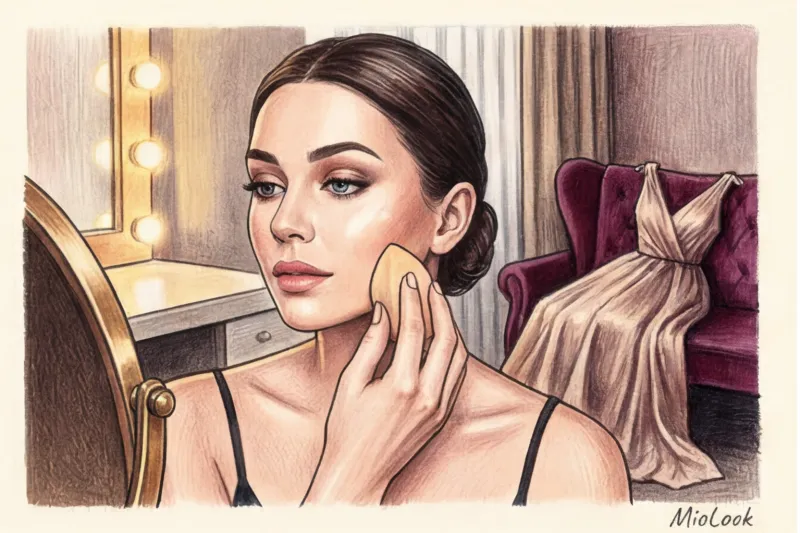
Next we use the technique glazes (Very thin layering). Dispense a drop of lightweight foundation onto the back of your hand. Use a damp sponge to pick up the product from your hand and tap it onto your face. This will create a sheer finish that evens out your skin tone without concealing your texture.
Now technology comes into play Pinpoint Concealing (spot concealing), popularized by celebrity makeup artist Lisa Eldridge. Take a small brush, load it with a dense concealer, and apply it to ONLY redness, age spots, and blemishes. Tap the edges with your finger. The result? 90% of your face is covered with the lightest foundation, and only 10% is covered with dense camouflage. Your skin looks flawless.
Important limitation: This approach to radiant skin doesn't work if you have active acne or severe texture (deep post-acne). A dewy finish and highlighter act like a magnifying glass for skin texture. In this case, choose a soft satin finish rather than a dewy one.
Your perfect look starts here
Join thousands of users who look flawless every day with MioLook. Experience the perfect combination of makeup and wardrobe in just one click.
Get access — €0.99 onceAn expressive look without complicated schemes
To make your eyes pop, you don't need to master complex shading techniques. Simply restore the anatomical volume of your eyelids.
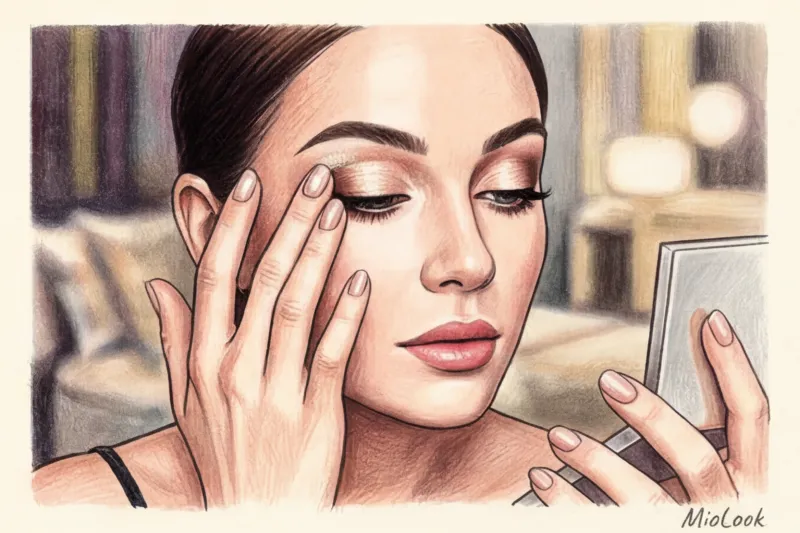
Take a fluffy brush and your regular dry contouring powder or bronzer (yes, the same one you use for your face). Using broad, sweeping strokes, apply it to the crease of your upper eyelid, blending it toward your temple. This will instantly open up your eyes and create a natural shadow. If you have drooping eyelids, apply the contouring powder just above the natural crease, looking straight ahead in the mirror.
Then the magic happens: use the pad of your ring finger to pick up a shimmering pigment (sparkle) or a dense metallic champagne/bronze eyeshadow and apply it directly to the center of your lid with a dabbing motion. The warmth of your finger will warm the texture, creating a dense, luxurious highlight without flaking.
The Magic of Inter-Clash Wings: The Secret to Thicker Lashes
Did you know that inter-lash line lash line creates the effect of false lashes even without mascara? It's not a classic winged wing, which is difficult to draw symmetrically. It's simply filling in the space between the roots of your lashes.
Take a long-lasting gel pencil (it sets in 30-40 seconds and won't transfer to the lower lid). Lift your upper lid with your finger and fill in the light spaces between the roots of your lashes, from the inner corner to the outer corner. Your gaze will instantly become more predatory and deep.
Finish your eye makeup with two generous coats of volumizing mascara. Apply it using a zigzag technique, starting from the roots and extending upward with vibrating motions.
Sculpting and blush: restoring volume to the face in low light
As we've already established, evening light flattens the face. Matte textures look dusty and tired in the evening. Your best friend for a lifting effect is carefully placed highlights and a generous application of blush.
Apply a small amount of liquid highlighter to the high point of your cheekbones, the bow above your upper lip, and the inner corners of your eyes. Important: Avoid the under-eye area and the center of your forehead, otherwise your face will appear greasy rather than radiant.
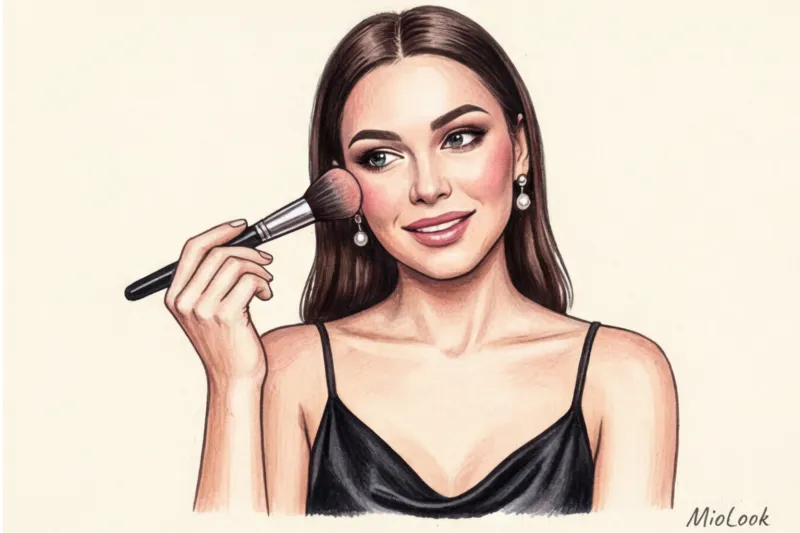
And now the main counterintuitive insight that I came to through experience: In the evening you need exactly twice as much blush as during the day.
I personally tested the staying power of these textures during a restaurant dinner. A lightly applied layer of powder blush disappeared completely within two hours. To maintain a fresh look throughout the evening, use a two-step technique: first, tap a cream blush onto the apples of your cheeks with a sponge, drawing the color toward your temples, and then lightly set it with a powder blush in a similar shade.
Ready to get started?
Try the MioLook free plan—no commitment required. Find the perfect accessories and hairstyle to complement your evening makeup look.
Get access — €0.99 onceLips that will survive dinner and a glass of wine
Nothing cheapens a look more than lipstick that's eaten away in the center of the lips, leaving a clear outline. To avoid this, we need a layered texture.
Start preparing your lips early: 15 minutes before applying makeup, apply a lip scrub, then a thick lip balm. Before applying makeup, blot off any excess balm with a dry tissue—your lips should be moisturized but not slippery.
The secret of reinforced concrete durability without overdrying:
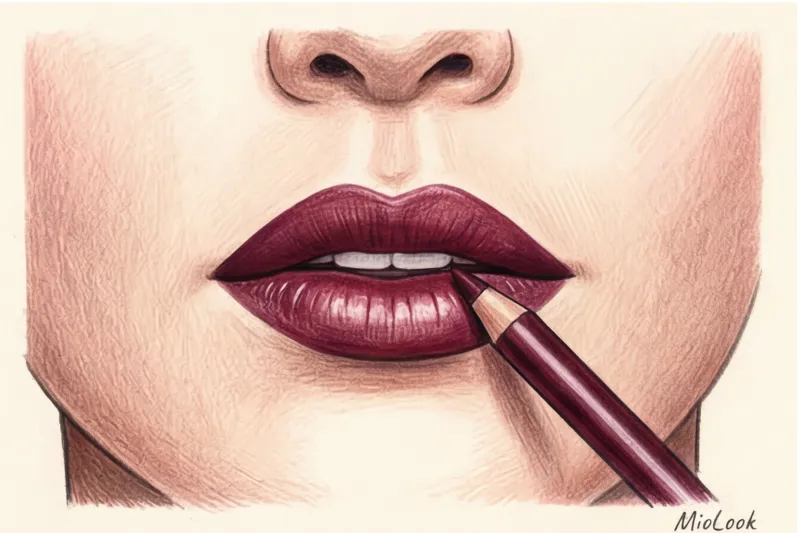
- Take a permanent pencil and trace the outline.
- Using the SAME pencil, completely shade the entire surface of your lips. This will create a base for the lipstick to adhere to.
- Apply the first coat of lipstick.
- Place a thin paper napkin (unfold a regular one into one layer) on your lips and apply a small amount of translucent powder over the napkin using a fluffy brush.
- Remove the napkin and apply the second, final layer of lipstick.
If you are unsure about choosing a color, remember the rules for choosing a palette that we mentioned in the article about archetype makeup A surefire option for evening wear is red with a cool blue undertone (it visually whitens teeth) or a sophisticated terracotta for those with warm skin tones.
Checklist: Checking Your Look Before Going Out
Your makeup is ready, but the work isn't over yet. Be sure to do a final crash test.
Turn off the lights in the bathroom or room and take a selfie with your smartphone using the flash. This will immediately reveal any "blind spots": if you didn't blend your under-eye concealer well or overdid it with HD powder (which contains silica and has a white cast), the flash will instantly reveal it.
Consider your makeup in the context of your outfit. If your dress has a low neckline, be sure to apply any remaining foundation on the sponge to your neck and collarbones, adding a touch of highlighter to the protruding bones. A difference in skin tone between your face and neck is the most common mistake in event photos.
My personal recommendation: Before you start applying makeup, upload your outfit to MioLook app Its algorithms help you see your entire look in advance. Sometimes a luxurious sequin dress calls for ultra-nude makeup, while a formal black tuxedo, on the contrary, begs for a bold red lipstick. By trying out your look in the virtual fitting room, you'll avoid the "I've put on all my best looks at once" feeling.
Evening makeup isn't a test of your artistic skills. It's simply a play of light and shadow, adapted to specific lighting conditions. Use creamy textures, don't be afraid to add more blush, ditch the aging black for a refined bronze, and you'll look fresh and luxurious until your very last photo.