
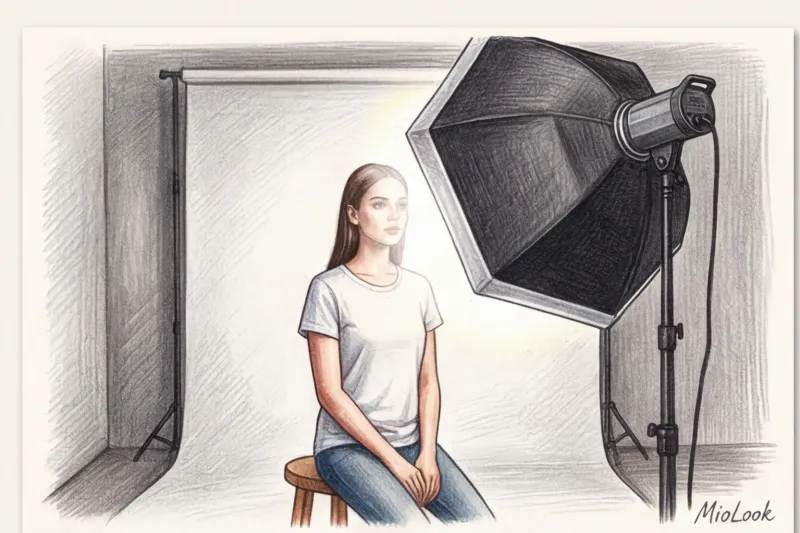
A few years ago, during a lookbook shoot in Milan, I witnessed a classic beauty drama. The model emerged from the makeup room with flawless, radiant skin—a true "glass skin" aesthetic that garners millions of likes on social media. But as soon as the photographer took the first test shot with harsh lighting (a beauty dish), the perfect glow on the monitor turned into a greasy pancake effect. Her face looked like she'd just run a marathon. We had to stop the process and completely redo the skin tone.
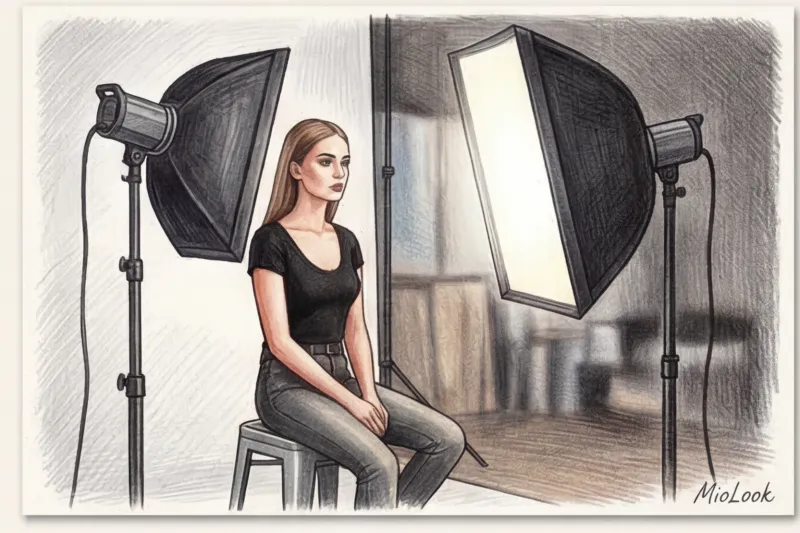
Let's be honest: makeup for a studio photo shoot isn't just your everyday look multiplied by two. It's pure physics. Camera optics and studio lighting operate according to their own laws, distorting textures and absorbing pigment. And while a day-long celebration requires a single approach (we covered this in more detail in our guide), Wedding Makeup: Rules for a Long-Lasting Festive Look ), then studio makeup should only last a couple of hours, but under extremely aggressive lighting.
How to prepare your face for a professional lens, and why can your favorite moisturizer ruin every shot? We explore the mechanics of capturing the perfect shot.
The Anatomy of Light: Why Your Studio Camera Eats Up Your Makeup
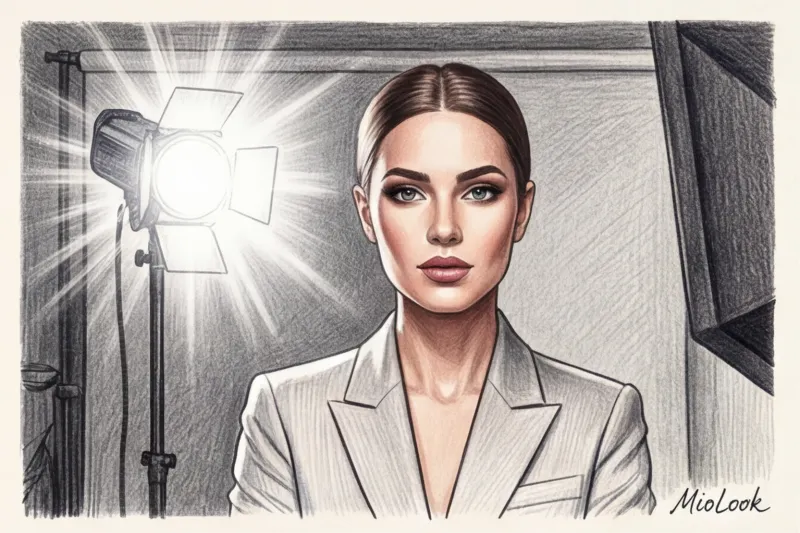
Forget the myth that simply applying thicker mascara is enough for a photo shoot. Professional photographers know: a powerful studio flash acts like an eraser. According to statistics and technical manuals from the Profoto Academy, directional flash light "eats" 30% to 40% of the saturation of any pigment. What appears to you as an overly bright blush in the mirror will look like a light, healthy flush in the original (RAW file).
High-definition (HD) lenses capture even the slightest microrelief of the skin. If you apply highlighter incorrectly, your pores will appear 50% larger in a macro shot. Therefore, studio makeup is based not on color, but on architecture and contrast.
By the way, if you often take part in photo shoots and want to understand in advance which shades suit you, try appearance analysis function in MioLook The algorithm will help you select a palette that won't get lost even under the brightest softboxes.
Pulsed vs. Continuous Light: How to Adapt Your Look
To avoid an unpleasant surprise on your monitor, always ask the photographer before the shoot: "Are we shooting with flash or continuous light?" This is a game-changer.
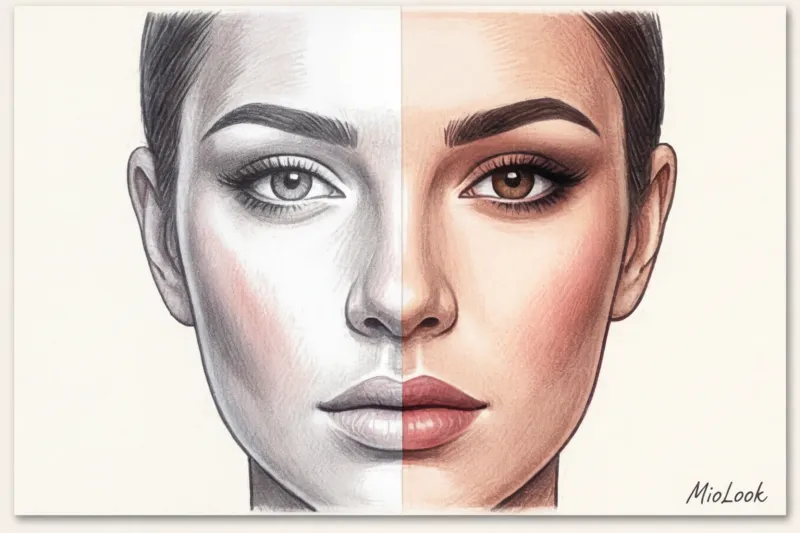
- Pulsed light (flashes): Crisp, harsh, and "freezing" movement, it brightens the face. You'll need 30% more contouring and blush than usual. The color temperature of these flashes is typically around 5500 Kelvin (daylight), which slightly "cools" warm makeup tones.
- Continuous light (LED panels, video light): Soft and enveloping, it's forgiving of minor imperfections in shading but merciless to skin texture. Avoid using thick matte foundations underneath, as they'll leave your face looking lifeless.
Access to MioLook for €0.99 — one-time payment
A smart AI stylist will select the perfect look for any photo shoot in just a few minutes.
Get access — €0.99 onceSecrets to the Perfect Tone: Matte Skin That Doesn't Age You
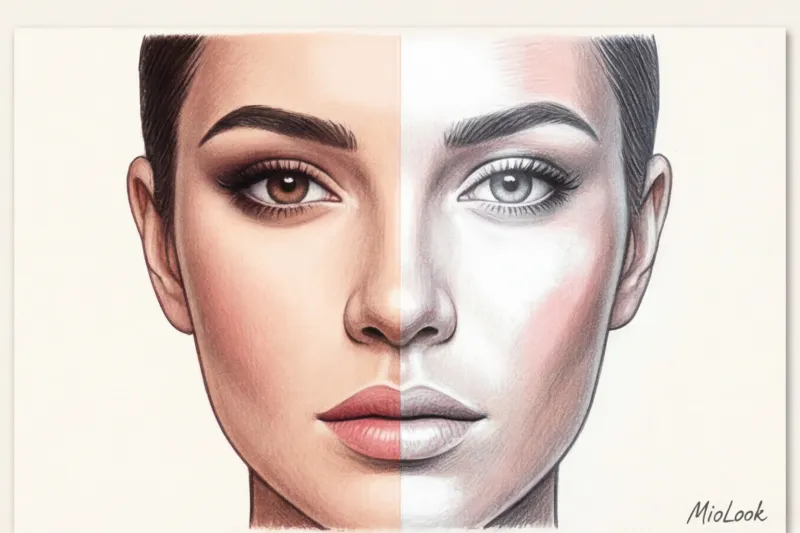
The trendy "wet skin" look is perfect for window selfies, but in a studio, it catches unwanted glare from reflectors. Over 12 years of working as a stylist, I've developed a golden rule for studio foundations: strategic matting. The T-zone (forehead, nose, chin) should be completely matte, and a subtle satin highlight is acceptable only on the high points of the cheekbones.
There is a limitation here, though: This rule doesn't apply if the photo is taken in low-key lighting or with natural light from a north-facing window. In such conditions, a completely frosted face will visually add 5-7 years to your age.
Avoid lightweight, water-based BB creams. The water evaporates, leaving pigment blotchy under hot lamps. Choose HD foundations containing volatile silicones. They create a thin film on the face that smooths out micro-relief and reflects light evenly, without a greasy shine.
Flashback Effect: Why SPF and Minerals Are Your Enemies on Film
And now for a counterintuitive insight that 9 out of 10 girls forget: Your favorite day creams with SPF and beneficial mineral powders (a dermatologist favorite) are the biggest saboteurs during a photo shoot.
"Physical sunscreens (titanium dioxide and zinc oxide), as well as silica, in translucent powders act like microscopic mirrors. When hit by a flash, they reflect light directly into the lens. The result? The famous flashback effect—the face in the photo appears ghostly white, separated from the neck."
Before shooting, check the ingredients of your foundation and powder. If the first five ingredients include Titanium Dioxide, Zinc Oxide, or Silica, discard that product. Use a regular moisturizer without SPF as a base.
Facial architecture: contouring that looks natural on camera
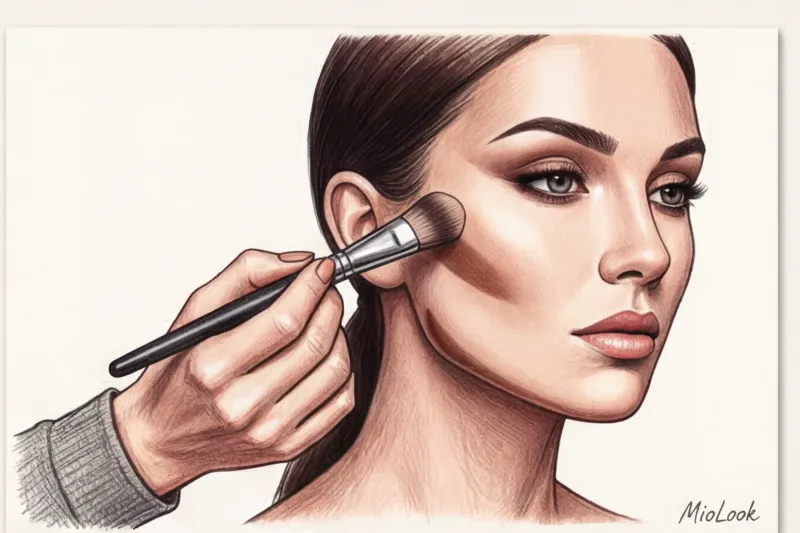
A flash hitting the forehead makes the face appear completely flat. To restore 3D volume, a sculptor is needed. This is where the "layer cake" technique, used by makeup artists on commercial fashion shoots, comes in handy.
The method is simple: a cream concealer is followed by a dry one. First, you apply the cream concealer, blending it thoroughly with a sponge, and then set the result with a dry product. This ensures that the shadows won't slide after an hour of working under the spotlights.
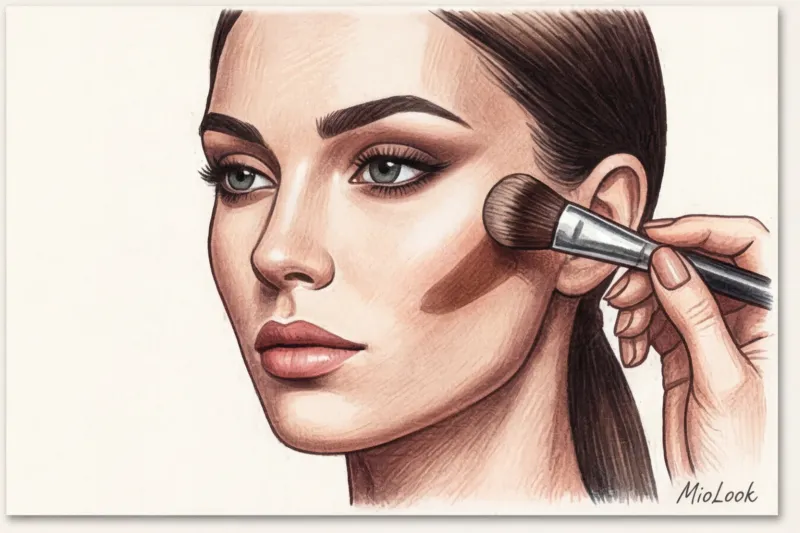
Professional life hack: Don't try to define your cheekbones with just one product. Use a cool taupe shade directly in the hollows of your cheekbones (to mimic a real shadow), and add a drop of warm bronzer just above, where your blush meets your cheekbones. This will create a smooth, luxurious gradient. Apply blush just above the apples of your cheeks, blending toward your temples—this line visually lifts your face, preventing it from sagging under harsh light.
Your perfect look starts here
Join thousands of users who look flawless every day with MioLook. Plan your photoshoot looks in advance.
Get access — €0.99 onceEye and Lip Makeup for a Studio Photo Shoot: Playing with Contrasts
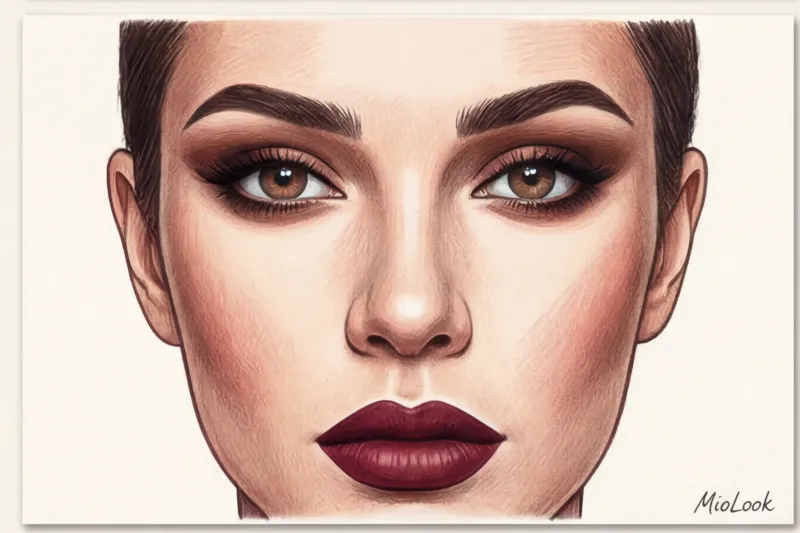
If you don't work the spaces between your lashes, your lashes will appear sparse and your eyes will look tired in macro photos. A black or dark brown gel pencil applied directly to the roots of your lashes (on the upper lash line) is the foundation for a striking look.
Avoid using too many pearlescent eyeshadows. In close-ups, shimmer often fragments the eyelid, emphasizing creases and creating a cheap, foil-like effect. According to PANTONE Institute colorists, deep matte shades (terracotta, rich beige, plum) create a much more luxurious and three-dimensional effect in the frame.
As for lips, matte lipstick is a great choice for the studio, as it doesn't catch hair from the fan. However, it requires flawless contouring. Be sure to use a lip liner that's a shade or two darker than the lipstick itself. Otherwise, under bright lighting, your lips will blend into your face. This technique is especially important when it comes to business makeup for executives , where the contrast emphasizes the status and severity of the image.
The biggest makeup mistakes: what to avoid to avoid ruining your photos
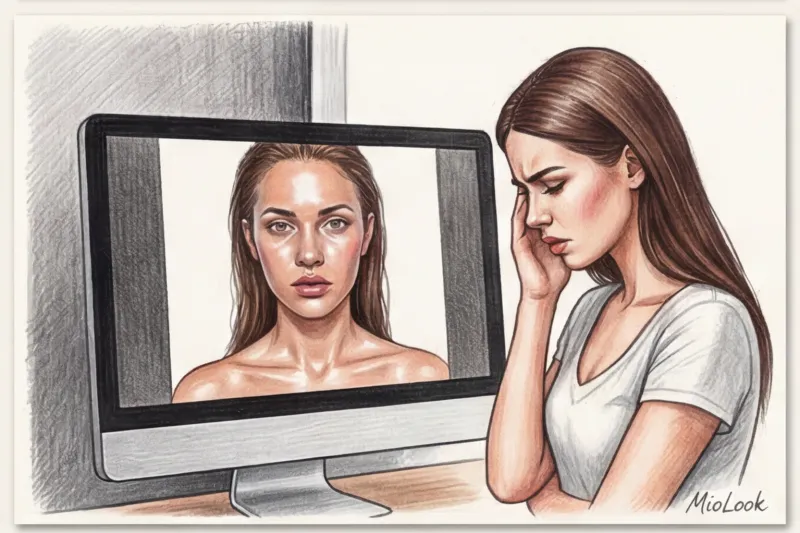
Over the years of working on film sets, I've compiled a personal anti-rating of beauty mistakes. Avoid them if you want to save money on retouching.
- Makeup that matches the skin tone. Nude lipsticks that match your foundation and a lack of blush turn your face into a dull, lifeless blob. A pop of color requires anchoring colors.
- Use of glitter and large glitter. The WGSN trend study (2024) confirms glitter's comeback, but in the studio it's a disaster. In photos, the fine glitter, poorly lit, looks like white debris or dandruff.
- Too dark smokey eye without highlighting the inner corner. Have you noticed how your eyes look like tiny beads in some photos? That's the result of deep, black shading. Always apply a light, satin highlight to the inner corner of your eye.
And one more non-obvious point: too much concealer under the eyes In real life, a thick concealer is great for covering up the signs of a sleepless night. But in a flash-lit photo, a thick layer of light concealer creates a "panda glasses" effect (also known as reverse flashback). Apply the product sparingly—only to the inner hollow of the bridge of the nose, not all over the under-eye area.
Checklist: First aid beauty aid during filming
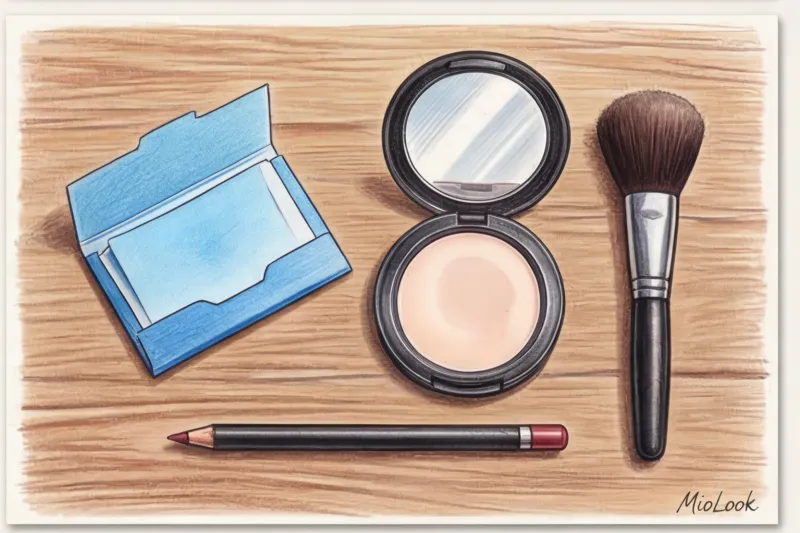
Clients often bring a suitcase of clothes to the studio (and rightly so!), but completely forget about a makeup bag for touch-ups. Don't rely solely on your makeup artist, especially if they aren't accompanying you throughout the entire shoot.
Here's my tried-and-true 60-second break algorithm between image changes:
- Step 1 (15 seconds): Blot the T-zone with mattifying wipes. Never powder your face over oily shine—it will create a plastered or "puff-pastry" effect that's impossible to correct without completely removing your makeup.
- Step 2 (20 seconds): Lightly sweep translucent powder over your forehead, nose, and chin with a fluffy brush (not a sponge). Remember: check the ingredients to make sure they don't contain silica.
- Step 3 (25 seconds): Refresh your lip contour and add a dab of fresh lipstick to the center. Conversations and changing positions are the fastest ways to wear lipstick off.
Ready to get started?
Try the MioLook free plan—no commitments required. Organize your wardrobe and beauty routine in one app.
Get access — €0.99 onceTo summarize: studio makeup doesn't tolerate half-measures, but it also doesn't forgive sloppiness. The main rule to remember is that the camera prefers matte skin, sharp contours, and enhanced contrasts. Save the SPF and highlighter for city walks, arm yourself with a good contouring product and a rich foundation, and your next photoshoot's originals will look like they've already been retouched.