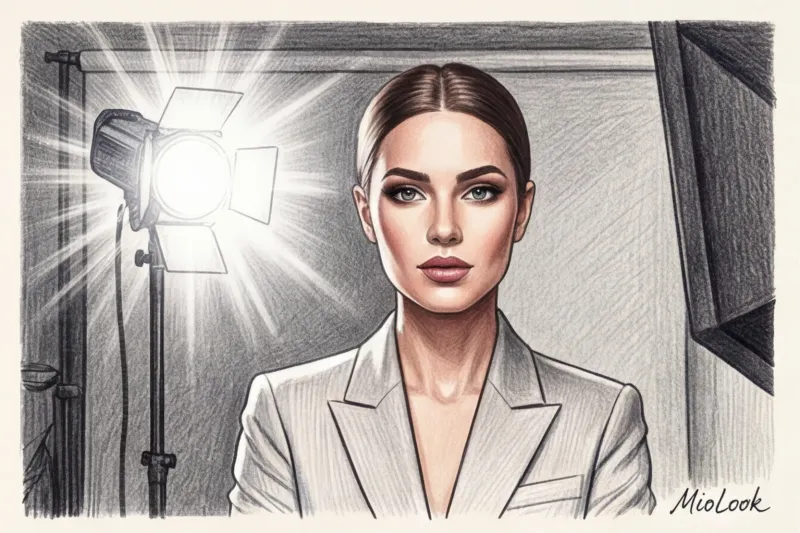
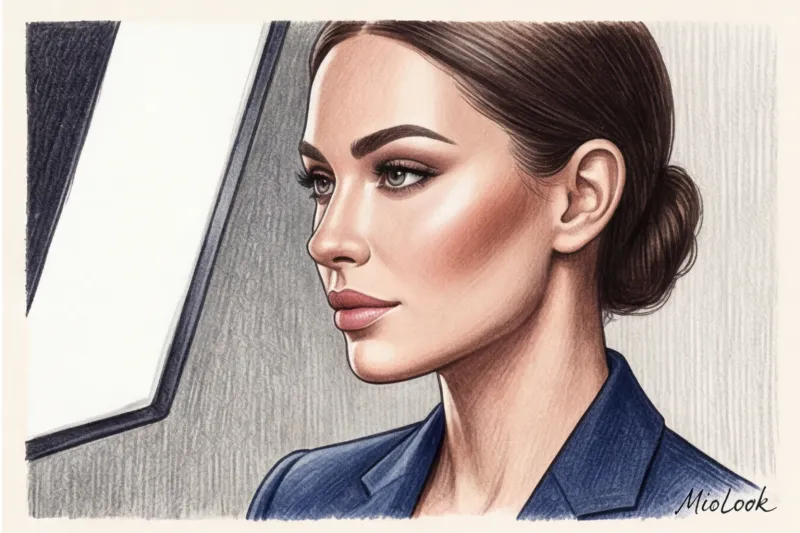
The shutter clicks. A bright flash. A top manager at a major IT company looks at the photographer's monitor (a tethering screen) and gasps in surprise: "Wow, in the dressing room mirror I thought I had a ton of makeup on! In the photo, I look completely natural, like I've just had a good vacation." Over 12 years of working as a stylist on film sets, I've witnessed this scene hundreds of times. Women arrive at the studio with their favorite everyday makeup, only to end up with a pale, flat, emotionless face in the final photos.
The secret is that it is literate makeup for a business photo shoot — it's not the art of drawing. It's pure physics and understanding how light interacts with the pigment on your skin. By the way, if you're currently preparing for a shoot, be sure to check out our A Complete Guide: Business Photoshoot Looks for Experts , where we take a detailed look at wardrobe architecture. And today we'll talk about facial architecture and why the camera is unforgiving of mistakes we don't even notice in real life.
Physics of the Frame: Why Everyday Makeup Doesn't Work for a Business Photoshoot
As an expert in fabrics and materials science, I always draw a simple parallel for my clients. Imagine a thin blouse made of cheap, thin polyester. In the dim light of a fitting room, it might look acceptable. But as soon as you step out into the bright sun, the fabric becomes treacherously translucent, revealing your underwear and the contours of your body. The same thing happens with studio lighting.
A pulsed flash with a power of 500-1000 joules literally "cuts through" the thin textures of everyday makeup. Your favorite lightweight BB cream, which glows so beautifully in the office, simply disappears under studio lighting, leaving all the redness, capillaries, and pigmentation visible on the camera sensor. According to statistics from professional retouchers, pulsed light "removes" up to 30-40% of the saturation of any facial color.
We also need to consider color temperature. A standard studio flash produces around 5500K—the equivalent of harsh midday light. This light has a cool undertone. It mercilessly pulls out all the gray and earthy tones from the skin, making a warm olive complexion look sickly green unless the makeup artist compensates with the right peach or warm pink pigment in the base.
Try MioLook for free
A smart AI stylist will find the perfect look for your next shoot.
Start for freeTextures and compositions: what studio lighting forgives and what it emphasizes
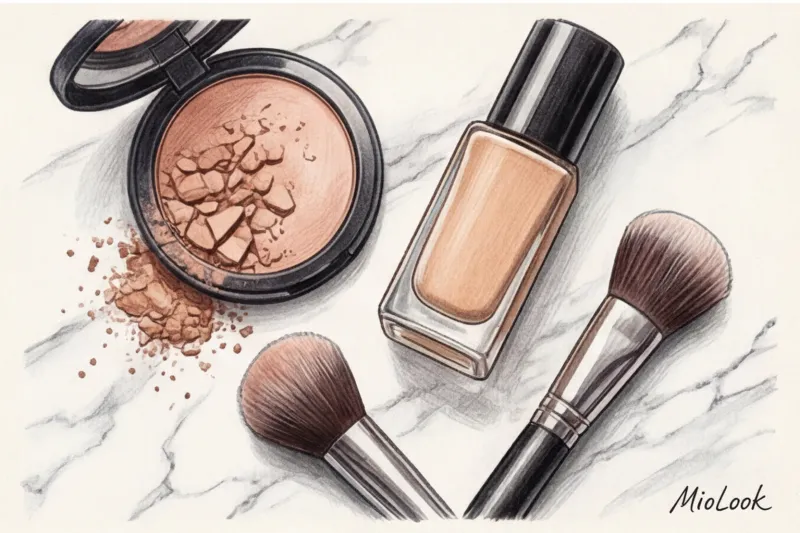
Preparing for a shoot starts with reading labels. The chemical composition of your cosmetics in the studio is more important than the brand name on the packaging. The most common mistake I see on corporate shoots is using foundation with a high sun protection factor (SPF).
If your tone contains the following in the first positions: Titanium Dioxide (titanium dioxide) or Zinc Oxide (Zinc oxide) – put that tube away for the beach. These are physical filters. Their job is to act like microscopic mirrors, reflecting the sun's rays off your skin. The problem is, they reflect studio flash in the same way. As a result, you get a flashback effect in the photo – your face appears two shades lighter than your neck, turning into a flat white mask.
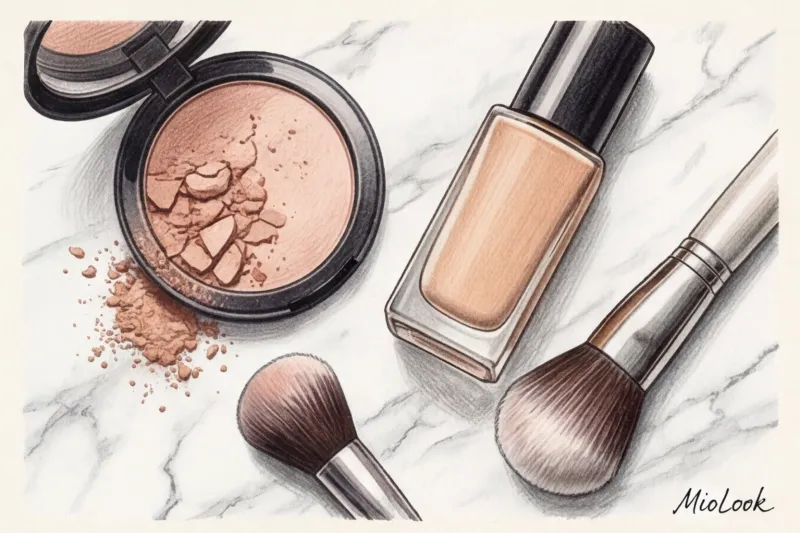
The second hidden threat is transparent powders made 100% of silica. In real life, they mattify perfectly, but under a flash, the silica microparticles blaze as bright white spots. Remember those famous Hollywood red carpet disasters, when the paparazzi flashes made their faces look dusted with flour—it's precisely this, pure silica.
When it comes to finish, avoid extremes. Cheap, synthetic shimmer on clothes always looks bad, as does the oily shine from an ill-chosen moisturizing primer. A completely matte complexion is also a mistake. A completely matte finish absorbs light, stripping the skin of its natural contours and visually adding 5-7 years to your age. A satin finish is ideal for camera: it makes skin appear vibrant, subtly illuminated from within, but without a greasy highlight on the T-zone.
The "Plaster" Myth: Why Dense Tone Is the Enemy of Modern Cameras
Among experts who rarely pose for photos, there's a common misconception: a photo shoot requires a "very thick layer of foundation" to cover up all the imperfections. This is the biggest misconception of our time. Modern cameras with high-resolution sensors (40 megapixels and above), paired with sharp portrait lenses, capture the skin's microrelief with alarming accuracy.
HD makeup research shows that foundation layers thicker than 0.1 mm become visible to the lens as a foreign texture. The camera won't see your smooth skin, but a layer of pigmented clay trapped in your pores. My golden rule: What is needed is not the layer thickness, but a high concentration of pigment in the thinnest, fluid texture possible This is exactly how professional HD foundations work—they cover up color nuances (redness, bruises), but leave the skin's texture visible.
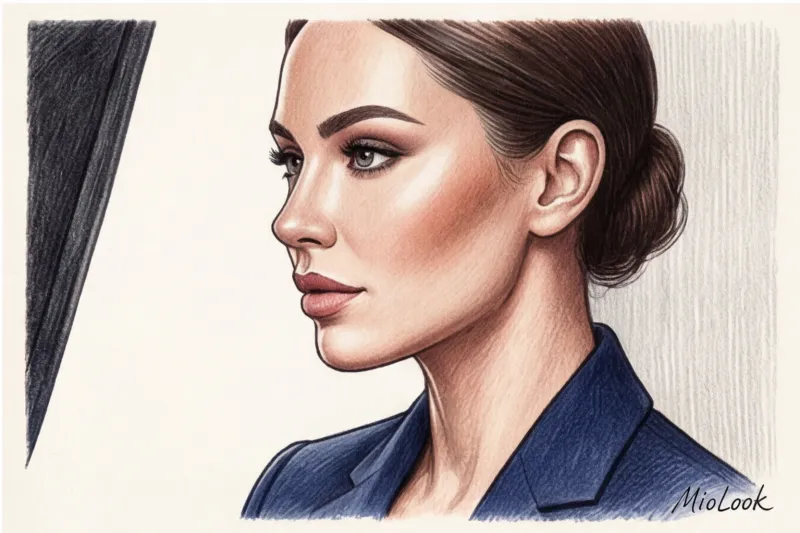
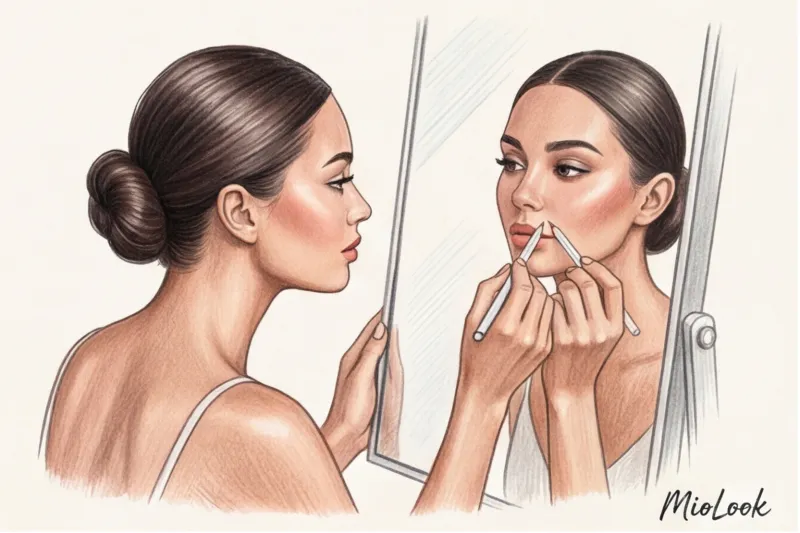
Facial Architecture: Proper Contouring for a Business Portrait
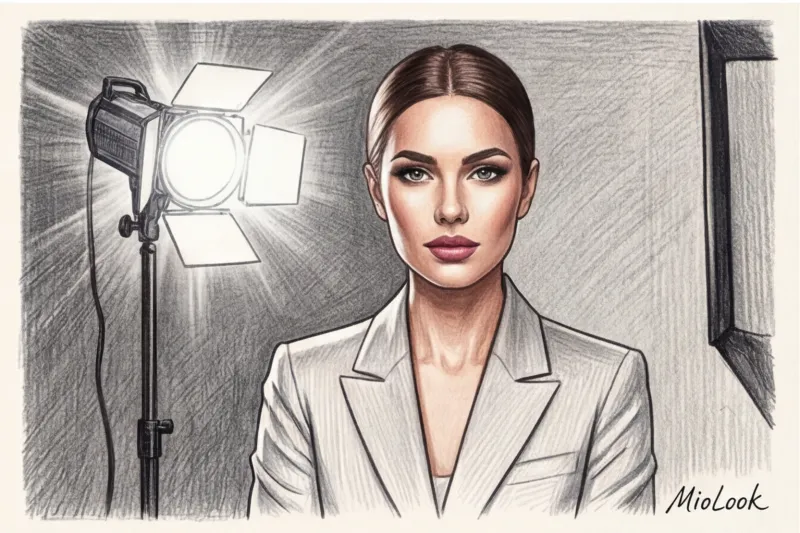
Studio lighting, especially if the photographer uses a huge softbox or octabox directly in front of you, bathes your face in an even light. In real life, we see volume thanks to the shadows cast by our brow ridges, nose, and cheekbones. Floodlight eliminates these shadows, turning the face into a 2D projection.
A makeup artist's job is to restore your natural volume. For a business photoshoot, I always insist on a layering technique: first, a creamy correction (which blends with the skin), followed by a light setting with dry textures for long-lasting results. The shades should be complex, taupe, mimicking real shadows, not reddish bronzers that look like dirty spots.
But there is an important limitation here. This contouring tip does NOT work at all if the photographer decides to shoot you with harsh, directional light. (For example, using a beauty dish or a narrow reflector). Hard light alone creates very deep, dramatic shadows. If the makeup artist adds harsh Instagram contouring, your cheeks will look hollow and haggard in the photo. Always ask the makeup artist to confirm the lighting scheme with the photographer before applying your makeup.
Your perfect look starts here
Join thousands of users who look flawless every day with MioLook.
Start for freePersonal brand accents: eyes and lips that inspire trust
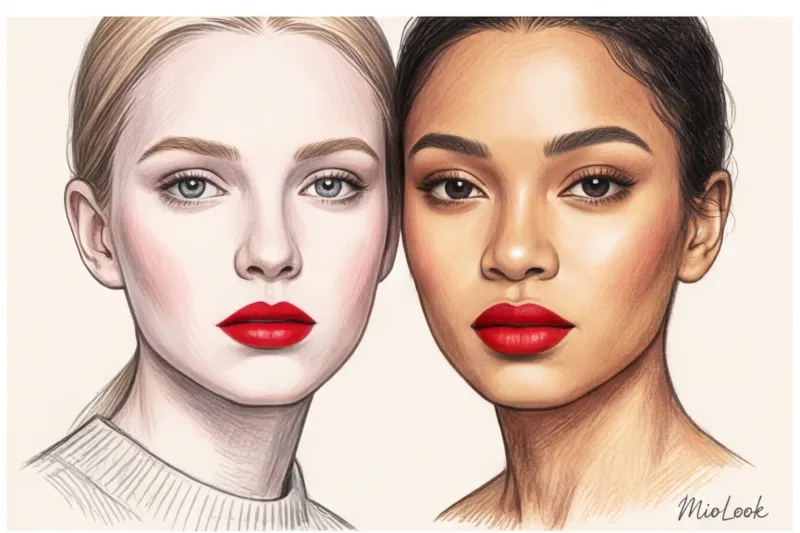
In a business portrait, color carries a powerful psychological charge. According to the Pantone Color Institute, aggressive, bold colors are often subconsciously interpreted as a warning sign. We were once preparing a top investment fund manager for a Forbes shoot. She insisted on her usual "subdued burgundy" lipstick. I suggested a test shot. On the monitor, the burgundy color visually made her lips appear twice as thin, giving her face a harsh, arrogant expression that was completely uninspiring.
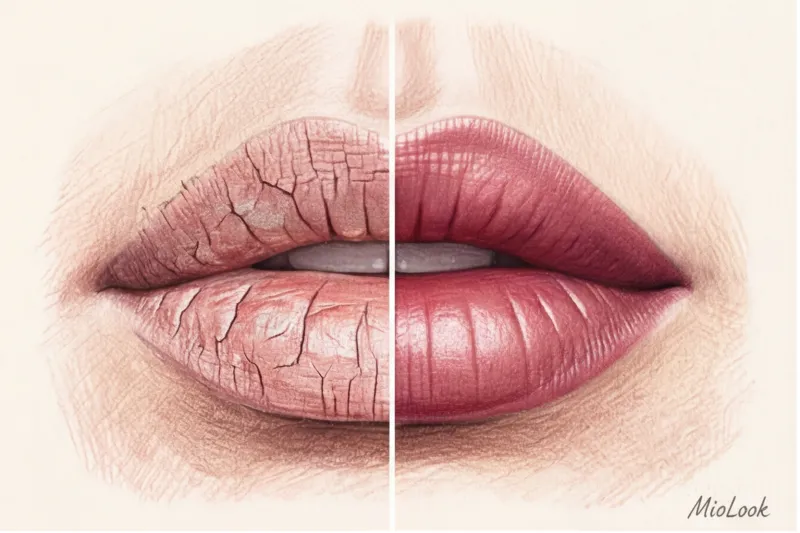
We switched to a sophisticated berry shade with a terracotta undertone. Her complexion instantly warmed up, and her look became sophisticated yet open. When choosing a lipstick texture, remember: sticky gloss is the enemy of a photo shoot. It catches glare from flashes (creating the illusion of white spots on the lips) and attracts hair from the slightest draft. Dry matte lipstick, on the other hand, will highlight every micro-wrinkle and make lips appear dry. Creamy or satin lipsticks are the ideal choice.

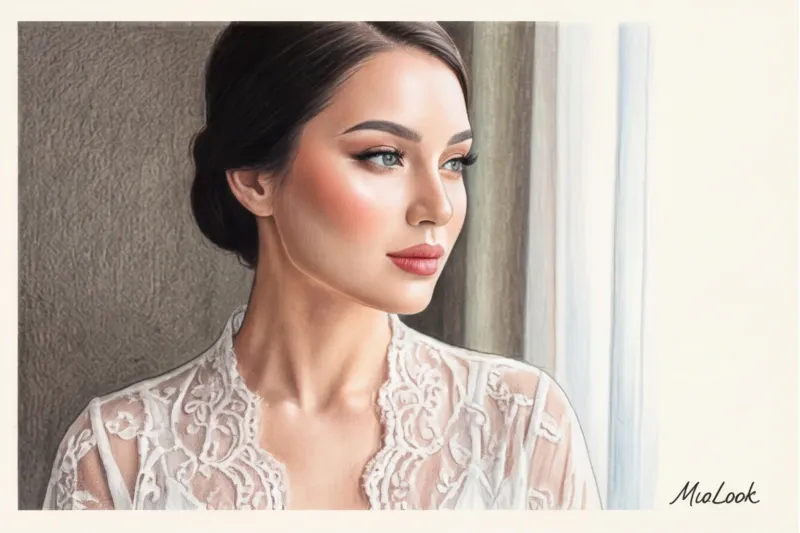
Eye makeup for a business portrait should create a focused look without being heavy. Forget pearlescent shimmer and chunky glitter—they cheapen the look. Use matte and satin eyeshadow in basic shades. The key to a striking look without the "evening makeup" effect is a fine line between the lashes. A thin line applied precisely between the roots of the lashes makes them appear thicker and the gaze more confident, while the makeup itself is virtually invisible.
Typical mistakes experts make in the makeup artist's chair
The most dangerous phrase an expert can utter before a shoot is: "Make me look like I do in real life; I don't like wearing a lot of makeup." Remember the physics of light? "Live" makeup will look like you've just recovered from a cold in studio photos.
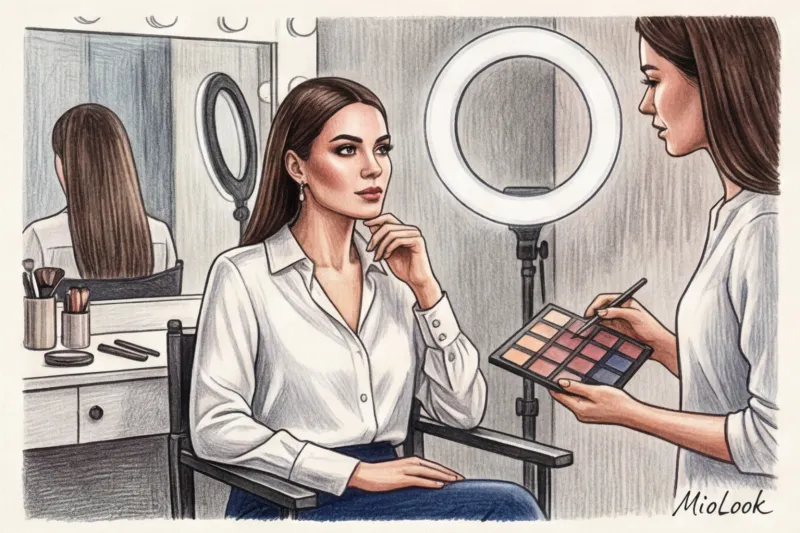
This leads to the second mistake: panicking in the chair. When the makeup artist finishes, and you look into a regular mirror with a ring light, you might think the eyebrows are too bold and the blush too bright. Trust the professional. Judge the makeup only based on the first test shots on the photographer's monitor. You'll be surprised how much softer and more natural it all looks through the lens.
And the third, critical mistake is ignoring the neck, ears, and hands. Flash mercilessly reveals differences in undertones. If the face is perfectly toned, but the neck and ears (which often blush with nervousness) are left untouched, you'll get the effect of a pressed-on head in the photo. The makeup artist should apply the remaining foundation on the brush to the ears and blend the color down the neck.
Ready to get started?
Try the free plan—no commitments required. Assemble your photo capsule in 15 minutes.
Frequently Asked Questions
Какие ошибки в стиле ты допускаешь?
Честный тест: узнай свои слабые места в гардеробе и как их исправить
About the author
Related Articles
Perfect Makeup for Your Face Shape: Contouring Secrets
Forget blindly following trends. Learn how to define your facial architecture an...
Red Lipstick by Color Type: How to Find Your Shade
There's no such thing as a universal red lipstick—it's a popular beauty myth. Le...
Wedding Makeup Trends: How to Create a Long-Lasting Look
Learn how to adapt runway trends to real life. We reveal the secrets to creating...
Long-lasting lipstick for a wedding: secrets to perfect lips
Find out why matte textures can ruin a bride's look. We'll share a professional ...