You know what phrase I hear most often before my first professional shoot? "Olena, I'll just wear my favorite suit, the one I always get compliments on at the office." And every time, I have to gently but firmly dispel this myth.
The clothes you wear to garner admiring glances in the meeting room may look terrible in the final photos. In life, we're constantly moving: fabric flows, catches the light, and changes shape. But a static camera will mercilessly reveal every wrinkle, the lack of shoulder structure, and the cheap sheen of the material. A well-chosen outfit clothes for a business photo shoot operates according to completely different laws of physics and optics.
Why Business Photoshoot Attire Isn't Your Regular Work Wardrobe
The main problem with photography is the loss of third dimension. The lens transforms a three-dimensional person into a flat 2D image. Because of this optical illusion, the camera visually adds 2 to 5 kilograms to your weight. Your favorite soft, shapeless knit dress looks cozy in real life, but in a photo it turns your figure into a shapeless blob.
To compensate for the loss of volume, we need a well-designed cut. Clothing must create a framework. But it's not just about the visual component. There's a scientifically proven phenomenon called Enclothed Cognition. A 2012 study by the Kellogg School of Management showed that clothing physically alters how we project confidence to the camera. Subjects in white coats, told they were doctor's coats, demonstrated remarkable concentration. The same thing happens in the studio: a well-designed, structured jacket forces you to hold your back differently. We covered this in more detail in our the complete expert image guide.
The main rule for a stylist: during a shoot, your clothes should serve as a visual trigger for your niche. A social media user only has 7-10 seconds to judge your expertise from a photo. If you're a financier, your look should convey reliability; if you're a creative director, it should convey innovation.
Try MioLook for free
A smart AI stylist will find the perfect look for your next photo shoot.
Start for freeThe formula for the perfect shot: how to choose textures and fabrics
Over 14 years of being on film sets, I've learned one ironclad rule: light is everything. The basic principle of studio lighting is that matte fabrics absorb light and look expensive on camera, while glossy fabrics glare, create unnecessary volume, and cheapen the look.
I once had a client bring in a stunning, at first glance, viscose blouse. It looked perfect in the hallway mirror. But when the studio flashlight hit it, the fabric became translucent, revealing the contours of the lingerie. We had to quickly change the concept.

What the camera "loves" and what it "hates"
To avoid unpleasant surprises, stick to a strict fabric rider.
- The camera loves: Heavyweight cotton (from 180 g/m²), wool, cashmere, heavy matte silk, tweed, and structured leather. These materials retain their shape and create a beautiful play of light and shadow.
- Camera hates: 100% linen (it will get wrinkled in the taxi on the way to the studio), thin flimsy jersey and satin.
- Be careful with deep black: In photos, it often turns into a "black hole" with no detail. If you choose black, choose a textured fabric (like bouclé or corduroy) so the light has something to catch.
"A fine stripe, houndstooth, or dense ridges causes the moiré effect—an optical illusion that creates colored streaks on smartphone screens. Statistically, about 80% of digital camera sensors fail to correct this visual flaw. Avoid fine patterns at all costs."

The Psychology of Color: How to Manage Your Screen Impressions
Color is the fastest way to convey emotion. According to the Pantone Color Institute, the right palette can increase personal brand recognition by 80%. Your choice of shades should be directly related to your profession.
One of my clients, a brilliant psychologist, showed up for her first shoot wearing a crisp black three-piece suit and a white shirt. In the photos, she looked like a stern prosecutor—professional yet utterly unapproachable. We completely reimagined the concept, choosing enveloping camel tones, soft sage, and cashmere textures. The result? She got not just beautiful photos, but also a surge in conversions to consultations through her blog, because people began to see her as an empathetic professional.
The camera always works better with the equipment. color block Large pops of color are better than small prints. Prints distract from the main focus—your face. Also, consider the studio background: if it's dark, choose clothes that create contrast, otherwise you'll simply blend into the wall.
Your perfect look starts here
Join thousands of users who look flawless every day with MioLook.
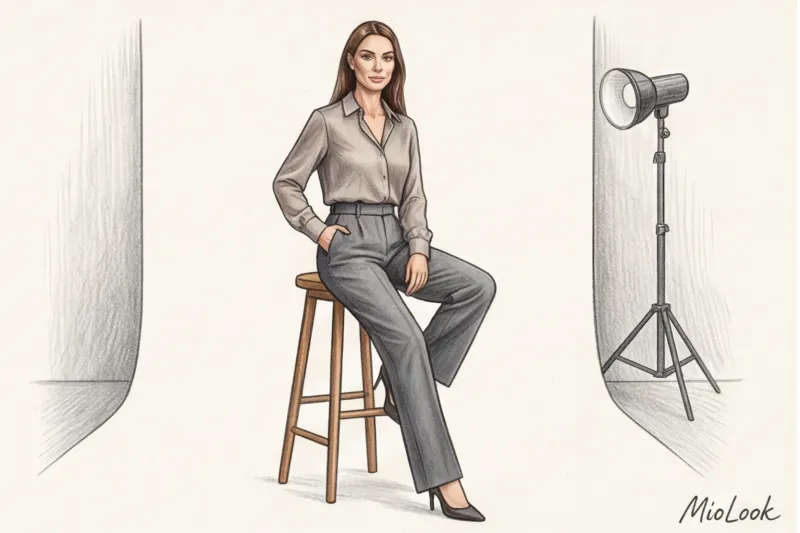
Start for freeSilhouette Architecture: The Secret to Seated and Standing Portraits
Take this test right now: put on your favorite jacket and sit in front of the mirror. 90% of people fail to choose clothes for seated portraits at this very stage. A jacket that fits perfectly when standing up bulges treacherously at the stomach, and the collar rises up, swallowing up the neck.
The shoulder line is your best friend in a business portrait. A crisp, well-defined shoulder creates a geometric line throughout the frame and visually slims the waist. However, be extremely careful with the length of skirts and trousers. Crossing your legs instantly raises the hem of your clothing by 10-15 centimeters. Trousers that touch your shoes when standing can expose your shin when sitting.
I'll let you in on a professional life hack. I always carry a set of binder clips on set. For the perfect seated portrait, we often gather excess fabric on the model's back and secure it with clips. This creates that flawless fit you see on the covers of Forbes.
Stylist checklist: putting together a capsule collection for a shoot (3-4 looks)
Never show up to a shoot with just one look. The perfect capsule collection should show you from different sides. To avoid bringing half your closet with you, I recommend using the virtual wardrobe feature in MioLook — Collect and preview the kits directly on your phone the day before.
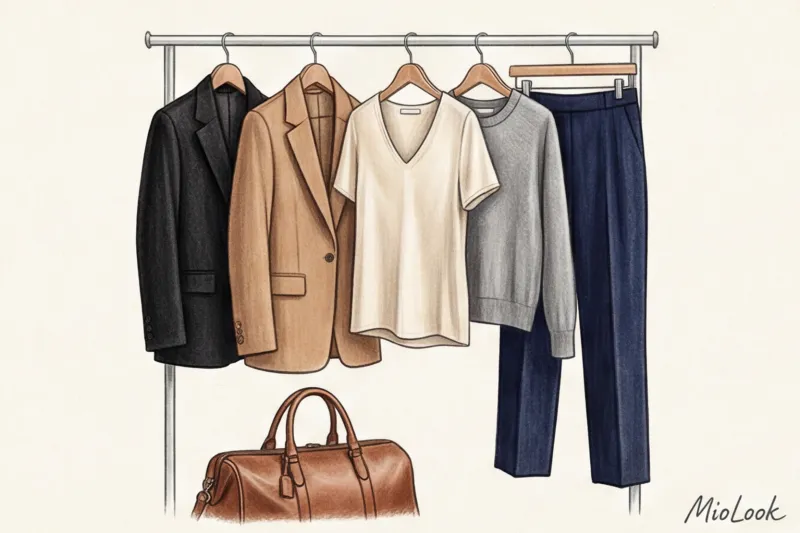
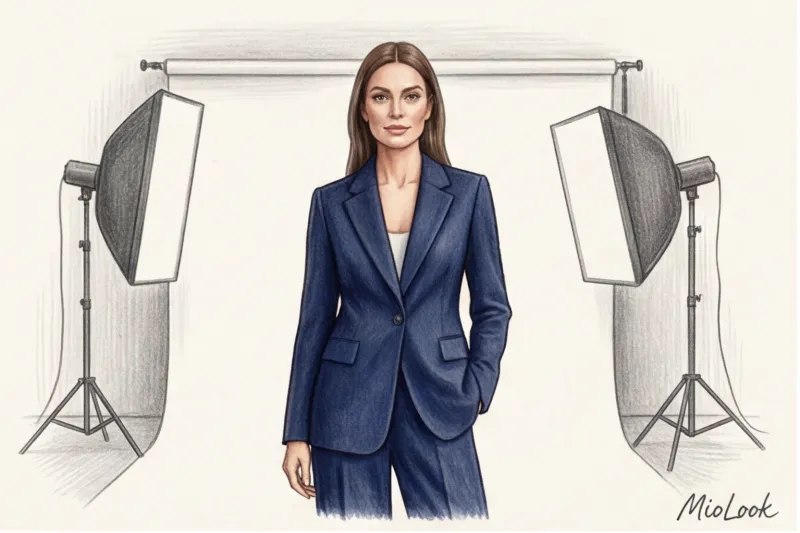
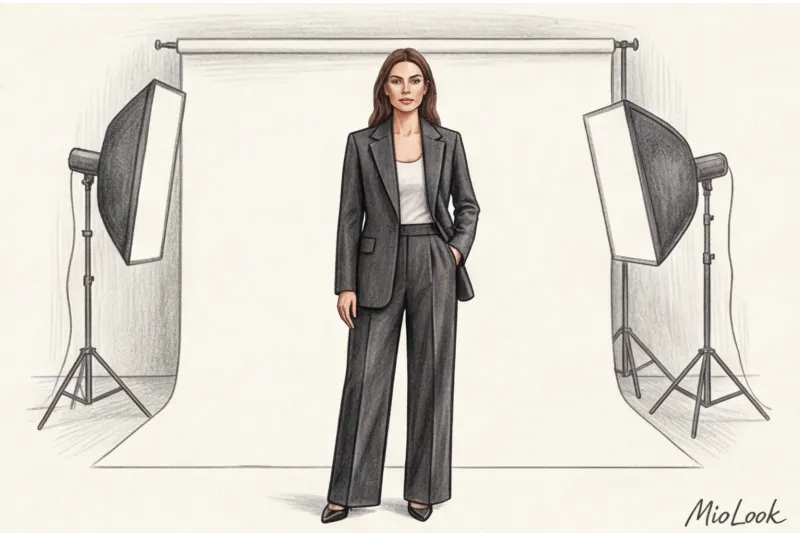
- Look 1: Strict expert (Power Dressing). A two-piece suit with clean lines and a structured jacket. This is your avatar for professional conferences and media publications.
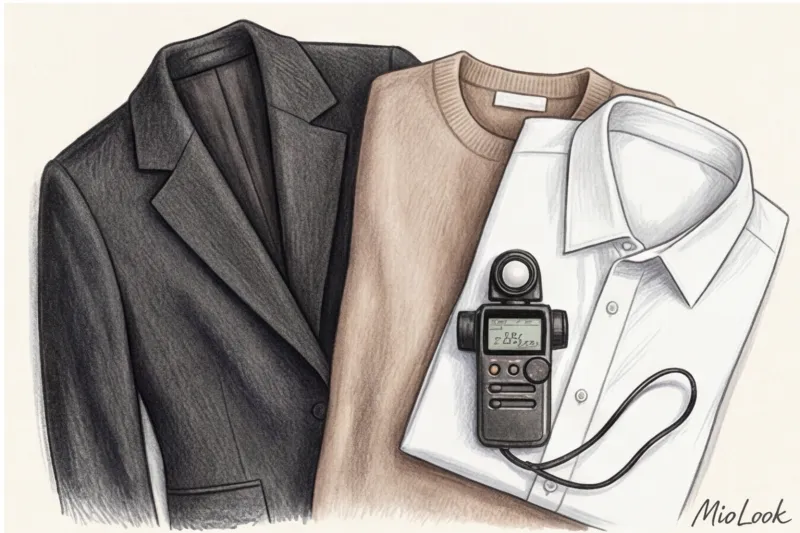
- Image 2: Relaxed (Business Casual). A quality basic jumper, a shirt without a tie (for men), or a silk blouse (for women). Soft lines convey an openness to dialogue.
- Image 3: Creative/Dynamic. Here you can add layering, an interesting deep color (emerald, burgundy) or a slight asymmetry of cut.
And don't forget about your shoes! People often say to me, "Olena, we're only filming from the waist up, so I'll be wearing slippers." Nope. Heels or stiff, classic shoes physiologically alter your posture, pelvic tilt, and body language. Slippers will make you look relaxed and at home, even if you're wearing a tuxedo.
The Main Mistakes That Will Ruin Your Business Portraits
Even the most expensive suit from Massimo Dutti or Hugo Boss won't save the shot if basic technical errors are made.
Here is my personal anti-rating:
- Incorrectly selected underwear. My professional paranoia is that I force all my clients to wear completely smooth, seamless beige underwear under any light-colored clothing. White underwear under a white shirt glows neon under the flashing lights. The protruding lace breaks the texture of the fabric.
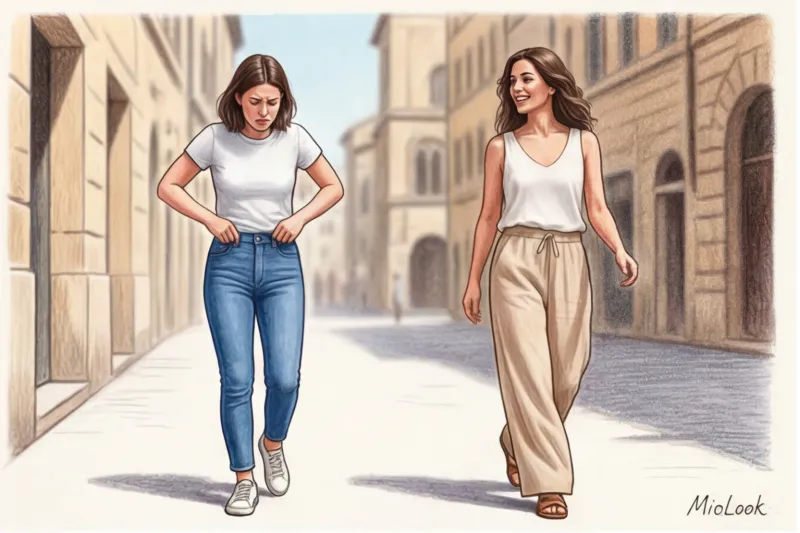
- The clothes are not the right size. Oversized clothing is one of those times when the trend just doesn't work for a classic business portrait. In photos, it looks sloppy, like you borrowed your older brother's jacket. A garment that's too tight, on the other hand, will highlight wrinkles you don't even have.
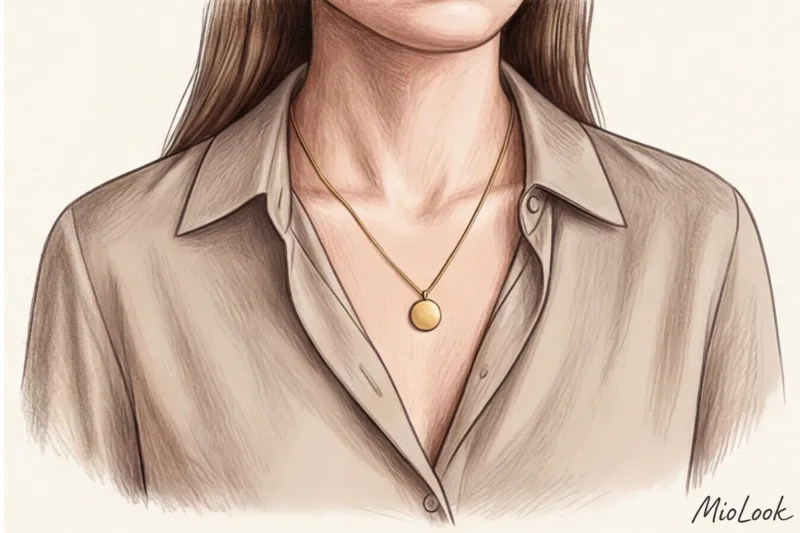
- Excess of decoration. Visual noise distracts your eyes. Stick to leather or matte metal straps and stud earrings.
- Blind gate. Turtlenecks are flattering on those with very long necks. In 90% of cases, they visually "cut off" the head from the body. Opt for a V-neck or unbutton the top two buttons of your shirt.
How to Prepare Your Clothes Before a Shoot: Unobvious Tips
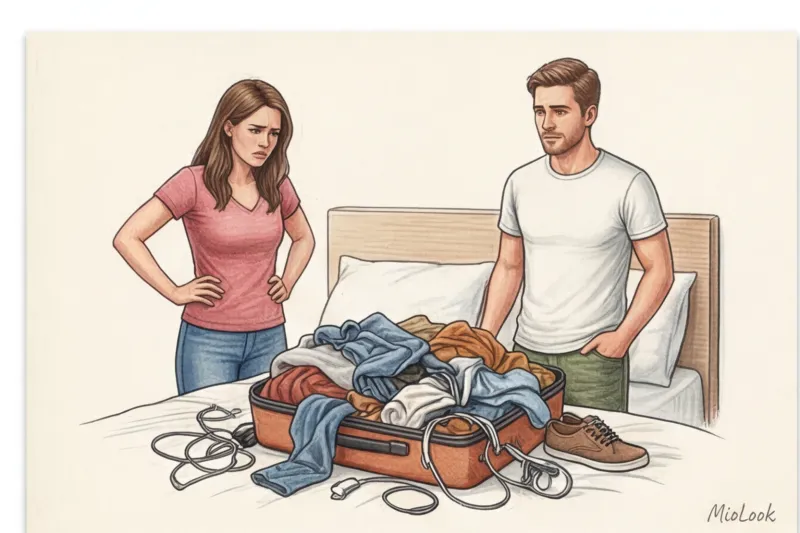
Preparation for the shoot begins 24 hours before, not an hour before. The most important logistical rule: never arrive at the studio wearing the clothes you'll be wearing for the photo shoot. Car seatbelts, taxi seats, or a bad coffee will leave marks that the retoucher will have to spend hours removing.
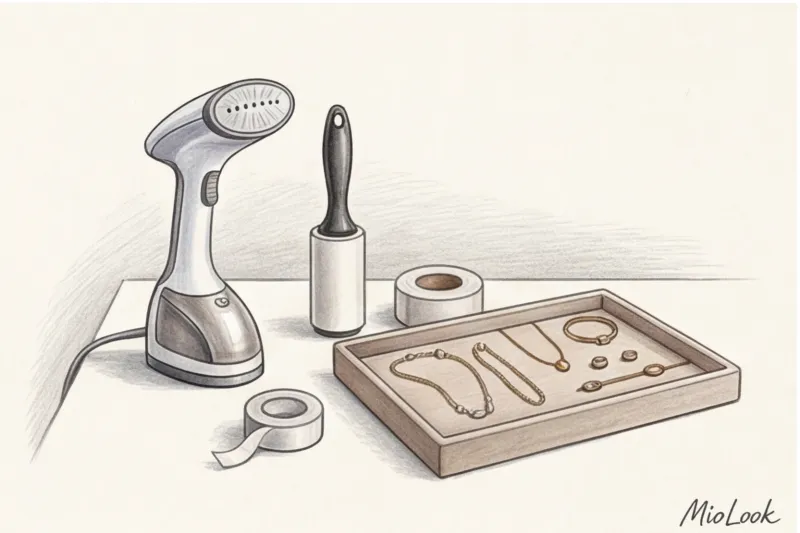
Assemble your personal "stylist's emergency kit." It should include:
- A lint roller for cleaning clothes (especially if you have furry pets).
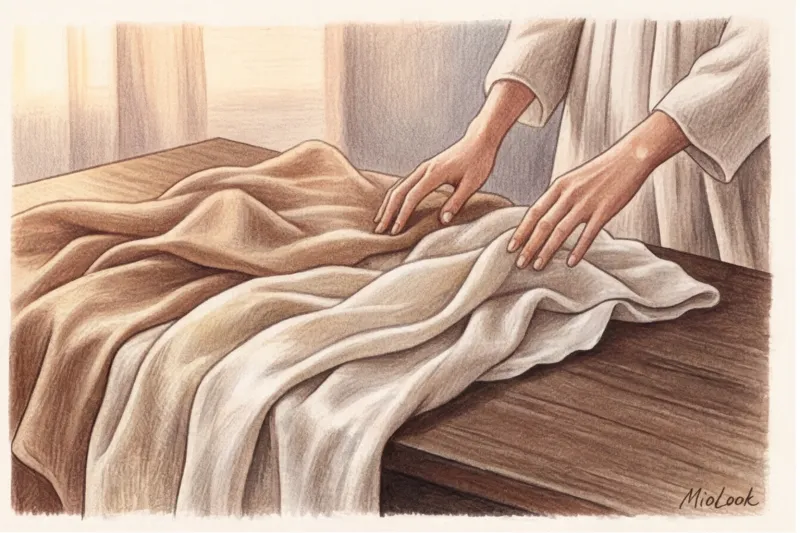
- Portable steamer (even if the items were transported in a case, creases are inevitable).
- Antistatic.
- Double-sided fashion tape is a brilliant invention for fixing a ragged shirt opening or an unruly jacket lapel.
And finally: be sure to do a final fitting of your complete look, including shoes and lingerie, the night before. This will save you from morning panic and allow you to arrive at the studio feeling calm and confident—and that's what makes business portraits truly magnetic.