Have you ever noticed a paradox: in the mirror, your new palazzo pants make your legs look endless, but in a photo you're digitizing your wardrobe, you suddenly look two sizes too big and ten centimeters shorter? Your first thought is, "This item makes me look fat" or "I don't know how to pose." But as a personal stylist who has digitized thousands of garments, I assure you: the problem isn't you or the cut. The problem is your smartphone trying to trick the optics.
We have already discussed the basics of the organization in more detail in our The complete guide to preparing for a virtual wardrobe , but today we'll go into technical details. Correct Phone camera settings for photographing clothes — this is the foundation. We're not going to talk about how to take an aesthetically pleasing photo for social media, but about how to create the perfect data set for artificial intelligence. After all, algorithms require precise mathematical contours, not artistic distortions.
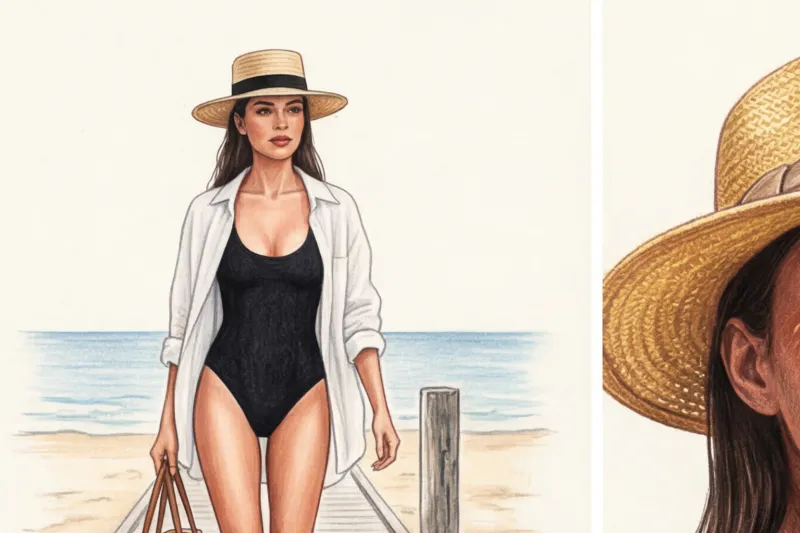
The Wide-Angle Illusion: Why Your Smartphone Distorts Your Favorite Things
Let's start with the physics of the process. Every modern smartphone camera uses a wide-angle lens by default. Typically, its focal length is 24–26 mm. While this is great for landscape photography, it's a disaster for clothing geometry.
A wide angle creates what's known as "barrel distortion." The center of the frame appears slightly convex, while the edges appear stretched. According to research in mobile photography, objects at the edges of the frame on a 24mm lens can appear stretched by up to 15%.
"A smartphone is programmed by default to capture as much space as possible. It doesn't care at all that this will turn your pencil skirt into a shapeless bell."
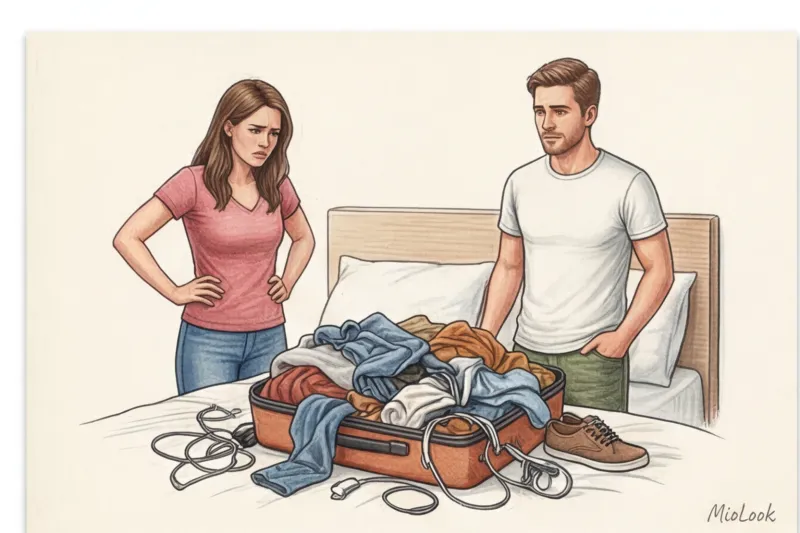
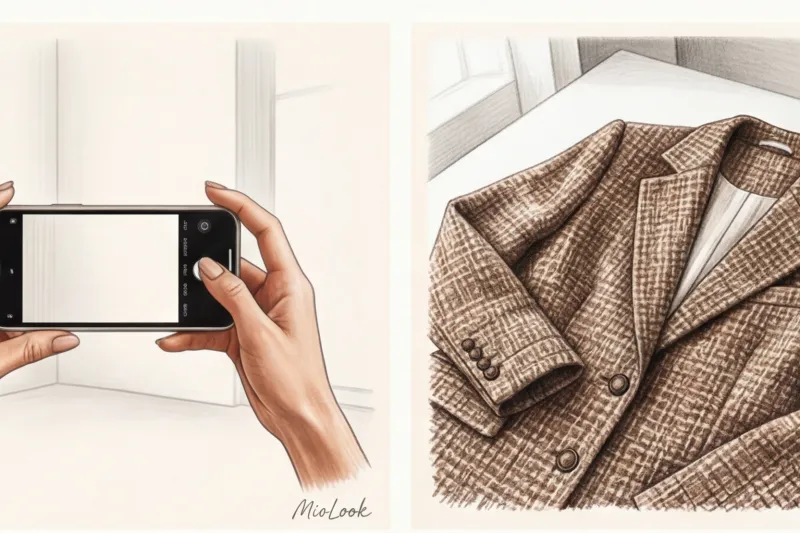
I had a telling case. A client sent me a photo of a luxurious double-breasted suit from Massimo Dutti (costing around €250), which we planned to include in her business capsule collection. In the photo, the suit made her hips look disproportionately wide and her shoulders narrow. She was panicking and was about to file a return. I asked her to reshoot the image with the correct lens settings. It turned out the suit fit perfectly—it was just the bottom edge of the frame that had mercilessly stretched her silhouette.
For Computer Vision algorithms that use MioLook smart wardrobe , the geometrically precise contour of a garment is critically important. If the AI remembers your trousers as "short and wide," it will suggest incorrect style combinations, attempting to compensate for the non-existent volume.
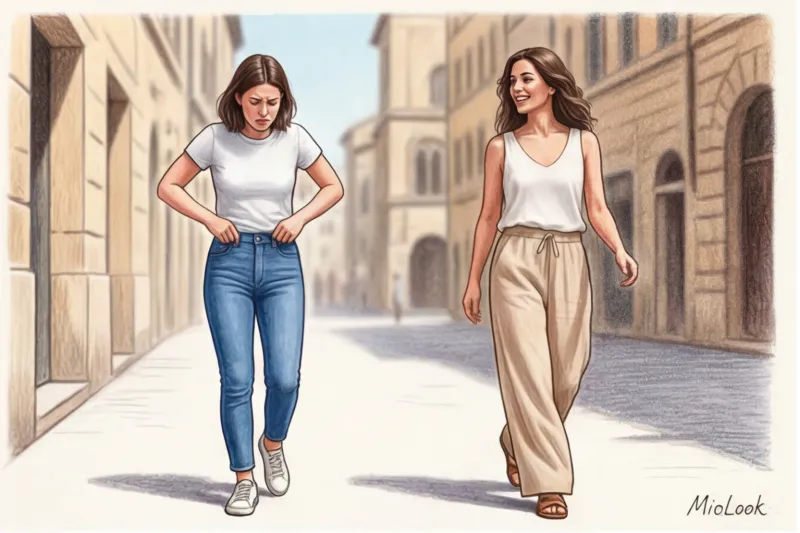
The Main Secret of Proportions: Zoom Instead of Stepping Forward
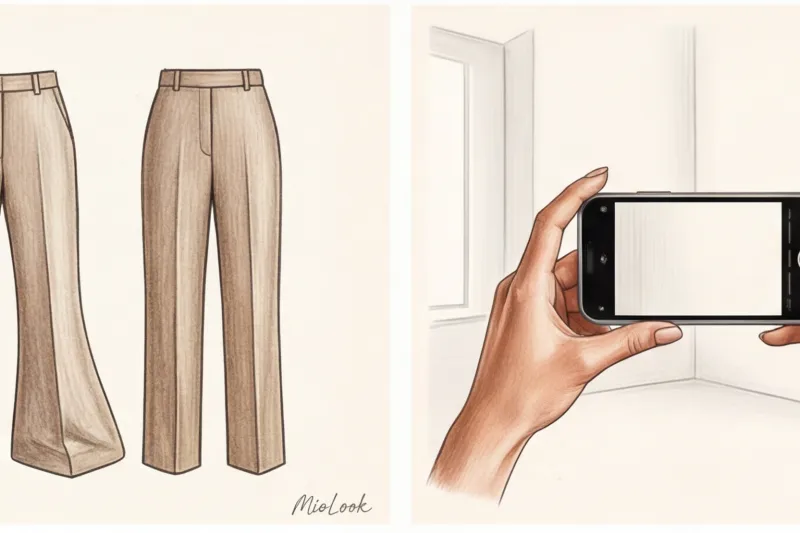
A basic rule for fashion photographers that you should remember: to maintain the proportions of a garment, you need to move further away and zoom in on the image.
The human eye perceives the world at a focal length of approximately 50–55 mm. To get the same "seeing" on your smartphone, you need to switch to optical zoom (2x or 3x button on the camera screen). This will switch the device to a telephoto lens with a focal length of approximately 50–75 mm.
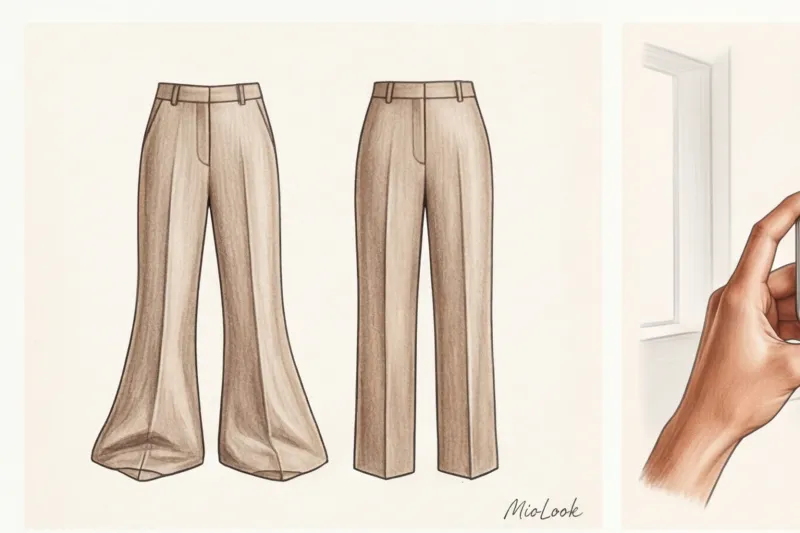
- How it works in practice: Hang the item on the wall or lay it out on the floor. Take two full steps back. Press the "2x" button. Point the camera.
- Result: The sweater's shoulder line looks natural, the dress's waist doesn't flare out, and the leg length is accurate to the millimeter.
Fair Limit: This tip only works perfectly for smartphones with multiple physical lenses (those with optical zoom). If you have a basic model with a single lens, using digital zoom (simply pinch the screen with your fingers) will only eat up pixel quality, making the edges of your subject look blurry. In this case, it's best to shoot without zooming, but position your subject strictly in the center of the frame, leaving plenty of empty space at the edges, where distortion is greatest.
Organize your closet like a pro
Spend an evening properly digitizing your items, and an AI stylist will create the perfect looks for you every morning.
Start for freeBasic Phone Camera Settings for Photographing Clothes: A Step-by-Step Checklist
Now let's move on to the settings that you should enable once and for all if you're serious about digitizing your wardrobe. Two parameters are essential for the AI algorithms to work efficiently: horizontal alignment and texture readability.
1. Enabling the Grid
Go to the camera settings (on both iOS and Android) and enable the "Grid" option. The screen will be divided into nine squares. This isn't just a composition tool. Use the grid like a spirit level: the shoulder line of a jacket or the hem of a skirt should be strictly parallel to the horizontal grid lines. A skew of just 5 degrees will trick the AI into thinking the garment is asymmetrical.
2. Focus and exposure lock (AE/AF Lock)
The most common mistake is relying on autofocus. Smartphones constantly try to adjust brightness to the surrounding environment. Because of this, a white shirt made of thick cotton (for example, 120 g/m² poplin) turns into a glowing spot in the photo, without buttons or seams.
My professional trick: point the camera at the most textured part of the item (collar or pocket), press the screen and hold your finger for 2 seconds until the inscription appears AE/AF Lock (Exposure lock).
3. Exposure compensation (Brightness reduction)
A sun icon will appear next to the locked focus. Drag it down slightly to reduce the exposure by -0.5 or -1.0 EV. According to engineers developing Computer Vision algorithms, slightly darkening the frame can restore up to 80% of the texture details in extremely light or extremely dark objects. This allows the neural network to recognize that it's not just a "black spot" but a velvet jacket with lapels.
The Smart Filter Mistake: Why HDR and Portrait Mode Are Your Enemies
There's a common misconception: the more "pretty" the camera mode, the better the clothing photo will turn out. This is completely counterintuitive. What makes your selfies look gorgeous is what ruins technical digitalization.
For the virtual stylist, we need a raw-like technical photograph. We don't need a Vogue cover, we need an accurate scan.
- Portrait mode (background blur). This is strictly prohibited. Smartphone algorithms create artificial bokeh (blur) in an attempt to separate the subject from the background. In doing so, they inevitably "eat up" subtle details like the edges of a collar, cuffs, belt, or the texture of lace. When you upload such a photo to an app, the built-in AI won't be able to accurately remove the background because the phone has already erased the subject's boundaries.
- HDR (High Dynamic Range) mode. This function attempts to simultaneously brighten deep shadows and tone down bright highlights. As a result, contrast drops, and the garment appears flat. Lightening shadows destroys the fabric's true texture. Deep folds in heavy silk (19 momme and above) or chunky merino knits will visually transform into cheap synthetics.
Your perfect look starts here
Join thousands of users who look flawless every day with MioLook's intelligent recommendations.
Start for freeLight vs. Settings: How to Reveal the True Color of Fabric
Color rendering is the number one pain point when creating virtual capsule collections. I remember an incident with a stunning navy cashmere sweater from COS that a client bought for €150. In the app, it stubbornly looked black. Because of this, the AI stylist kept suggesting incorrect color blocks, disrupting the entire wardrobe logic.
We started investigating. It turned out she'd taken the photos in the evening, under the light of her incandescent chandelier (warm yellow light, around 2700K). The smartphone camera had attempted to even out the white balance, adding blue undertones, and the deep navy had turned into a dull black.
Remember the golden rule: The AI analyzes the specific HEX and RGB codes of the pixels in the photo. If the light distorts the hue, the machine will produce a distorted color.
- Remove clothing only in natural daylight from a window. The ideal time is early afternoon.
- Avoid direct sunlight (it creates harsh, black shadows and washes out the color). You need diffused light.
- If you have to shoot with artificial light, use a ring light with neutral white light (around 4500-5000K).
The Perfect Angle for MioLook: How to Shoot Items Separately
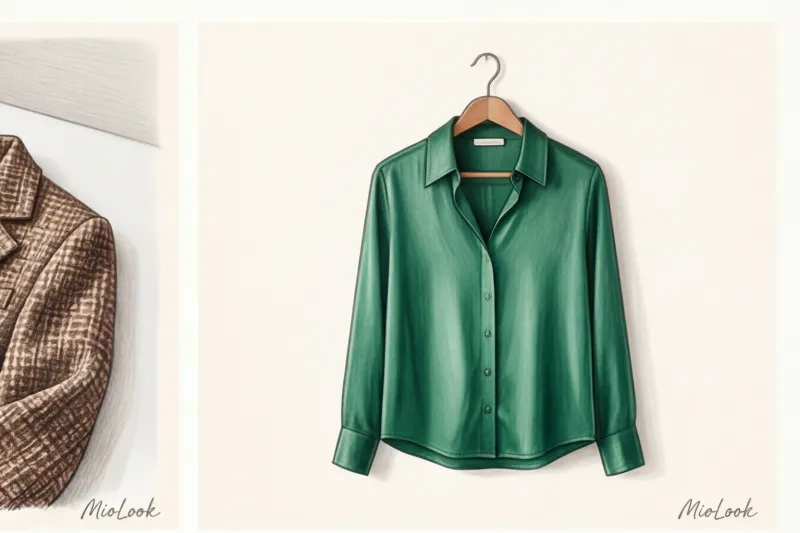
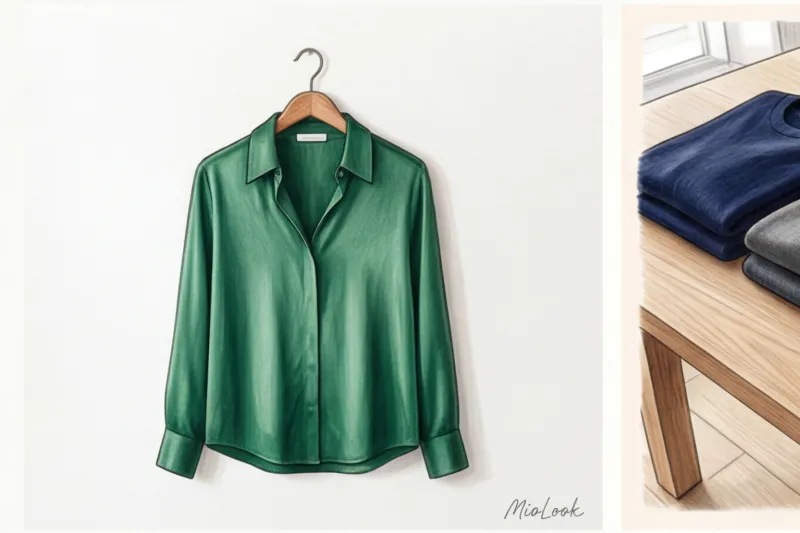
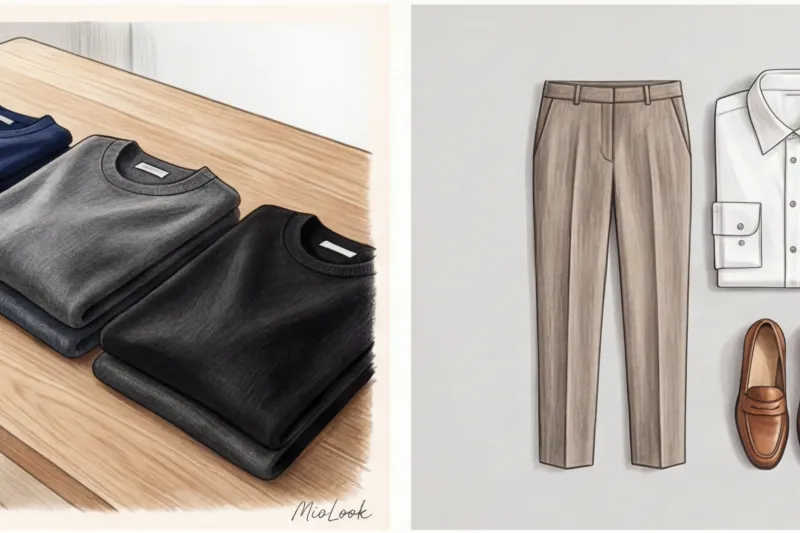
Is it better to remove clothes on a hanger or flat-lay? Research into clothing recognition algorithms shows that neural networks are better at processing items laid out flat.
The reason is simple: a hanger always deforms the shoulder girdle (especially with knitwear), and the garment itself hangs differently than it sits on the wearer. If you create a base for MioLook applications Use the flat lay method for trousers, sweaters, jeans, and T-shirts. Jackets and outerwear, which are well-shaped thanks to shoulder pads, can be removed on a swing.
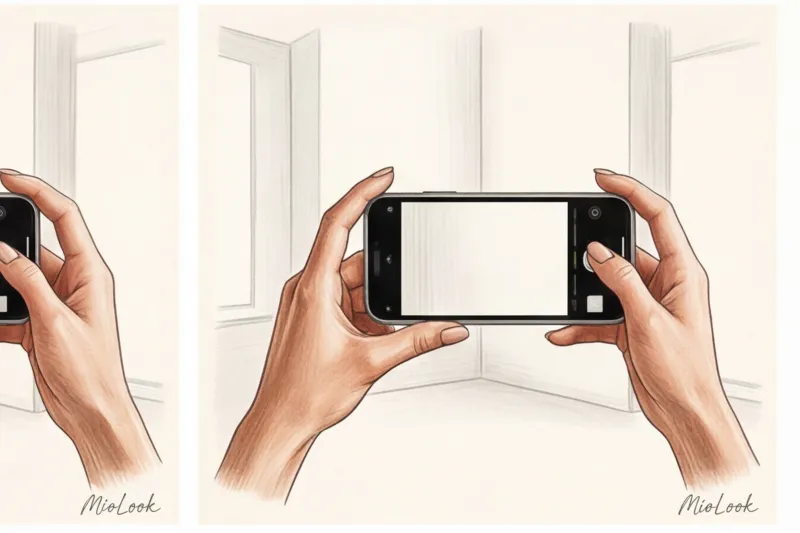
Perpendicular rule
When photographing an item on the floor or a table, the camera lens must be EXACTLY parallel to the surface of the garment. If you tilt the phone even slightly toward you, the garment will take on a trapezoid shape (the top will appear larger than the bottom). This is why 2x zoom is so important—it allows you to hold the phone higher without blocking the light with your body or distorting the angle.
Contrasting background
Automatic background removal tools require contrast. Don't photograph a white shirt on a white sheet, or dark jeans on a dark laminate floor. Use a clean, solid-color floor, table, or even a piece of light-colored poster board. The clearer the boundary between the object and the background, the faster and more perfectly the AI will remove the object.
Checklist: Checking Photos Before Uploading to the Virtual Wardrobe
Programmers and data scientists have a strict rule: Garbage in, garbage out (Garbage in, garbage out.) If you feed a smart algorithm a distorted, dark, blurry photo, you'll get equally sloppy styling advice.
Before you press the shutter button, run through this checklist:
- Is the Grid turned on to straighten the horizon?
- Is 2x optical zoom enabled to maintain aspect ratio?
- Is the focus locked (AE/AF Lock) and the exposure slightly reduced to bring out the texture?
- Are Portrait Mode and HDR definitely disabled?
- Is the item lying on a contrasting background, and is the phone strictly parallel to the floor?
Does this seem like too many steps for just one T-shirt or skirt? Trust me: by taking an extra second to set up your camera now, you'll give yourself dozens of hours of impeccable style and a complete absence of morning panic over "I have nothing to wear" in the future. Your digital wardrobe will work for you like an expensive Swiss watch—if you set it to the right time from the start.
Ready to get started?
Bring your real-life closet to your smartphone. Try the free MioLook plan—no commitment, just perfect style.
Start for free