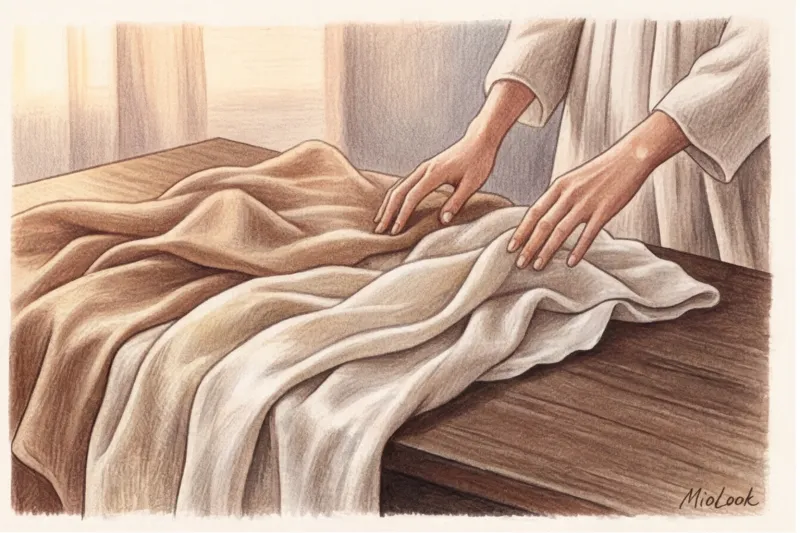
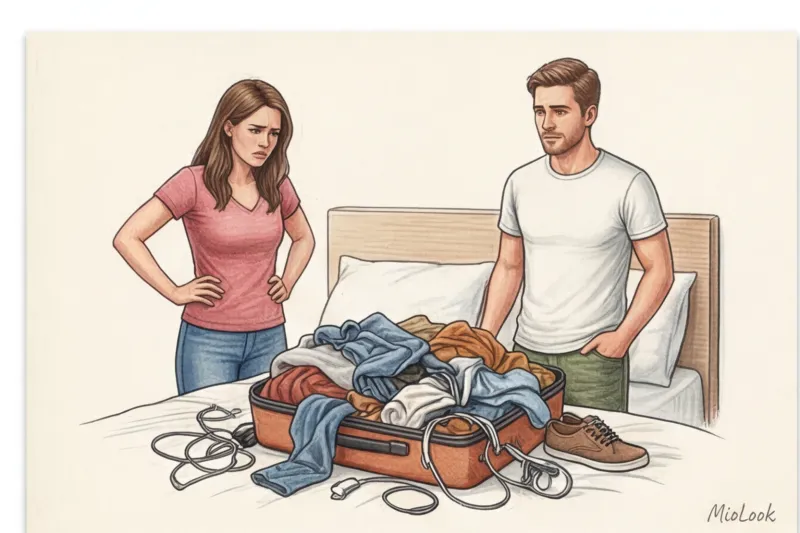
You know what fashion sin I see most often in my clients' closets? It's the careful, almost museum-like storage of damaged cashmere. "Camilla, that's a €1,000 Loro Piana, I can't throw it away because of one moth hole!" they say, putting the item on the far shelf. And it sits there for years.
The main myth I've been fighting for ten years is that cutting up expensive knitwear is sacrilege. In fact, the real sacrilege is letting it die in the dark of a closet. Think about it: it takes the hair of three to five goats to produce just one cashmere sweater. Refusing to use even a damaged premium item is an environmental crime.
In this article, we won't be sewing dog beds or oven mitts. I'll show you What to make from an old sweater to get trendy, high-status pieces in the spirit of Maison Margiela or Marni collections. We've already discussed this philosophy in more detail in our the complete guide to clothing upcycling , but today we will focus on the architecture of knitwear.

Knitwear architecture: assessing a garment's potential before picking up the scissors
A few seasons ago, backstage at the Stella McCartney show, I watched as artisans literally created new silhouettes on models, cutting up and reassembling vintage cardigans. Deconstruction has long ceased to be a fringe art and has become the new couture. But before you pick up the scissors, you need to conduct an audit of the material.
According to the report Ellen MacArthur Foundation (2023), approximately 70% of premium sweaters that end up in landfills or gathering dust in closets have only localized damage—up to 5% of the fabric. The rest remains in perfect condition. Our task is to apply the 80/20 rule: find that 80% of the usable area, masterfully avoiding stretched elbows, stubborn stains, or moth marks.
- Materials Science: 100% merino, cashmere, alpaca, or dense sheep's wool are ideal for reworking. They retain their shape and can be heat-treated. However, squeaky acrylic is best recycled immediately—it won't provide the desired shine and will quickly become covered in new pilling.
- Knitting density: Smooth, fine knits are more difficult to work with and require an overlocker. Chunk knits, however, are forgiving of many cutting imperfections and hide hand-sewn seams perfectly.
Try MioLook for free
A smart AI stylist will create the perfect look based on your new upcycled items.
Start for freeWhat to do with an old sweater: 4 ideas for a fashionable wardrobe
Martin Margiela's philosophy of deconstruction teaches us to see clothing not as a finished product, but as a set of geometric shapes. Stop imagining a sweater with a stain on the stomach. See the perfect turtleneck. See the perfect sleeves.
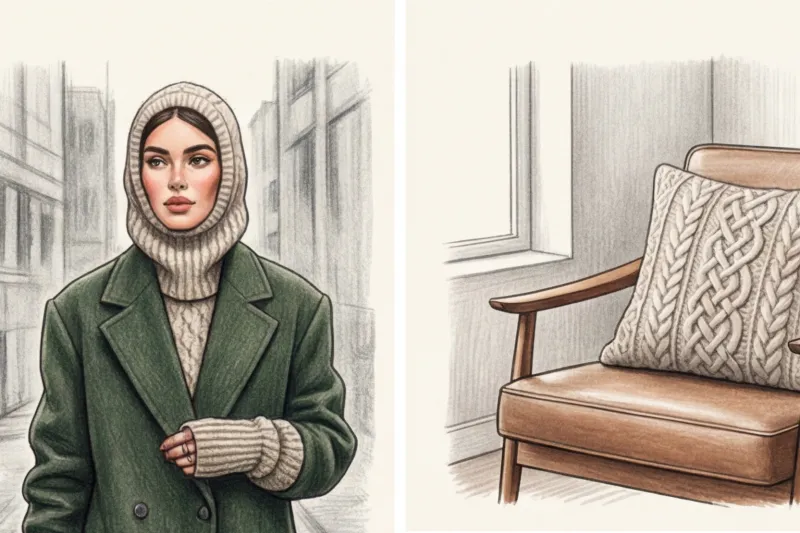
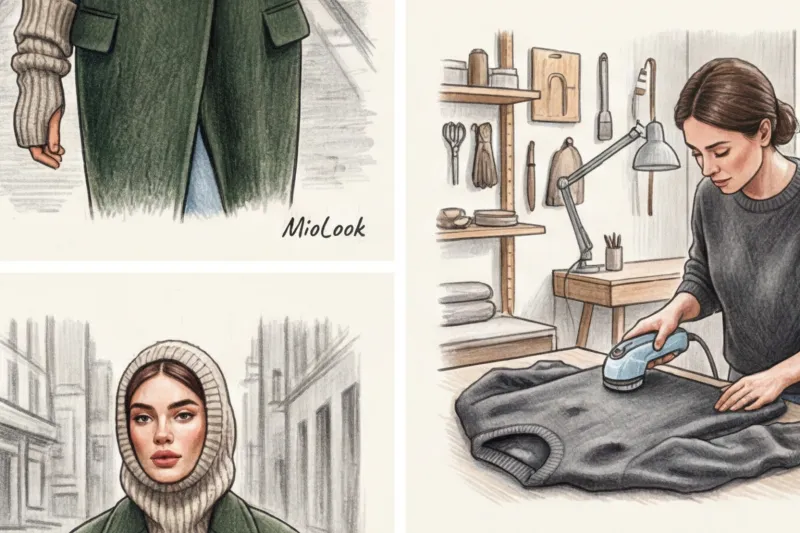
1. Trendy balaclava or hood made from a neck hole
One time, a client and I rescued that very same €1,000 Loro Piana sweater by turning it into an ultra-fashionable hood. It's the simplest and most effective transformation. If your sweater has a voluminous cowl neck or a thick turtleneck, you already have 90% of the balaclava ready.
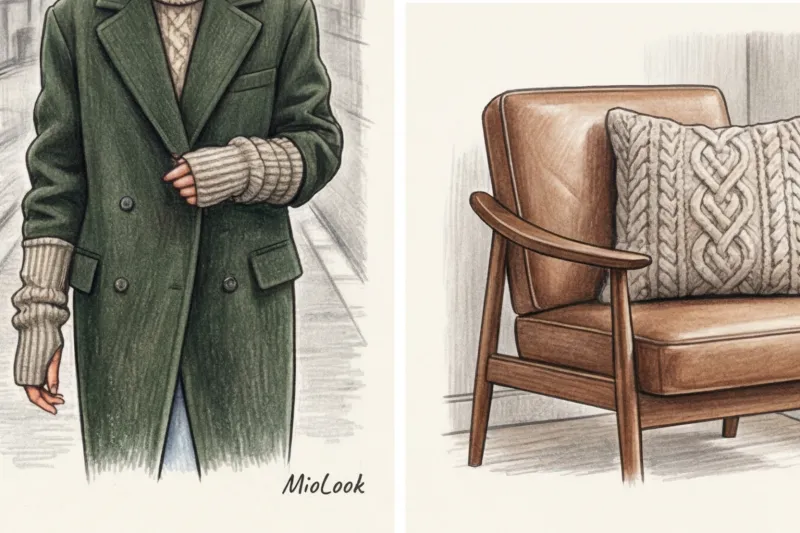
The secret to a proper fit lies in the anatomical cut. Don't cut the neckline straight down! Leave a portion of the shoulder seam (approximately 5–7 cm) and a bib on the chest and back. This will ensure the hood lies flat and beautifully underneath. status wool coat without creating excess bulk around the neck. I always recommend playing with contrasting textures: the chunky knit of a hood looks incredibly stylish with a smooth leather trench coat.
2. Deconstructed Crop Vest for Layered Looks
What to do if moths have eaten half your right sleeve? Get rid of both. Crop vests with raw (but fixed!) armhole edges are a street style hit. Cut off the sleeves, slightly deepening the armholes to create a deliberately wide appearance.
"The ultimate styling masterpiece is to wear this grungy, slightly slouchy vest over a crisp men's shirt. It instantly elevates the style level for the office." smart casual " - Camille Durand.
By the way, if you have any doubts about what to combine the resulting vest with, upload a photo of it to MioLook — the algorithm will instantly offer you dozens of styling options from your own wardrobe.
3. Removable sleeves and mittens (a trendy accessory of the season)
The opposite situation can happen: a sweater has shrunk hopelessly around the waist after washing, but the sleeves are still perfect. Cut them off at the armhole. You'll get elongated mittens that extend well past the elbow—a direct reference to '90s grunge and the latest Rick Owens collections.
How to wear them? Layer them under a short-sleeved jacket, pair them with oversized tees, or wear them over a thin, basic turtleneck for a sophisticated layered effect. The key is to create a neat thumbhole and secure the edges with a buttonhole stitch.
Your perfect look starts here
Join thousands of users who look flawless every day with MioLook.
Start for freeAesthetics of "quiet luxury" for the home: textiles made from premium yarns
If an item doesn't fit your personal style, it can become part of your interior. But there's a fine line between a "homemade craft" and a premium decorative object.
Visit any interior design boutique: decorative pillows made of chunky merino wool cost between €150 and €300. You can make the exact same thing from an old men's Aran-patterned sweater.
The secret to perfect shape from decorators: A knitted pillowcase should always be cut 1–2 cm smaller than the inner pillow itself. Knitted fabric will inevitably stretch. If you cut the cover to size, it will sag in unsightly folds within a month, revealing its homemade origins.
Another stunning Scandinavian minimalist touch is covering large ceramic vases. A cut-off sleeve from a chunky knit sweater, placed over a simple glass flask or smooth ceramic, creates that play of textures that we love so much about hygge-style interiors.
Upcycling Mistakes: Why It's DIY, Not Haute Couture
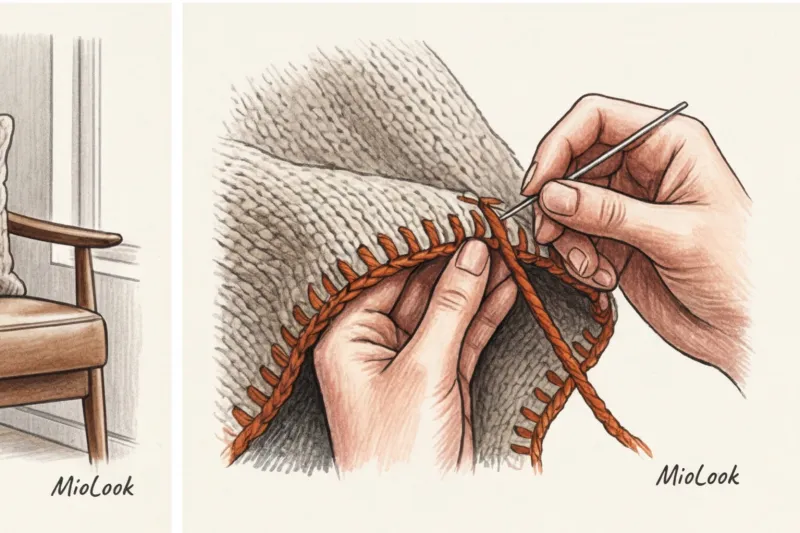
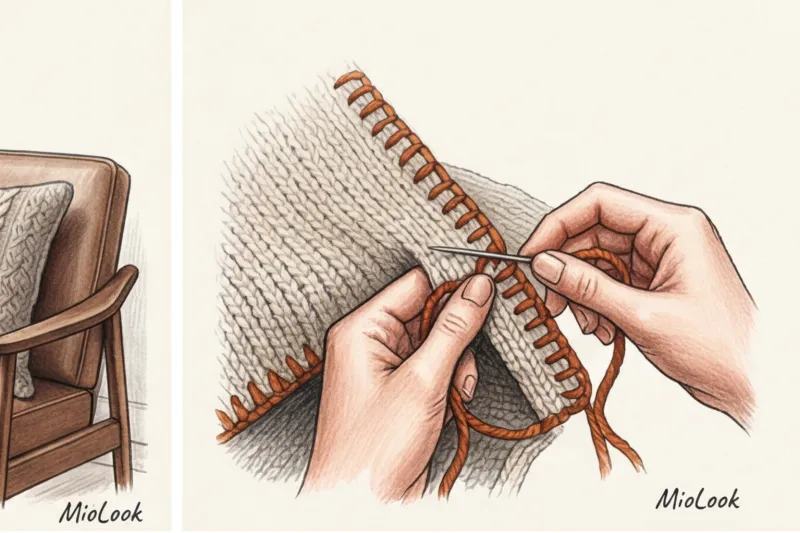
At courses at London's Central Saint Martins, teachers always say: deconstruction isn't the absence of a structure. It's its rethinking. If you simply cut a piece of a sweater, it will unravel before the first wash. These are the main mistakes that ruin the entire aesthetic.
- Ignoring the unraveling edge: The edge needs to be stabilized. If you don't have an overlocker, use a fusible web (press the edge through a damp cloth) or sew a dense loop stitch by hand, catching every exposed loop.
- Incorrect choice of threads: Never sew stretchy knits with regular cotton thread! The slightest strain (like when pulling a balaclava over your head) will cause the cotton to burst. Use textured threads or a fine yarn in a matching color.
- Excessive decoration: This is my personal pet peeve. Please don't add lace, beads, or rhinestone appliqués to an old sweater in an attempt to "freshen it up." It instantly cheapens the look. The strength of knitwear lies in its texture and color. Embrace minimalism.
- Ignoring the WTO: Wet heat treatment is 50% of the success. Any seam on knitwear should be carefully ironed after laying (press with a steam iron, without stretching the fabric). Only then will it lie flat, like on a factory-made garment.
Ready to get started?
Try the MioLook free plan—no commitments. Digitize your wardrobe in just a few clicks.
Start for freeStylist's Guide: A Step-by-Step Checklist for Working with Knitwear
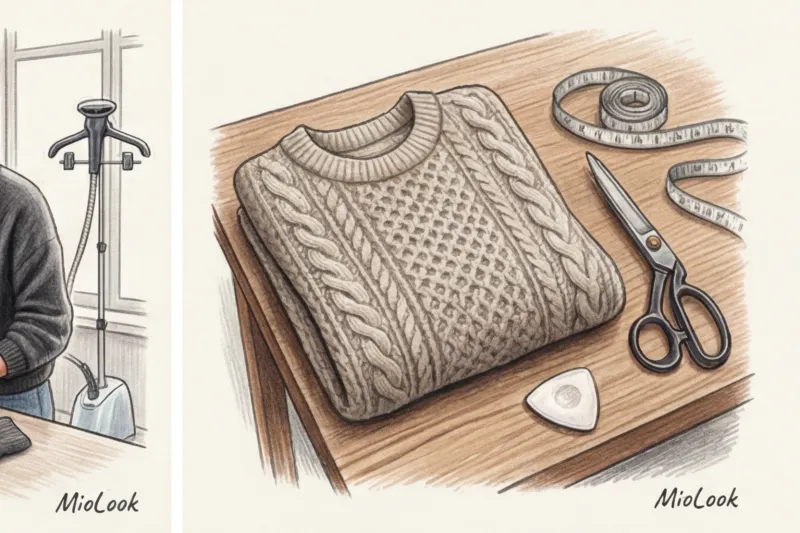
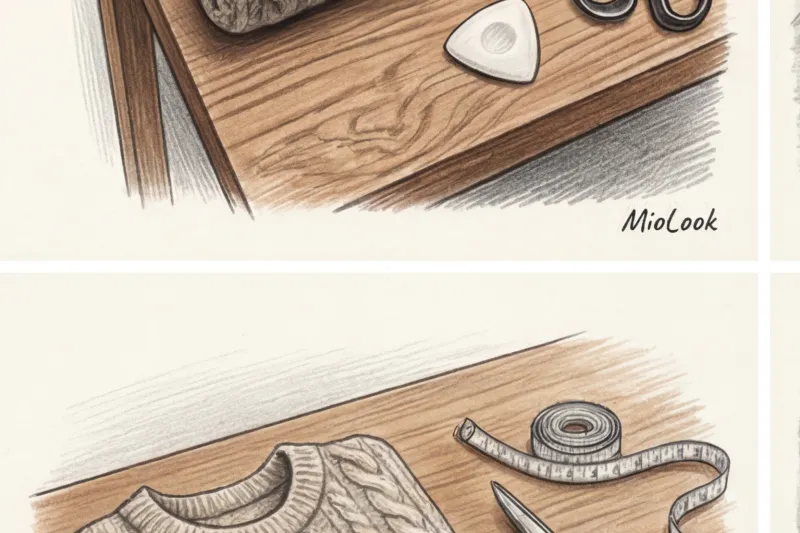
If you've finally decided what to make from an old sweater, don't rush to grab the scissors. Preparing the material is more important than the cutting itself. Over 12 years of working with clothes, I've developed the perfect algorithm.
- Step 1: Total depilling. Take a high-quality lint remover and go over the entire sweater. You'll be surprised, but removing the top layer of felted fluff often restores the garment to its boutique-quality appearance.
- Step 2: Intentional felting. This is my favorite life hack! If your sweater has shrunk beyond repair, machine wash it at 90 degrees with a high spin cycle. The wool will transform into a dense, impenetrable felt (drape). This material doesn't fray at all! It makes great structured tote bags or house slippers. Please note: this only works with 100% wool, synthetics will simply melt.
- Step 3: Marking the face. Unlike woven fabrics, knits with patterns (cables, ribs) are always marked with a disappearing marker on the front side. You need to be able to see where the cutting line will go in relation to the pattern to avoid disturbing the symmetry.
- Step 4: Basting to the cut. Never cut while hanging. First, basting stitch with a bright thread exactly along the line you want to cut. This will secure the layers and prevent the loops from escaping while you finish the edge.
Upcycling isn't a way to save money. It's a way to express your creativity and create a unique piece that no one else will have. Don't be afraid to experiment with shapes and textures. After all, the greatest value of any material lies in being worn and loved, not in maintaining its original shape on a hanger for decades.