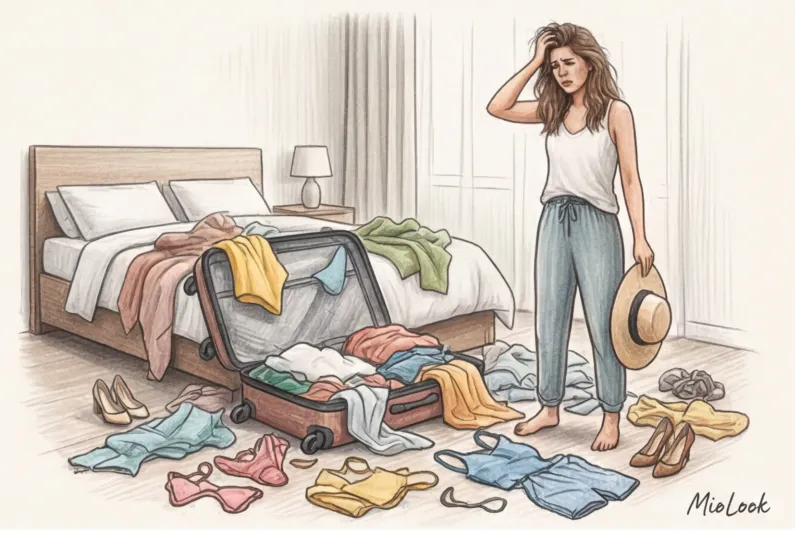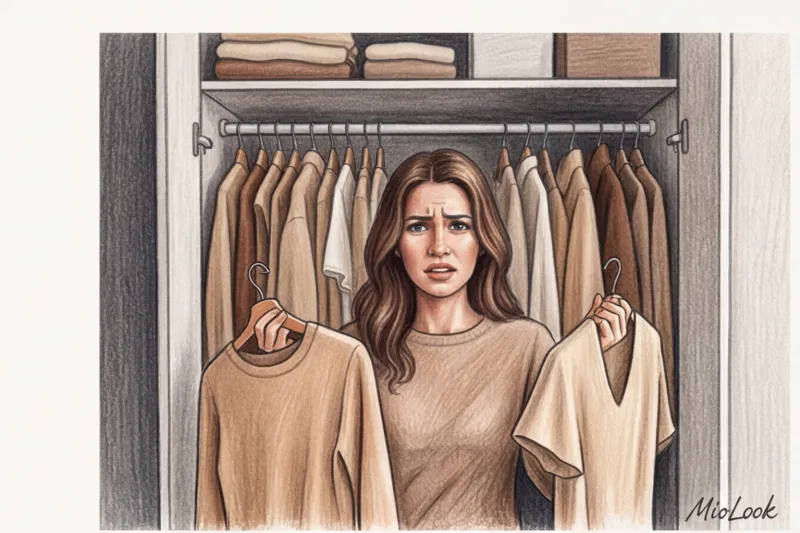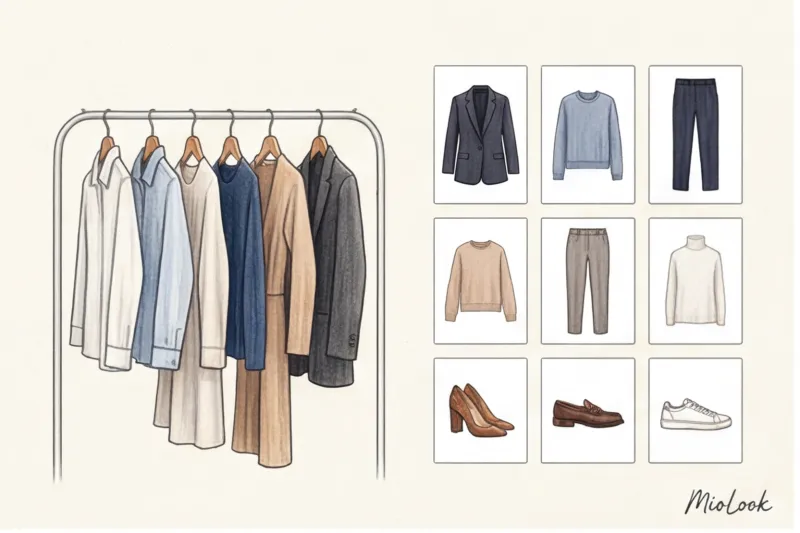
"I have a full closet, but I have absolutely nothing to wear." Sound familiar? According to a global study by the environmental organization WRAP, the average woman regularly wears only 30% of her wardrobe. The remaining 70% hangs around for years, dead weight, simply because we forget they exist. Over the 12 years I've worked as an image consultant, I've rummaged through clients' closets hundreds of times and found stunning basics, still with tags, hidden in a dark corner.
The solution to this problem has long been devised: transfer your belongings to your smartphone. We discussed the architecture of smart capsules in more detail in our The Complete Guide to Digital Wardrobe But today we'll take a closer look at the technical side of the issue: how to digitize your wardrobe so that artificial intelligence (and you yourself) can detect the correct proportions, real shades, and textures of your items.
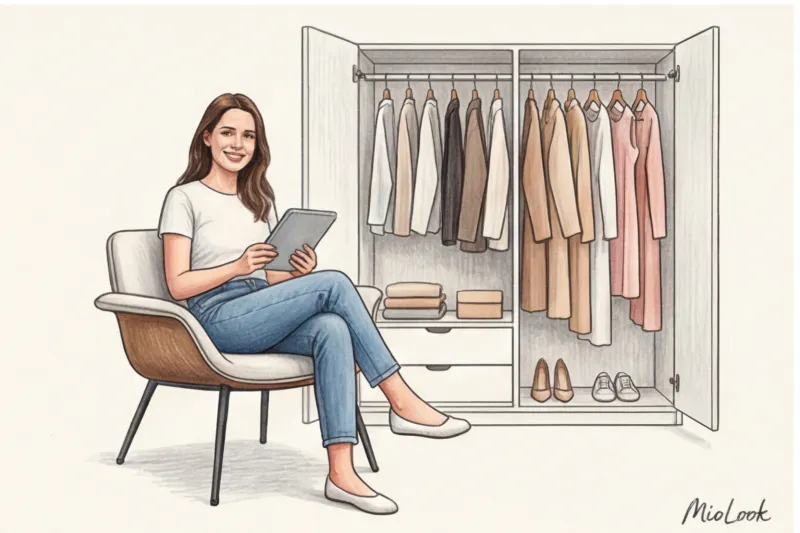
From chaos to system: how to digitize your wardrobe and why you need high-quality photos
Many girls begin digitizing with enthusiasm: they take selfies in the mirror in the dim light of the hallway, photograph clothes without removing them, or try to crop out a jacket from a group photo from vacation. The result is always the same: visual clutter in the app.
So that the algorithms MioLook For AI to act as your personal stylist, they need clean source data. Neural networks analyze three key parameters: the item's category, its exact color, and the fabric's density (texture). A photograph in dim light with a distorted silhouette will trick the AI into thinking your elegant wool coat is a shapeless black cardigan. Consequently, the looks it suggests will be infinitely less than stylish.
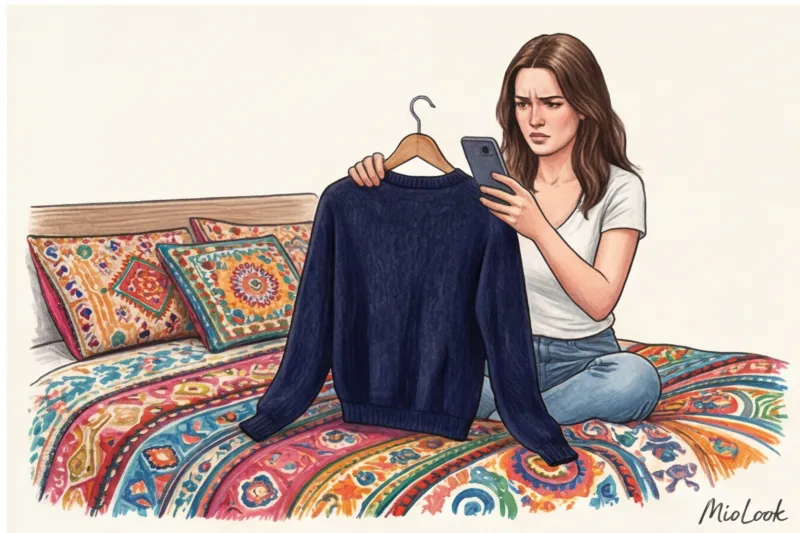
The biggest mistake beginners make: why your bed and floor are your worst enemies
The most common and, in my opinion, most harmful advice online is: "Just lay things out on the bed or floor and take a photo from above." As a stylist who works with proportions every day, I am categorically against flat lays for virtual wardrobes.
Why doesn't this work?
- Distortion of proportions. If you stand over a pair of trousers laid out on the floor and photograph them from top to bottom, the smartphone lens inevitably distorts perspective. The top of the garment appears larger, the bottom smaller. Your ideal, wide, 110 cm long palazzo pants will turn into short, awkward breeches in the photo. Composing outfits in an app, you won't be able to accurately judge the length of the garment.
- Merging textures. The texture of wood (laminate) or the pile of a carpet is a powerful source of visual noise. A neural network will struggle to separate the fibers of your sweater from the pattern of a Persian rug, resulting in jagged, uneven edges.
Remember the rule: Items should only be removed vertically, in a suspended state, to preserve their natural architecture and drapery under the influence of gravity.
Try MioLook for free
A smart AI stylist will select the perfect look based on your digitalized items.
Start for freeLight, color, and texture: how to avoid turning emerald silk into dirty polyester
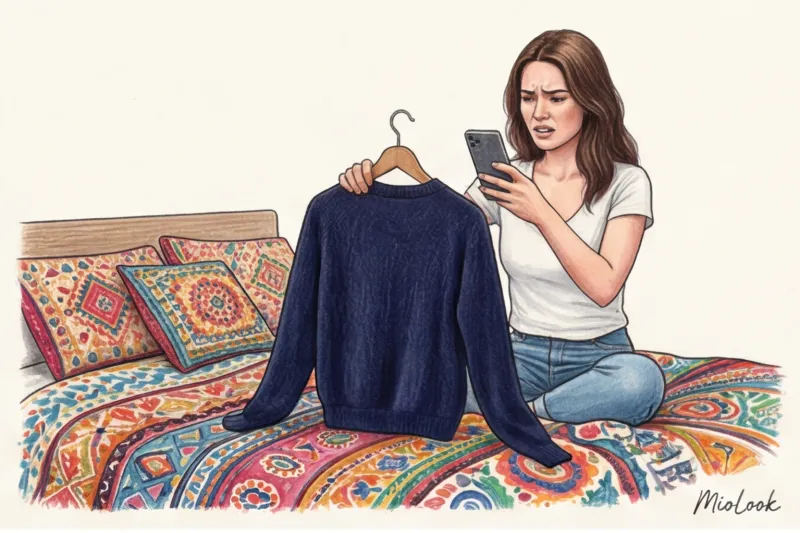
As a certified colorist, I always pay attention to how lighting alters the palette. Physics calls for a color rendering index (CRI). Standards require a CRI of at least 90 to accurately convey color. A typical home chandelier with warm LED bulbs often produces a CRI of around 80, dramatically shifting the spectrum toward yellow.
I had a very revealing case in my practice. One of my clients decided to photograph her wardrobe in the evening, laying her items out on a colorful yellow bedspread by the light of a chandelier. The result? Emerald silk began to look swampy, and cool steel blue became a dirty gray. Her entire cool "summer" color type transformed into a warm "autumn." If you want to delve deeper into this, I recommend our article about 12 Color Types of Appearance: A Guide to Choosing a Palette The artificial intelligence honestly tried to assemble harmonious looks for her from the resulting "warm" base, but in reality, these items didn't go together at all!
What is the correct way:
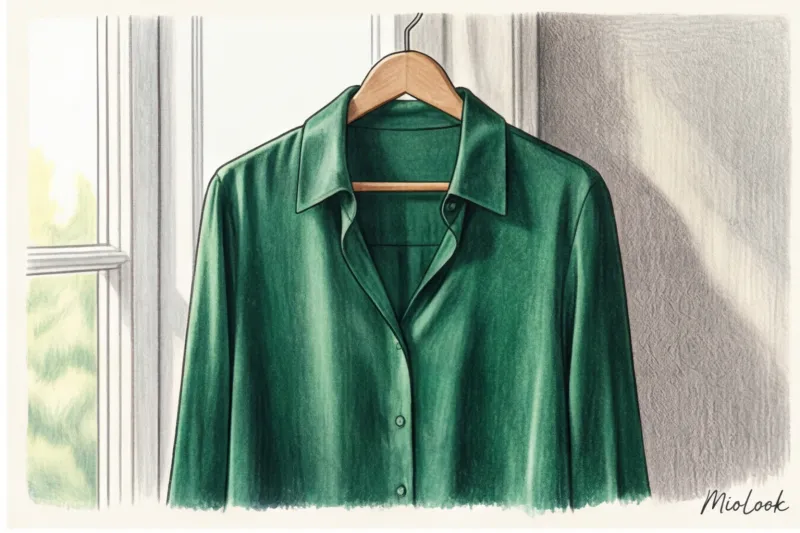
- Shoot only in daylight. The ideal time is between 10:00 AM and 2:00 PM.
- Place the item close to a window, but away from direct sunlight (it creates harsh glare that makes velvet look worn and silk look like cheap synthetics).
- The light should be soft and diffused - this will allow you to convey the noble texture of tweed, cashmere or linen.
Preparing for Large-Scale Digitalization: A Stylist's Action Plan
Many are daunted by the scale of the task. It seems like digitizing a closet will take weeks. I'll share my own practical experience: digitizing one item takes an average of 40 seconds when the process is properly organized. This means a basic capsule of 50 items can be transferred to the app in just 35 minutes.
The secret to speed is in the conveyor-belt approach:
- Sorting: Never shoot items randomly. First, shoot all the tops, then all the pants. This will save you from constantly adjusting the camera height and changing hangers.
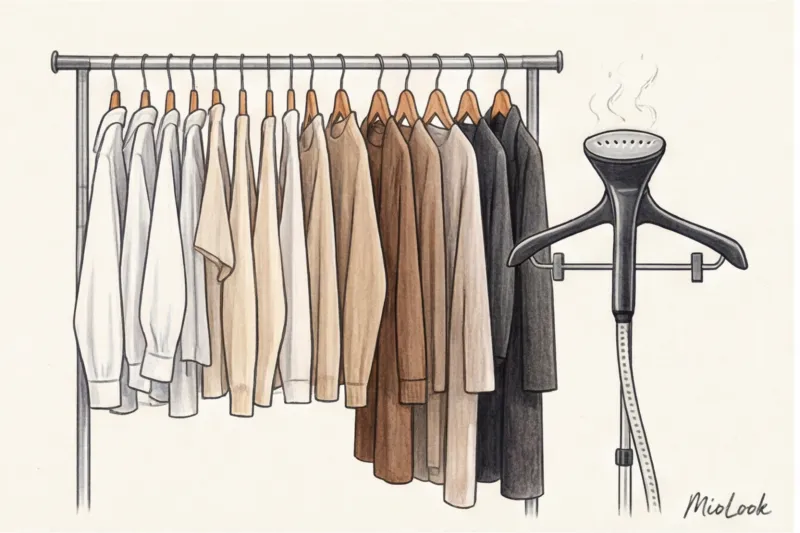
- Steaming (required!): Spoiler alert: a wrinkled item in a photo will always seem unattractive to you. When an app suggests an image with a wrinkled shirt, you'll instinctively reject it. Spend 10 seconds running a handheld steamer over it.
- Home studio: Find a solid-color interior door (preferably smooth, without panels) or a blank wall in your apartment. Attach a temporary hook to it with double-sided tape at eye level. Your photo booth is ready.
Your perfect look starts here
Join thousands of users who look flawless every day with the MioLook smart wardrobe.
Start for freePhotography Guide: Angles for Every Type of Clothing
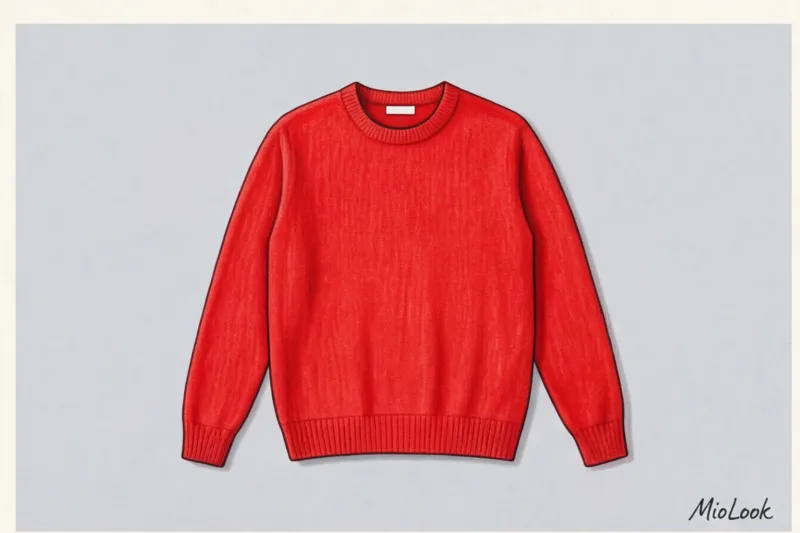
The most important rule: the smartphone camera lens should be positioned exactly at the center of the object, parallel to the wall, and not tilted up or down. This is the only way to maintain proper geometry.
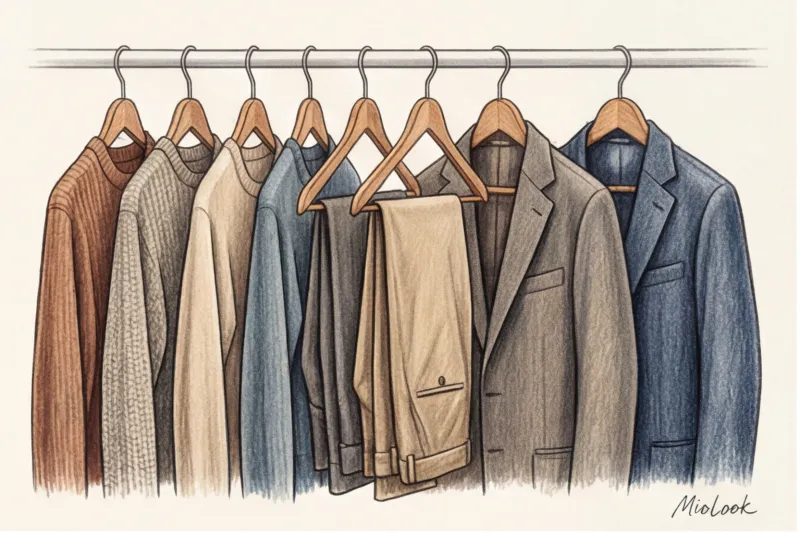
Outerwear, jackets, dresses and tops
For shoulder items, use minimalist hangers (thin metal or clear plastic). Bulky wooden hangers will distract the algorithm and ruin the aesthetics of the digital capsule. Be sure to button jackets and shirts on the top and middle buttons—this will ensure the garment maintains the designer's intended shape, rather than hanging loosely.
Trousers, jeans and skirts
Here we'll need hangers with clothespins. This is crucial: secure the waistband of the trousers with clothespins so that the fabric is held taut as much as possible.
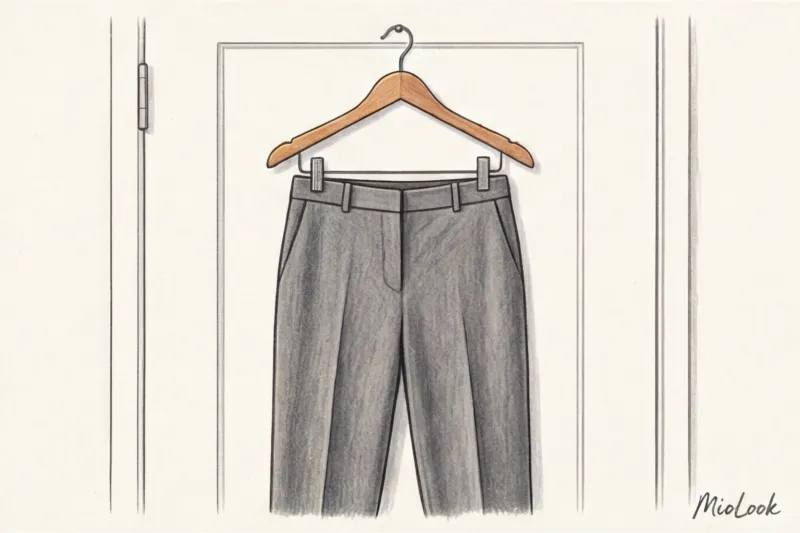
Simply hanging jeans by the belt loops will create an unsightly fold in the crotch area, which will look like a design flaw in a 2D photograph. Skirts should also be secured by the waistband, allowing the hem to fall freely.
Shoes and status accessories
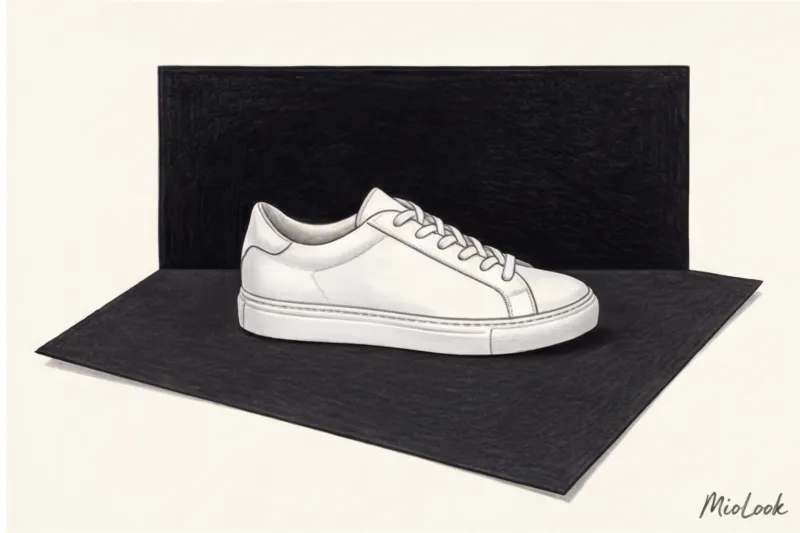
Don't shoot shoes from above! Place your shoes or sneakers on a table and sit down so the camera is level with them. Shoot strictly from profile or a three-quarter angle (where both the toe and the side are visible). This will allow you to see the height of the heel and the shape of the toe when composing your outfits. Be sure to stuff your bags with paper or special stuffing before shooting—their shape should be instantly visible.
How to help the MioLook neural network perfectly cut out the background
A technical lifehack at the intersection of fashion and IT: computer vision algorithms for background removal rely on finding sharp contrast differences between pixels. If there's no contrast, the algorithm is forced to "guess" the edges.
This is where the contrast rule comes in: never wear a white shirt against a white door, or a black jacket against a dark closet.
"My personal style lifehack: buy two sheets of thick A1 cardstock (one black, one white) at a stationery store for about 100 €. When you need to remove a white blouse, simply tape the black cardstock to the door with masking tape. The background will be removed perfectly in a millisecond, without any missing sleeves."
Be mindful of the frame's boundaries: don't cut off the hem of a long dress or the sleeves of a sweater. Even if the item is long, step back to fit it entirely in the frame. Otherwise, your virtual wardrobe will end up with "cut-off" items, ruining the overall visual impact of the look.
Ready to get started?
Try the MioLook plan for free—no commitments required. Organize your closet today.
Start for freeChecklist: 5 Steps to the Perfect Digital Wardrobe in One Weekend
Digitizing your wardrobe is easier than it seems if you don't try to tackle it all on the first day. Break the process down into manageable steps.
- Step 1: Prepare the base only. Pull out your 20 favorite, wearable pieces of the season. Skip the evening dresses and pre-weight-loss pieces. We need a working foundation.
- Step 2: Find the light. Choose a weekend day, around noon, and find a plain wall next to a window.
- Step 3: Steam and prepare. Use a steamer and hang your clothes on the correct hangers (shoulder hangers - on regular hangers, waist hangers - on clothespins).
- Step 4: Burst shooting. Attach the hook at chest level and methodically, without changing the angle, photograph all 20 items. This will take exactly 15 minutes.
- Step 5: Download. Add a photo to the MioLook app, check how the AI has cut out the background (it will do so flawlessly with a contrasting background), and enjoy the magic of image generation.
Your style isn't about the number of items in your closet, but about your ability to manage them. By digitalizing your wardrobe with the right color and geometry, you'll never again face the problem of "nothing to wear." Choose the right lighting, maintain proportions, and let your smart wardrobe work for you!
", "tags": [ "wardrobe digitalization", "smart wardrobe", "stylist tips", "virtual fitting room", "closet organization", "basic wardrobe", "color rendering", "organization of things" ] }