Nine out of ten of my clients spend hundreds of euros on perfectly cut jackets, choosing the right base, but forget one crucial detail: the crowning glory of any silhouette is your hair. As an image stylist, I see this all the time: a scruffy, frizzy head of hair can instantly cheapen even the most impeccable cashmere sweater. Conversely, a well-designed blow-drying hair with a brush elevates a basic look so that an ordinary white mass-market shirt looks like a luxury item.
If you're used to throwing your hair into a ponytail simply because you don't have time for a salon brush in the morning, this article will change your routine. We've covered more about how to optimize your getting ready time in our The Complete Guide to Daily Styling: Quick Ideas for Every Length Today, we'll explore a specific tool that will once and for all resolve the question of "what to do with your hair in the morning."
Why blow-drying has become a staple of the modern wardrobe
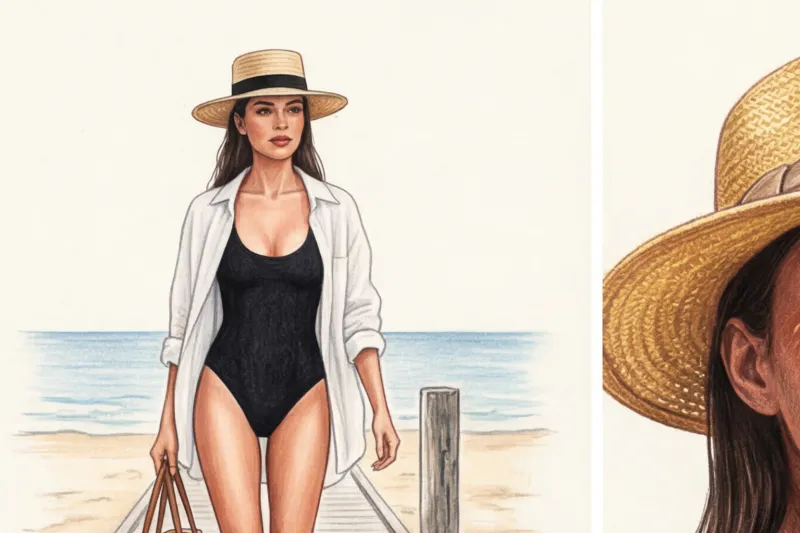
The concept of "effortless style" (casual chic), so beloved by French women, is often misunderstood. True effortlessness requires perfect preparation. It's like no-makeup makeup—for it to work, flawless skin is essential. The same goes for hair: to allow for a slight tousled look, the texture of the hair must be smooth and shiny.
Let's calculate the ROI (return on investment) of your time. When I first switched my routine from a classic hairdryer and a round brush in both hands to a high-quality blow dryer/brush, I was skeptical. But math turned out to be a stubborn thing: this switch saved me about 2.5 hours a week. Over a month, that's 10 hours of pure time. A good gadget pays for itself faster than a €400 designer tote bag.
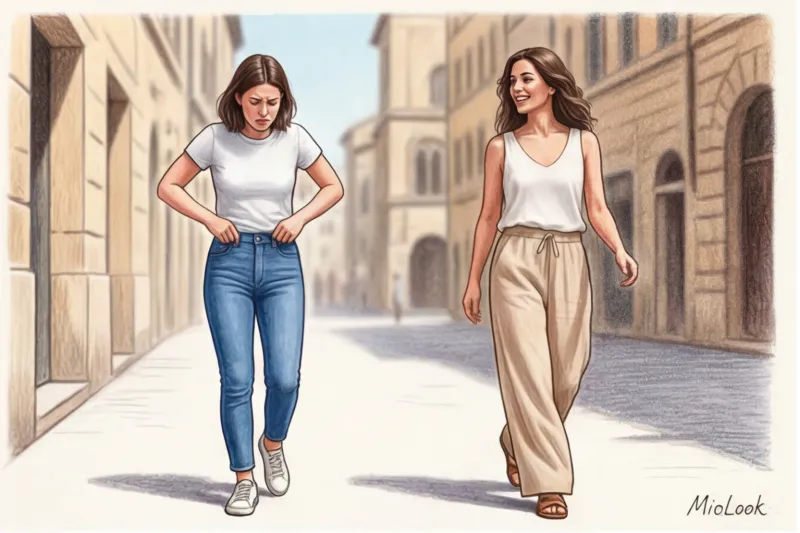
When used correctly, this tool allows you to wear mid-price items (COS, Massimo Dutti, & Other Stories) as if they were from the runway. Smooth, geometric styling creates the polished look associated with this aesthetic. "Old Money" and expensive minimalism.
Try MioLook for free
A smart AI stylist will select the perfect look based on your new hairstyle and personal features.
Start for freeThe Biggest Myth: Why Dryer Brushes Damage Your Hair (and How to Avoid It)
The biggest misconception I constantly hear from beginners is that a blow dryer is designed for drying wet hair. No, no, and no again. If you turn on this device right out of the shower, you're literally "cooking" your hair from the inside out and ruining the bristles of the device itself within a couple of months.
Let's look at the basic laws of trichology. Wet hair can stretch up to 30% of its length. At this point, the cuticle is open and extremely vulnerable. When you forcefully pull a wet strand through stiff bristles under high temperatures, the water inside the cortex boils, and the hair itself is irreversibly deformed. According to research by thermal tool manufacturers (2024), 90% of complaints about "dried ends" are due to a violation of the 80/20 rule.
"The 80/20 rule states that 80% of the moisture should be removed naturally or with a regular blow dryer (no tension), and only the remaining 20% is worked on with a blow dryer brush to create shape."
Also, keep an eye on the temperature. Maximum power is the enemy of fine and Slavic hair. The optimal temperature for styling, at which the cuticle closes and begins to reflect light, is between 150–180°C. Anything higher is best left to the professionals for keratin straightening.
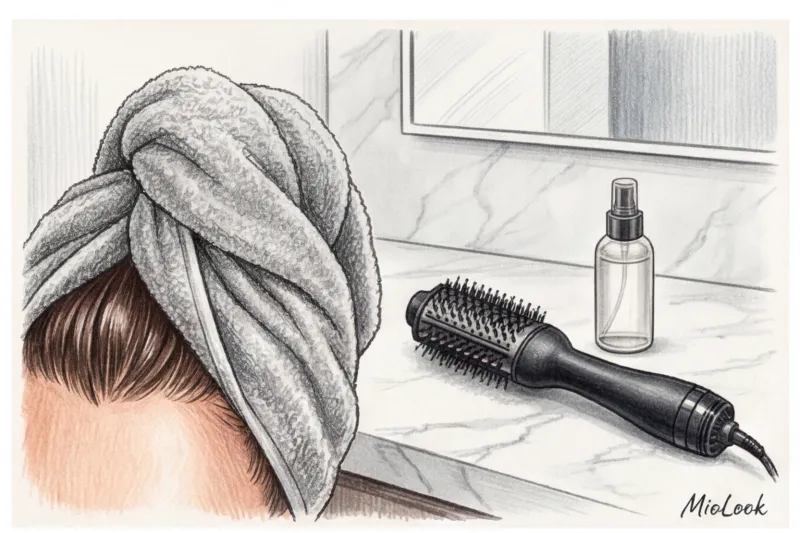
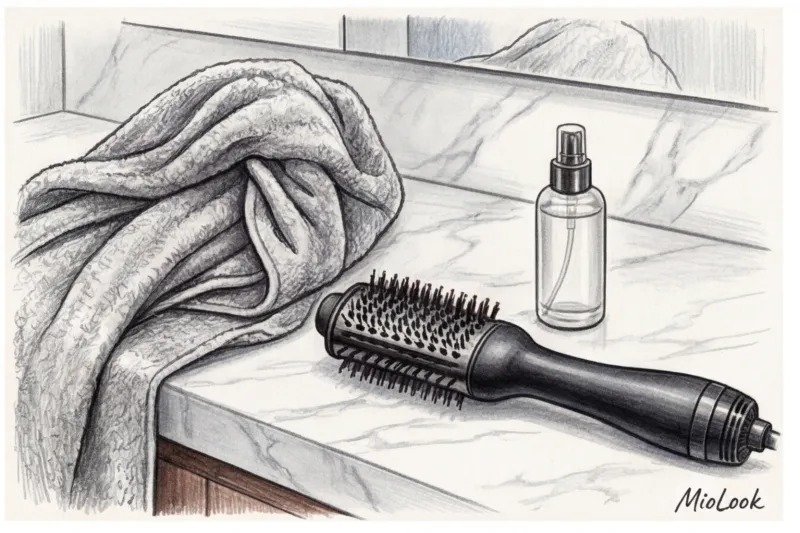
Preparation: 3 steps to turn on the device
One of my regular clients once bought a premium styler for €500, but she kept complaining about frizz. We analyzed her routine, and it turned out the problem wasn't with the equipment, but with the pre-shower process. Styling begins in the bathroom.
- Step 1: Proper moisture removal. Stop rubbing your hair with a rough terry towel. Use a microfiber turban or an old cotton T-shirt. They absorb moisture without irritating the cuticle.
- Step 2: Primer, not oil. Before drying, your hair needs heat protection, but without creating a dirty-root effect. For fine hair, choose lightweight, water-based sprays, and for porous hair, use creamy textures (leave-in). Save oil for the very end—it doesn't protect against burns, but rather seals in the results.
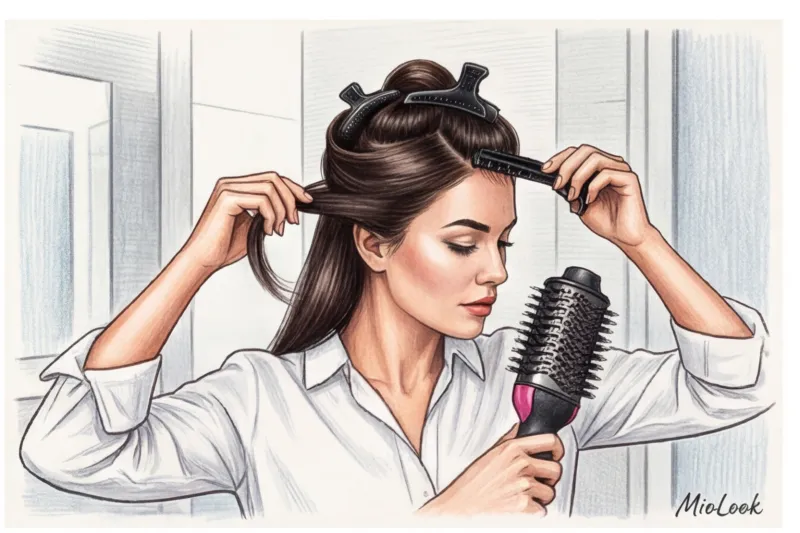
- Step 3: Zoning (required). Divide your hair into four distinct sections using alligator clips: one at the back of the head, two at the temples, and one at the crown. If you brush haphazardly all over your head, you'll spend twice as much time and won't achieve a salon-quality shine.
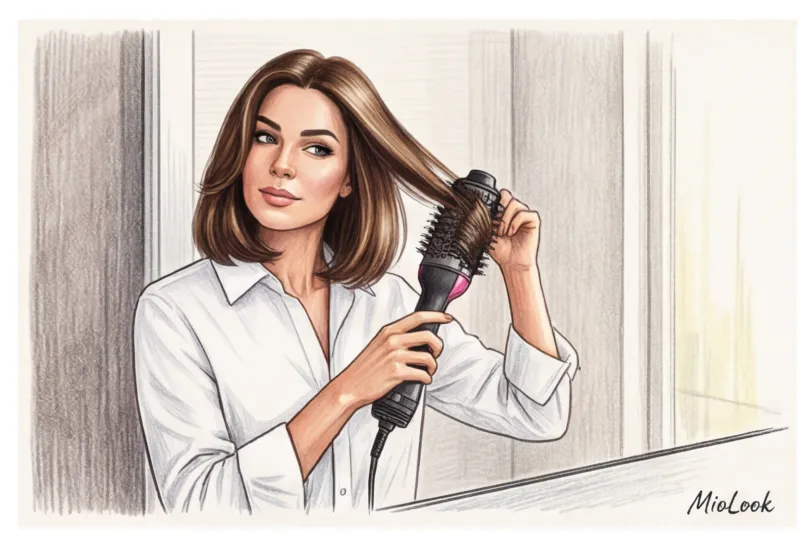
Blow-Drying Your Hair with a Brush: A Step-by-Step Guide for Beginners
Now let's move on to the process itself. Think of it as an architectural assembly: we build the form from the bottom up.
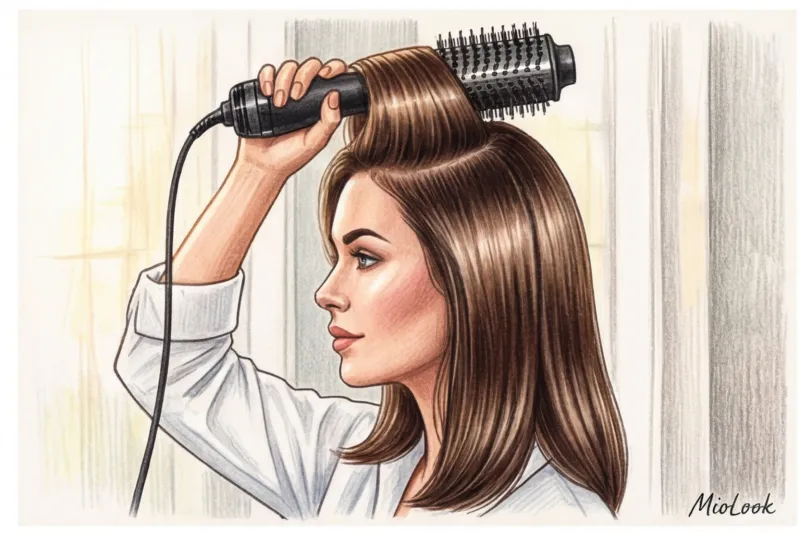
Foundation: occipital area
Start with the bottom strands at the back of your head. Select a section no wider than the brush itself. Place the brush under the strand at the roots, create tension, and slowly (at a speed of about 2-3 centimeters per second) glide it downward. Twist the brush slightly inward at the ends. Make 2-3 passes over each strand until it's completely dry.
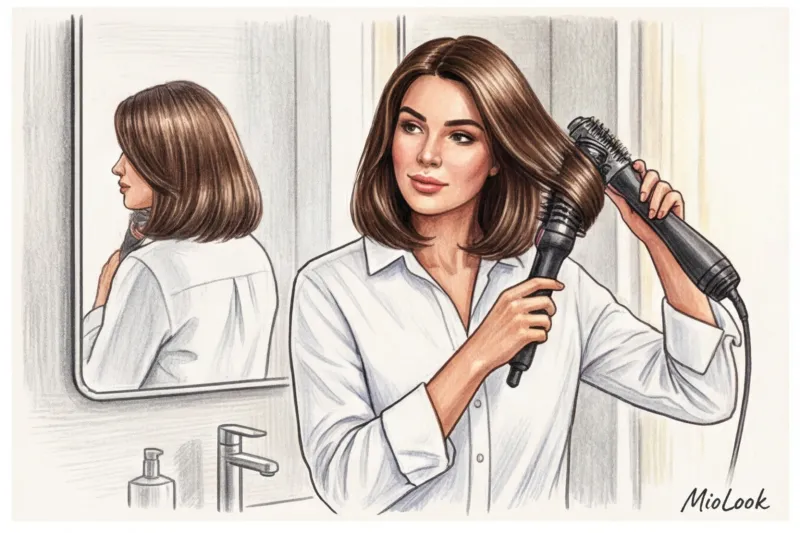
Side areas and face
Now let's move on to the temples. Direction is key here: if you want a classic, prim look (perfect for the office), curl the ends inward, toward your face. If you're aiming for a trendy, flowing texture a la the '90s, twist the brush away from your face midway through. Hold the brush vertically so the strands fall in soft ribbons.
Crown: The Secret to Root Volume
Forget about backcombing—it's outdated and ruins your hair. To add volume to the crown, change the angle of the brush. Grab a section of hair near your forehead, slide the brush under it, and pull. straight up , at a 90-degree angle to the head (or even slightly forward, towards the face). Dry the roots in this position.
Fixation: The 5-Second Rule
This is the most underrated step. Hair takes shape with heat, but fixes Only when it cools. When the strand is almost ready and you've curled the end of the brush, turn on the cool shot button for 5 seconds. This will literally "freeze" your work and add 4-6 hours of hold to your style.
Your perfect look starts here
Join thousands of users who look flawless every day with MioLook. Digitize your wardrobe in just a few clicks.
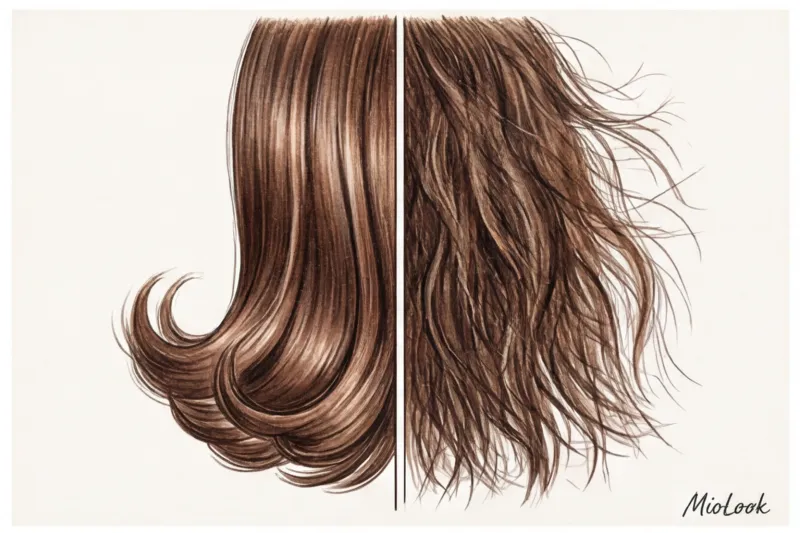
Start for freeCommon mistakes that cause frizz and loss of volume
Why doesn't it look as good at home as it does in a salon, even with good tools? Here are three subtle obstacles I regularly address in my master classes.
- Incorrect brush diameter. Women with bob haircuts often buy the largest oval brushes in hopes of instant volume. However, a brush larger than 60 mm in diameter won't be able to grip and curl short ends—it will simply straighten them like sticks. For shoulder-length hair, a medium or small diameter (around 40-50 mm) is needed.
- Greed for the thickness of strands. The desire to finish quickly leads us to use strands that are too thick. As a result, the hot air only warms the top layer of hair, leaving the strand damp underneath. After 20 minutes, this hidden moisture will ruin the entire shape.
- Ignoring tension (dandelion effect). This is critical! A blow-dryer isn't a quick comb. You need to create resistance. Pull the strand taut like a string while drying. It's the mechanical tension and heat that smooth the cuticle to a mirror-like shine.
How to incorporate this hairstyle into a strict business dress code
A sleek, voluminous blow-dry is a powerful impression management tool. If you're wearing jeans and a loose blazer to the office on Friday (Friday casual), a smooth, sleek blow-dry will be the perfect finishing touch to pull your look together and prevent it from becoming sloppy.
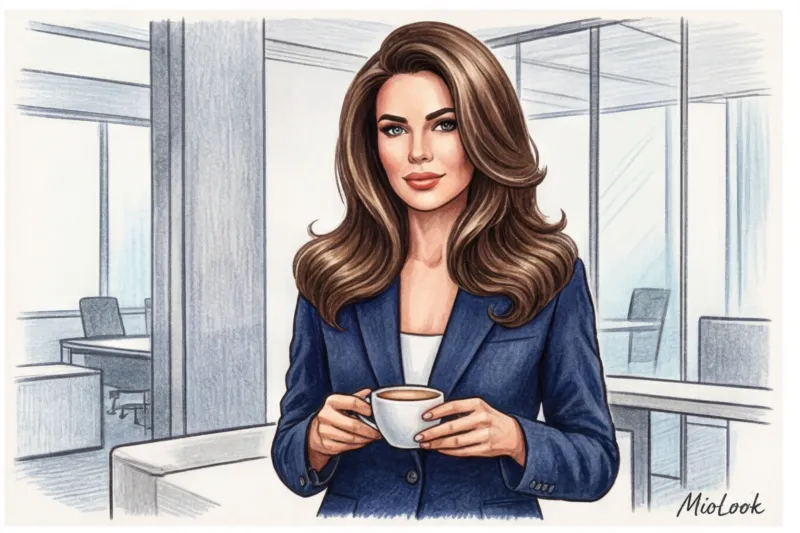
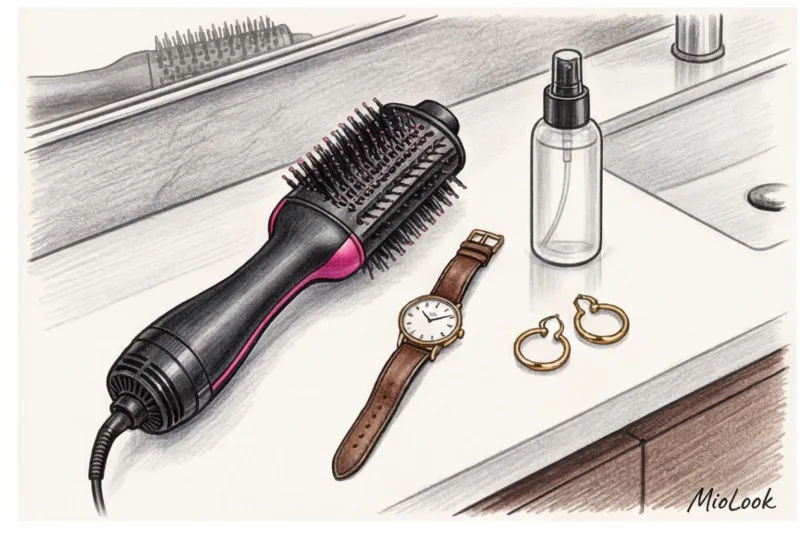
Styling-wise, this hairstyle perfectly balances harsh lines. If you're wearing a double-breasted jacket with defined shoulders (a structured cut), soft, flowing ends will tone down the aggressiveness. To complete the look, add minimalist jewelry—studs or sleek medium-sized rings—and understated makeup that accentuates an even skin tone. And if you're planning a dinner after the office, simply flip your head down, spray your roots with dry shampoo, and tousle your hair with your fingers—the strict style will transform into a relaxed evening look.
Stylist Checklist: Perfect Shape in 15 Minutes
To summarize, let's compile the entire routine into a quick checklist. You can simply screenshot this part and use it tomorrow morning.
- Wash your hair and dry with microfiber.
- Apply a light heat protection primer.
- Dry your hair with a regular hair dryer at the roots to 80%.
- Divide the mass into 4 zones.
- Work the strands from the bottom up with good tension (temperature up to 180°C).
- At the crown, pull the strands straight up (90° angle).
- Fix each finished strand with a cold blow for 5 seconds.
- Rub a drop of light oil between your palms and apply only to the ends.
And finally. As an expert, I have to be honest: this technique has its limitations. This style won't withstand a torrential downpour or 90% humidity without the use of powerful anti-frizz sprays. That's physics. But on 90% of normal city days, it will be your lifesaver. The criteria for a successful result are simple: if your hair flows smoothly in your hands after drying, doesn't tangle at the ends, and has a clear shape, you've done it right.