Two years ago, Anna, a senior UX designer at a large IT company, approached me. She complained of a paradoxical situation: despite her stellar portfolio, she was struggling to justify a higher freelance rate. During online briefings, clients subconsciously interpreted her appearance as a sign of chronic burnout rather than years of expertise. We completely overhauled her visual presentation (I discussed this approach in more detail in our The complete guide to the perfect freelance wardrobe ), but the clothes weren't enough. The problem was how the optics ate up her face.

Have you ever noticed that in the mirror before a call you look fresh, but in the Zoom window you look like a tired version of yourself? Correct Zoom makeup It's not about trying to "put on makeup at home" for someone else's approval. It's about understanding the physics of light and managing how your professionalism is perceived on the other side of the screen.
The Webcam Phenomenon: Why the Screen "Eats" Your Face and Status
To understand how to apply makeup for video calls, you need to stop thinking in terms of regular makeup and start thinking like a camera operator. Your webcam is not a human eye. Most laptops have tiny CMOS sensors with a very narrow dynamic range.
According to a 2023 study by the Lighting Research Center, standard computer optics under home lighting conditions reduce visual color saturation by 30–40%. What does this mean in practice? The camera simply won't notice your slight blush, but it will, on the contrary, enhance the shadows under your eyes.
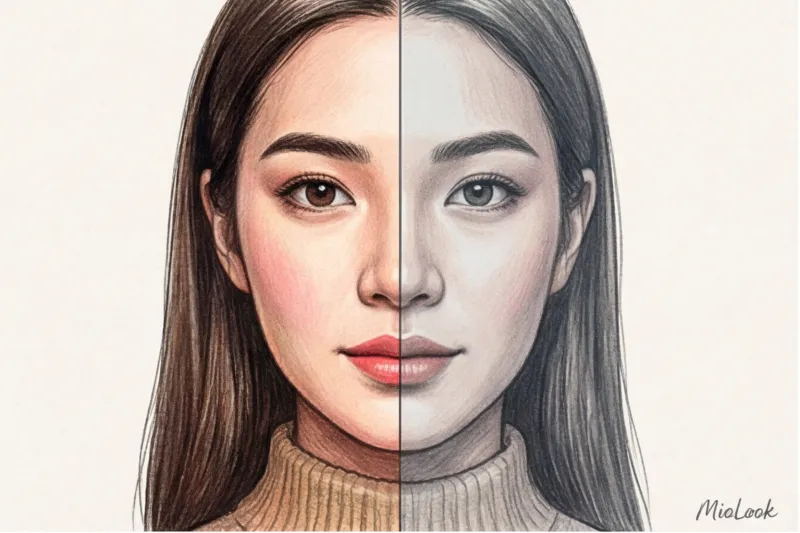
- Loss of contrast: The camera averages out the midtones. Without makeup, the face turns into a flat, featureless blob.
- Blue light screen: The monitor emits a cool spectrum that instantly neutralizes any warm skin tones. You literally turn greenish-gray before the eyes of your interlocutor.
- Symbolism of fatigue: In the business world, a pale face with dark circles under the eyes conveys not "I work hard," but "I can't handle the workload." This undermines premium positioning.
Try MioLook for free
A smart AI stylist will select the perfect look for your online meetings and help you organize your wardrobe.
Start for freeThe Biggest Video Call Myth: Why You Should Ditch the Foundation
The biggest mistake I see clients make is trying to apply heavy foundation five minutes before a conference. It's counterintuitive, but it's perfect for the screen. not needed foundation for the whole face.
In my practice, I've tested a variety of textures: from the built-in cameras of old MacBooks to external 4K devices. I've come up with a rule of thumb: the webcam lens itself works as an excellent "blur filter" for fine wrinkles and pigmentation. A camera simply can't capture such details. However, it does a fantastic job of capturing the texture of thick cream and the powdery "mask effect."
In dim room light, a face with heavy foundation looks like a flat pancake without definition on Zoom. Instead of heavy foundations, use deep hydration. A thick, hydrating primer or a drop of serum (excellent basic options can be found in the €15–€25 range) will create a natural glow. The goal isn't to conceal every millimeter, but to restore three-dimensionality to your face.
The Three-Step Rule: 5-Minute Zoom Makeup
Five minutes is exactly 300 seconds. When you have so little time left before an important call, you have no room for error or time-consuming blending. We'll focus only on the areas that enhance facial structure and freshness.
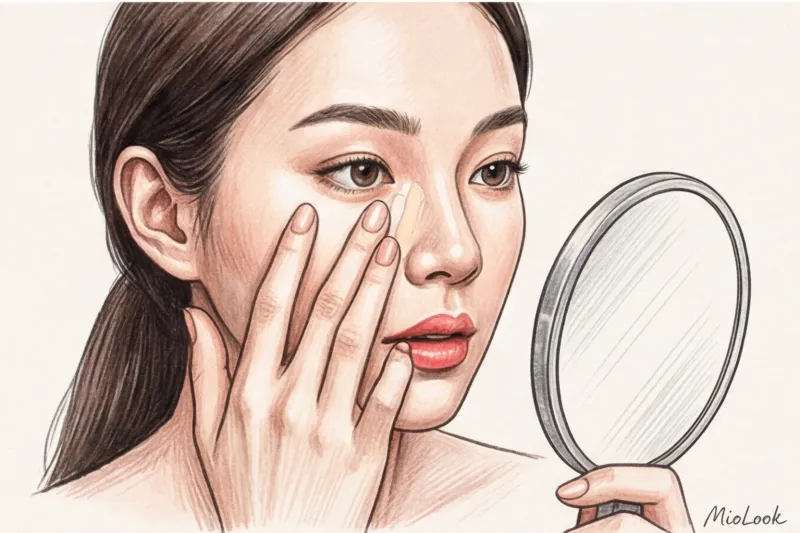
Minute 1-2: Light-reflecting concealer – erase fatigue
Skipping foundation only works when combined with spot correction. Choose a concealer exactly half a shade lighter than your skin tone. Important: it should have a satin, not matte, finish to reflect the light from your monitor.
"The key to a fresh look is not a solid foundation, but highlighting the 'shadow areas.' Matte textures flatten the face, while satin ones add volume." This rule, used by television makeup artists, is also perfect for Zoom.
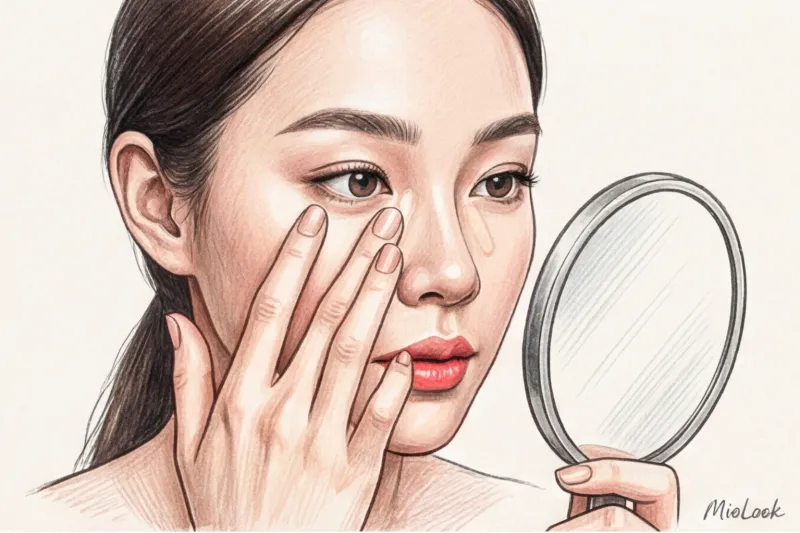
Apply the product to only three strategic points: the inner corner of the eye (where the deepest shadow is), the sides of the nose, and the corners of the lips (to visually lift them). Blend with warm fingertips, not a brush—this way, the product will literally melt and blend into the skin in seconds.
Minute 3: Eyebrow architecture – returning to the framework
Without defined eyebrows, a face appears blurry in video. Eyebrows define character and emotion. But drawing them out with a pencil takes time, and the result is often too graphic for the small screen.
Your best friend is a tinted gel with fibers (microhairs). It simultaneously colors the skin between hairs, adds volume, and sets the shape. Brush your brows slightly upward: this creates an instant lifting effect and makes your eyes look more open and engaged.
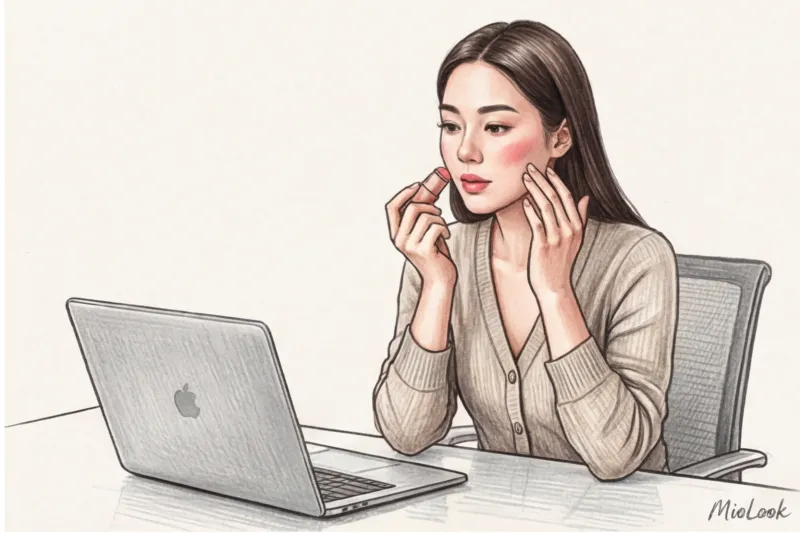
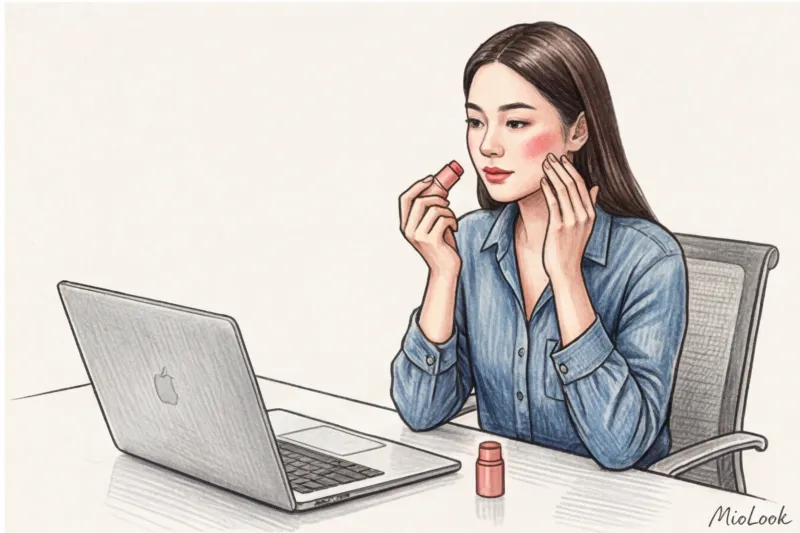
Minute 4-5: Cream blush and tint – adding life
Remember how cameras lose 40% of your color? This means your blush should be a little brighter for screen use than what you'd wear outside. Forget about powdered products—they require careful application with a brush. Our pick is a creamy multi-stick for lips and cheeks.
A high-quality stick will cost you around €20–35, but it will save you a ton of time. Apply blush just above the apples of your cheeks, drawing the color toward your temples. This will lift the contours of your face. Pat any remaining product into your lips. Avoid matte lipsticks with a dull finish: in low-resolution videos, they can make your lips look thin and dry, and give your face an overly stern, almost angry, expression.
Your perfect look starts here
Join thousands of users who look flawless every day with MioLook, choosing makeup and clothes in one click.
Start for freeDangerous Textures: Common On-Screen Makeup Mistakes
Not everything that looks good on Instagram is suitable for a business call. Working with clients, I've compiled my own "anti-rating" of products guaranteed to ruin your photo.
- Highlighter with large glitter. If you're sitting in front of a ring light or a window, the glitter will glare. In low-quality videos, this doesn't look like a fashionable glow, but rather like the greasy sheen of a sweaty face.
- Hard contouring. The contouring tool under your cheekbones only works if you sit absolutely still. As soon as you turn your head or lean toward the camera, the harsh gray lines of the contouring tool turn into smudges on your cheeks.
- Black smoky eyes and thick arrows. When video is compressed, dark colors blend together. Heavy eye makeup will make your eyes appear smaller and create a heavy, overhanging gaze.
Here I have to do an honest reservation This graphic waiver doesn't apply if you're broadcasting from a professional studio with three hard light sources, a 4K camera, and a professional colorist. The rules are completely different there. But for 99% of work situations, where you're working with a laptop in the kitchen or home office, smooth textures are critical.
Makeup and Lighting: How to Adapt Your Face to Your Setup
Makeup doesn't exist in a vacuum—it works only in conjunction with light. Before applying makeup, assess your workspace.
Light from the window (natural frontal) — This is the best and most expensive filter. But daylight is merciless to unblended edges. If you're sitting facing a window, spend 90% of your time perfectly blending your concealer. Blush can be very delicate.
Ring lamp — direct, often harsh, artificial light. It visually "whitens" the center of the face, blurring its contours. In this case, you'll need a little more cream blush around the edges of your cheeks and a touch of light bronzer on your forehead to restore volume to your face.
Mixed light (side window + lamp) — the most insidious option. One half of the face is illuminated by warm sunlight, the other by cool LED light. Avoid complex color transitions around the eyes, otherwise the camera will turn you into a "two-faced Janus." Aim for an even, fresh skin tone.

Desktop Beauty First Aid Kit: A Freelancer's Checklist
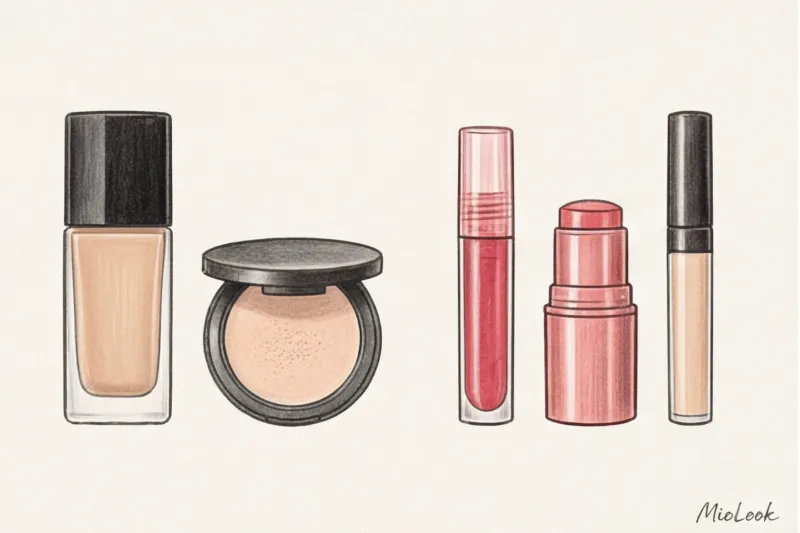
The secret to staying calm before unexpected phone calls is to avoid rushing to the bathroom for your makeup bag and instead keep a ready-made "beauty capsule" right in your desk drawer. It's an eco-friendly and smart approach to consumption: you don't need dozens of jars; four or five multifunctional products are enough.
What should be in your desk:
- Thermal water or moisturizing mist (to refresh your face before applying makeup).
- The same light-reflecting concealer with a convenient applicator.
- Creamy multi-stick for lips and cheeks.
- Tinted eyebrow gel.
- Blotting wipes (a lifesaver in the summer heat or during long phone calls).
From a psychological point of view, the principle at work here is Enclothed Cognition (Dressed Cognition). Just as putting on a work jacket over a casual t-shirt switches your brain into "I'm at work" mode, the ritual of applying these four products five minutes before a call helps you focus and prepare for professional communication.
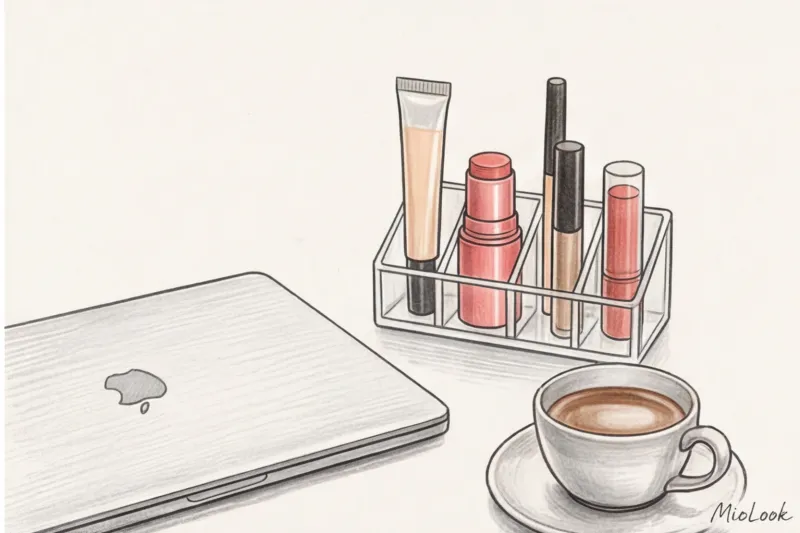
By the way, to avoid wasting your morning hours thinking about what to wear on air, plan your on-screen outfits in advance. If you upload your favorite shirts and jackets to MioLook , the system will automatically select harmonious combinations for you, which will only need to be complemented with a five-minute refreshing makeup application.
Remember: the camera loves wet highlights, warm tones, and confidence. Avoid trying to paint a new face. Your goal is to use three quick accents to recapture the vital energy that the lens technically "sucks up." Then your professionalism will speak for itself even before you turn on the microphone.