Over 12 years of working as a personal stylist, I've seen women shed tears before important events for a variety of reasons. But one incident has stuck in my memory forever. My client, Anna, a top manager at an IT company, was scheduled to go on stage at a professional conference in five minutes. Panicked, she rushed into the dressing room: three expensive, delicate gold chains around her neck had tangled into one giant, tightly knotted knot. Instead of focusing on her speech, she frantically tried to tear the knot apart, scratching her skin.
That's when I realized: layering necklaces isn't just a pretty visual trick from Pinterest. It's pure physics, the mathematics of lengths, and the strength of materials textures. If you just throw on the first three pendants you find in your jewelry box, they're guaranteed to turn into chaos by the time you get to the office.
To avoid this, we're creating a smart foundation. I've already covered how to lay the foundation for your jewelry box in more detail in our complete guide: Basic Jewelry Wardrobe: A Capsule for Every Day Today, we'll explore specific algorithms and secret stylist tricks that will ensure your jewelry stays perfectly straight from morning until late evening.
The Anatomy of a Perfect Set: 3 Golden Rules of Layering
Creating a harmonious cascade around the neck is subject to strict architectural principles. You can't build a house without a blueprint, and you can't layer metal without understanding the proportions.
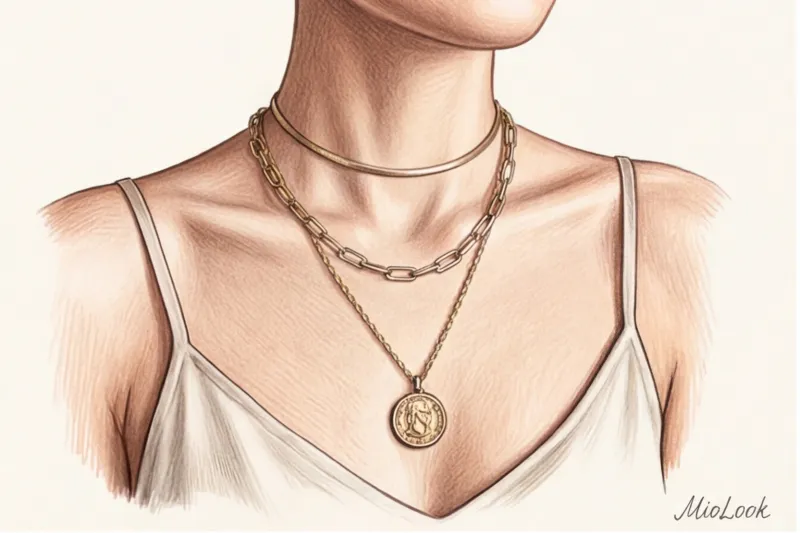
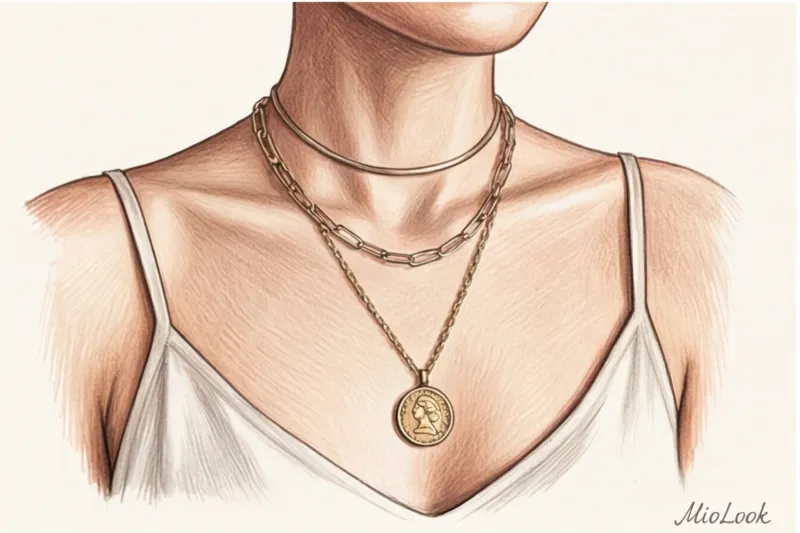
The 5-centimeter rule This is the main technical secret that prevents visual "mush." The length increment between your layers should be exactly 5 centimeters (or about two inches). According to classic jewelry standards, the ideal trio looks like this:
- First layer: Choker (35–40 cm) – fits snugly around the base of the neck.
- Second layer: Princess (45 cm) - fits exactly on the collarbones.
- Third layer: Matinee (50–55 cm) – goes down to the neckline.
If the difference is less than 3 centimeters, the pendants will start to clash with each other and overlap the design. If it's more than 7 centimeters, the connection between the elements will be lost, and they will look like random objects rather than a cohesive composition.
The Anchor Rule The heaviest or most massive piece of jewelry (such as a vintage locket or a large stone) should always be placed on the longest, bottom chain. Why? The physical weight pulls the composition downward, creating a distinct V-shape. According to the laws of optical illusion, this V-shape visually elongates the neck and slims the portrait area.
The Law of Visual Balance A study of facial proportions conducted by the PANTONE Color Institute in collaboration with beauty experts (2023) proved that a congested collarbone area distracts attention from a person's eyes by 40%. If you wear three or more layers around your neck, your earrings should be invisible (studs) or completely absent.
Your perfect look starts here
Join thousands of users who look flawless every day with a smart clothing selection algorithm.
Start for freeThe main problem: why chains get tangled and how to avoid it
Let's return to my client Anna and her pre-performance disaster. Why did her chains get tangled? Because she violated the fundamental law of jewelry friction.
Two identical thin chains (especially the classic anchor weave, where the round links are connected perpendicularly) will inevitably interlock with the metal's micro-teeth. They work like Velcro. To ensure the cascade lives peacefully, you need contrast of weaves.
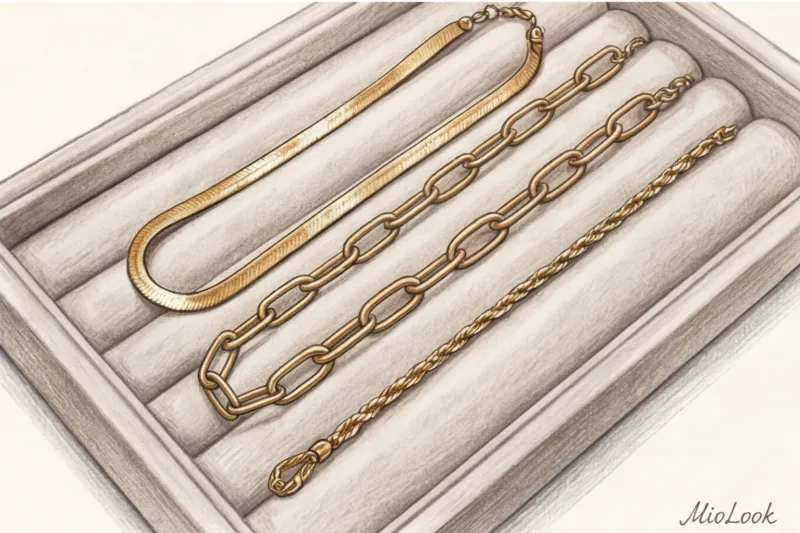
Here's my tried and tested shortlist of textures that physically can't clip together:
- Snake (Snake chain) - an absolutely smooth, serpentine chain, along which other links simply glide, as if on ice.
- Paperclip - large, elongated, flat links with a large empty space inside.
- Twisted rope (Rope chain) - a dense spiral without protruding edges.
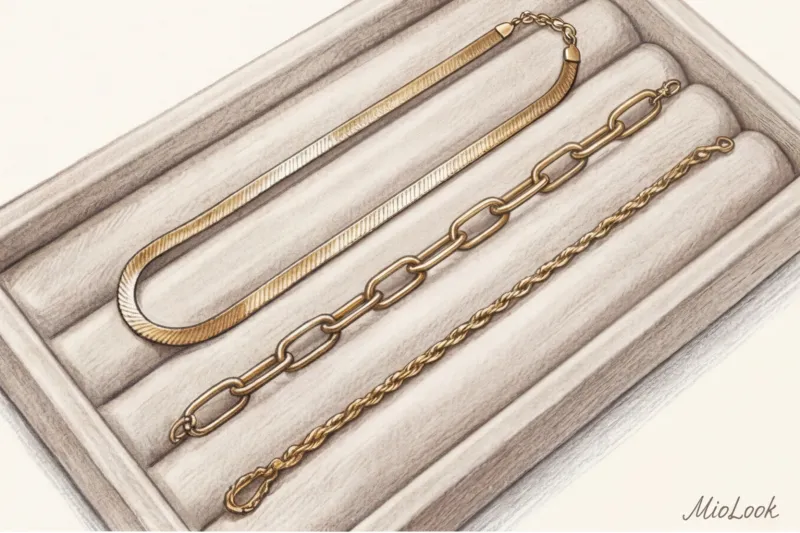
"If you wear a smooth snake, a chunky paper clip, and a thin anchor chain with a pendant, there will be no friction. Each texture lives in its own physical dimension."
But what if you really want to wear two similar necklaces? I've personally tested dozens of fashion show life hacks, and the best one is... multi-row separator carbine (It's easy to find on marketplaces in the €15–€30 range.) This is a special magnetic clasp with 2–4 rings on each side. You attach your chains to it once, and then put on the entire set with a single click of the magnet. The separator maintains a precise distance between the rows at the back of the head.
But I'll be honest: this technique has a limitation. If your harness is too heavy, the cage will creep forward, suffocating you. This only works for light, everyday sets.
Ready-Made Formulas: Layering Neck Jewelry for Beginners
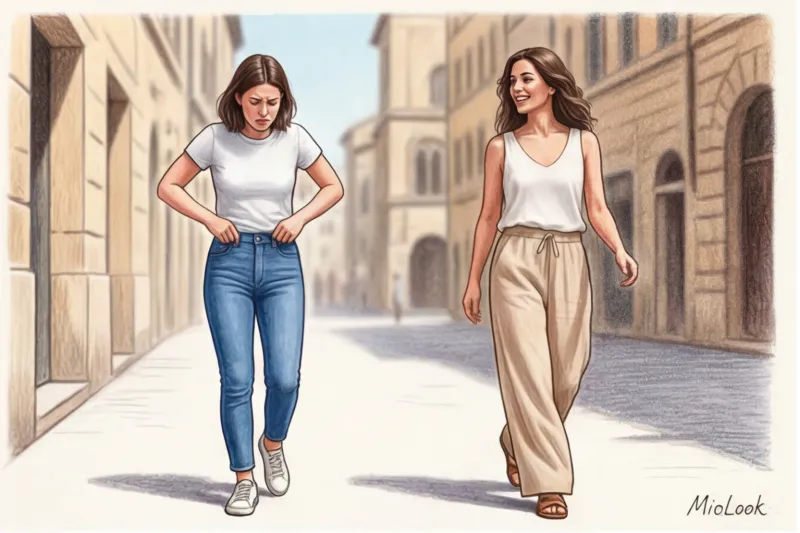
My style as a stylist is largely inspired by Mediterranean aesthetics. In Italy, it's called sprezzatura — the art of looking like you threw on your clothes in a second without looking in the mirror, but the result is flawless.
To achieve this effortless elegance, I developed two mathematically precise formulas.
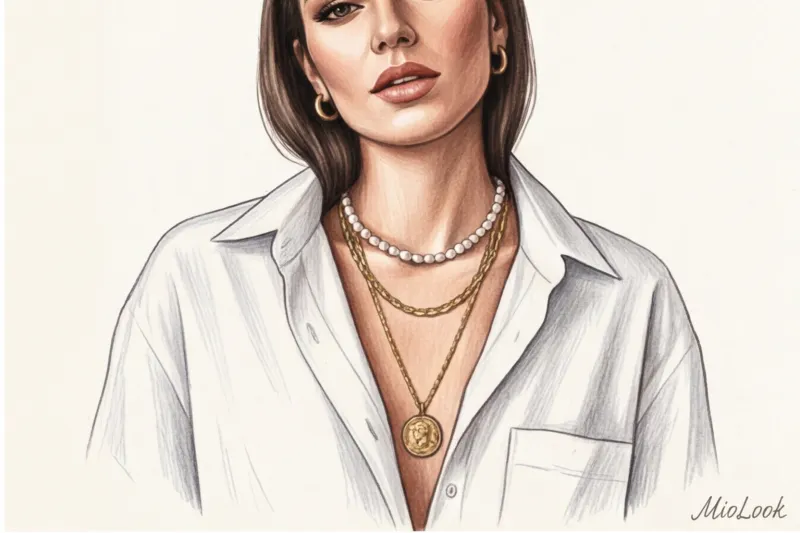
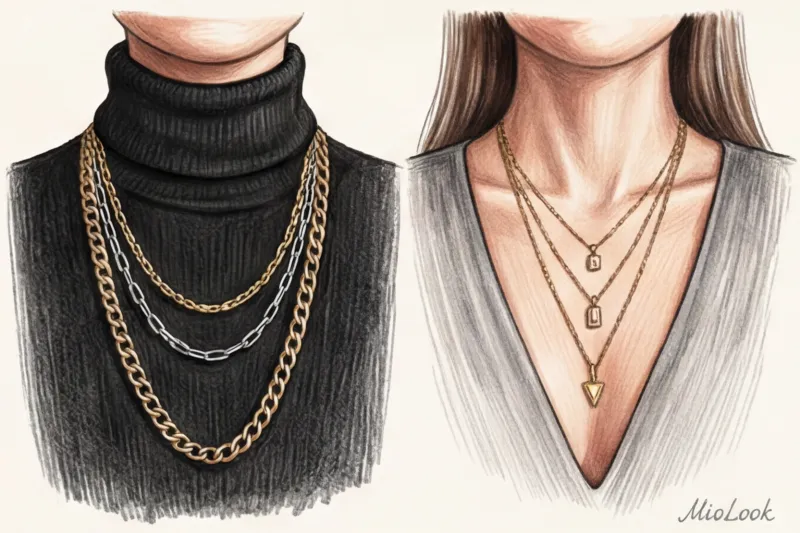
Everyday formula: Choker + Base + Accent
This is a classic that saves you 90% of the time, from going to brunch to a business meeting at a creative agency.
- Layer 1 (Choker 35-40 cm): A base that sits on the skin. A thin gold snake or a strand of small, baroque pearls (not perfectly round, otherwise you'll get a retro effect!) works perfectly.
- Layer 2 (Base 45 cm): The structure of the look. A medium-sized paperclip chain works perfectly here. It sets a modern, bold rhythm.
- Layer 3 (Accent 50-55 cm): A personal story. A thin, long chain with a vintage medallion, coin, or geometric pendant.
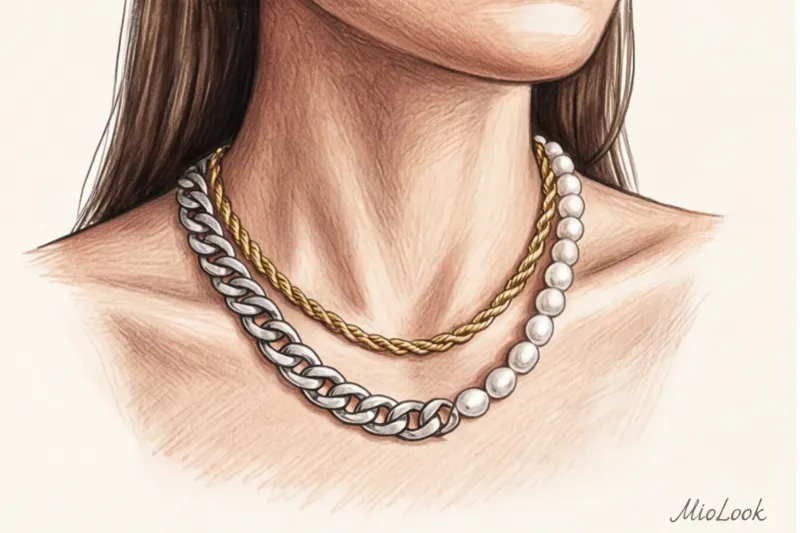
A minimalist duo: a play on contrasts
If three layers seem excessive, try a radical contrast formula. Choose an ultra-chunky short chain (such as a 5-7mm wide curb chain) that hangs just below your neck and complements it with a barely noticeable, long (55cm) spider chain with a tiny diamond or a minimalist baton.
This set creates a stunning tension between brute strength and fragility. It integrates phenomenally into a formal work wardrobe. Incidentally, we've covered in detail how to properly incorporate such accents into everyday office wear in this article. Smart Casual for Women: A Style Guide for the Office.
Try MioLook for free
A smart AI stylist will analyze your wardrobe and suggest which jewelry will best complement your everyday looks.
Start for freeMix & Match Art: Textures, Metals, and Inserts
Now I'm going to say something that many fashion bloggers will disagree with. The popular advice to "feel free to mix gold and silver" is toxic and harmful for beginners.
If you take two identical thin anchor chains, one gold and one silver, and wear them together, it won't look like a fashion statement, but rather like a sloppy mistake. As if you've hastily thrown on whatever was lying on your nightstand.
The secret of a status mix is different: you need to start not with mixing metals, but with mixing textures within one color (matte + glossy, smooth + textured). And if you want to combine gold and silver, you need a "bridge piece." This is a piece (for example, a pendant or ring) in which both metals are ALREADY physically fused. Once such an element appears in the portrait area, it provides visual "permission" to use different metals in the remaining layers.
Pearls deserve special attention. According to analytics platform Lyst (2024), searches for "pearlcore pearls in menswear" increased by 145%. To combat the mothballs and '90s schoolteacher associations, don't wear pearls alone. Mix a short strand of pearls with aggressive, chunky metal links or leather laces. This contrast of aristocratic and rugged style is a sign of mastery.
For more details on how to convey confidence through details, check out our article. Status Accessories: What Marks a Successful Expert.

Image architecture: how to choose a set to suit your neckline
Even the most ingenious jewelry set will fall apart if it clashes with the neckline of your garment. Jewelry should complement the fabric, not clash with it.
Deep V-neck. The most rewarding canvas base. Your goal is to perfectly replicate the geometry of the neckline. The lower pendant should end 2-3 centimeters before the edge of the neckline fabric. The cascade shape (tapering downwards) will perfectly replicate the lines of the blouse.
Round neckline (crew neck). This is where the main danger lies. Ever notice how pendants are constantly hidden under the fabric of a T-shirt, leaving only the chain exposed? The rule is strict: the set must either lie flat against the body, ending a couple of centimeters ABOVE the neckline, or confidently cross the seam line, overlapping the fabric with long chains. No "caught" at the edge.
Turtleneck and high collar. Chokers are off-limits—they physically distort the neck by cutting across dense fabric. We shift the emphasis to elongated shapes: sautoirs (over 70 cm), chunky chains, and Y-shaped necklaces. The fabric here acts as a matte backdrop for the metal.
My signature piece: the shirt. Italian chic is all about layering inside The open collar of a men's cotton shirt (at least 160 g/m², so the collar stands up). Unbutton the top three buttons. The short chain rests on the collarbone, and the long medallion pendant intriguingly tucks under the placket, only appearing when the shirt is in motion.
Remembering all these rules for each top can be difficult. That's why when my clients upload their digital wardrobe to the app MioLook , the algorithm automatically analyzes the neckline in the photo of the item and suggests whether the layered set you've chosen will work with it or whether it's better to change the neckline.
Ready to get started?
Try the free plan—no commitments required. Organize your closet and create looks in one click.
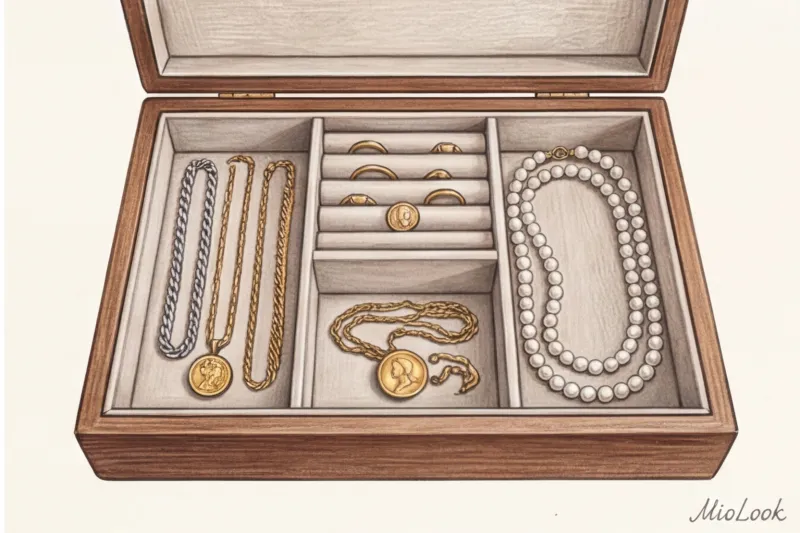
Start for freeChecklist: Assembling your personal neck capsule
To create dozens of different looks, you don't need to buy out half a jewelry store. A smart micro-capsule of 3-4 elements is enough.
Start by going through your jewelry box. Ruthlessly remove anything that's tarnished, lost its shine (unless it's the noble patina of vintage silver), and any identical, thin chains that blend into an indistinguishable mass.
3 essential investments to get started:
- A good quality base chain (snake or rigid hoop). This is a base that fits snugly around the neck. The budget-friendly price for a high-quality gold-plated necklace is €30–€50.
- Textured paperclip chain. Choose a medium-sized link. This is your workhorse, adding air to the set (range €40–€80).
- Personal accent. A coin, a vintage medallion, or a pendant with a baroque pearl on a long chain (from €60). It should reflect your personality.
Before leaving the house, always do a "jump test" in front of a mirror. Take a couple of quick steps, bend over, and adjust your hair. If your hair stays in place and the layers don't bunch up, you've conquered physics.
Don't be afraid to experiment with the length and thickness of your links. Layering your jewelry is a personal touch, turning even the simplest white cotton T-shirt into a designer statement. Invest in the right shapes, and your looks will always project confidence and impeccable taste.