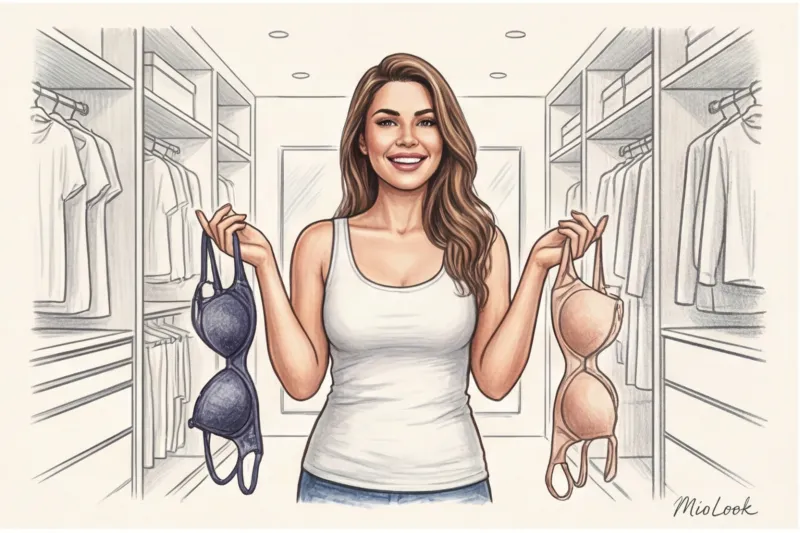
Do you know what eight out of 10 women who come to me for a wardrobe review have in common? Back pain in the evenings, constantly slipping straps, and the absolute, unshakable certainty that their size is a 85C. I'm Darina Marchenko, a stylist and image consultant, and over the years, I've learned a hard and fast rule: no silk blouse or perfectly tailored jacket will fit well if the lingerie underneath is slipping.
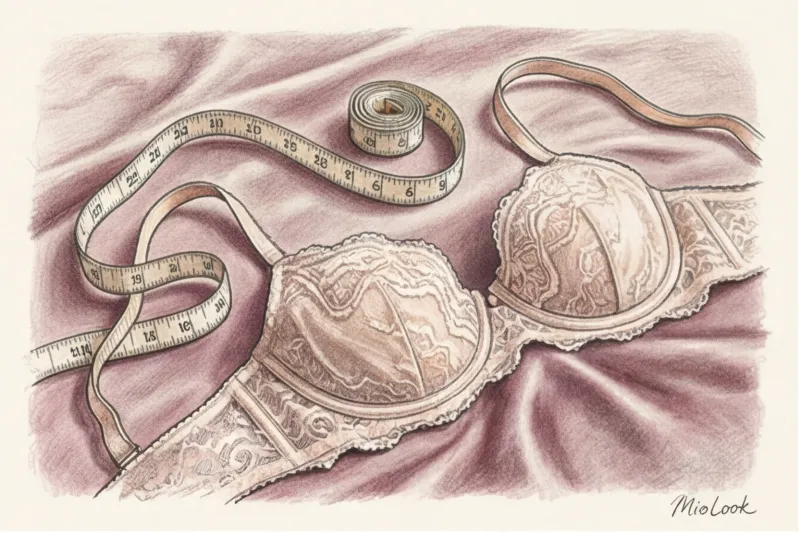
Many people ask me, How to correctly determine your bra size Without going to expensive salons. Most often, women simply grab a measuring tape, look at a chart online, and head to the store. The result? Spoiler: disastrous. We've already covered in more detail how lingerie shapes the correct silhouette (and how easy it is to ruin it) in our The complete guide to shapewear for plus-size women But today we'll talk about the most important foundation.
In this article, we'll move beyond outdated mathematical tables and master professional diagnostics. You'll learn how to evaluate belt tension, bridge fit, and use a technique that will change your linen rack forever.
Why Old Charts Lie: The Myth of Bra-Fitting Mathematics
According to the University of Portsmouth's Breast Biomechanics Research Group (2023), 80% of women wear the wrong bra size. The most common combination is a band that's too wide and a cup that's too small. Why does this happen?
The culprit is the "+4 inches" (or +10 cm) formula, still used by many online calculators. This method originated in the 1930s, when lingerie was made from stiff, non-stretchy fabrics. To allow women to breathe, manufacturers artificially built in extra centimeters into patterns. Today, lingerie contains elastane, spandex, and Lycra, but this zombie formula lives on, forcing women to buy enormous girdles.
A measuring tape doesn't capture your breast density, skin elasticity, or chest geometry. I had a client named Elena in my practice. She'd been wearing a size 85C for 10 years, complaining of slouching and migraines. When we performed a professional bra fitting, it turned out her actual size was 75F. After putting on the right bra, she physically stood up straighter and instantly lost 5 kilograms, as her breasts lifted from her waistline to their proper position.
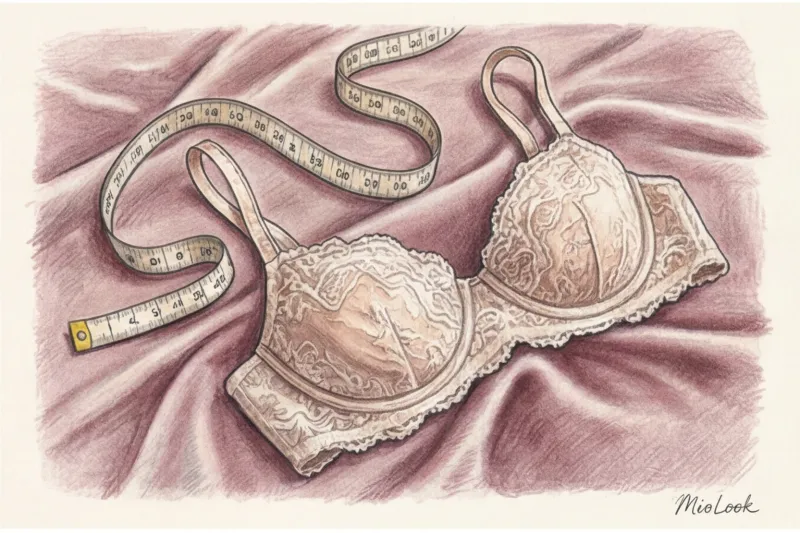
How to correctly determine your bra size: a step-by-step algorithm without errors
To understand our starting point, we will still need numbers, but we will measure according to the standards of the British School of Lingerie Styling.
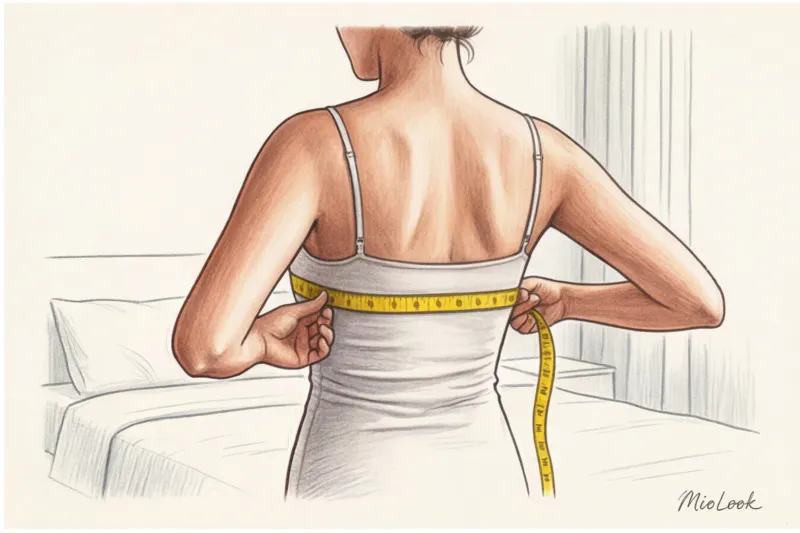
Preparation: Remove clothing. It's best to take measurements wearing a soft, non-push-up bra. If your bust allows, it's best to take measurements without underwear at all. The main rule is to always keep the measuring tape strictly parallel to the floor, not riding up on your shoulder blades.
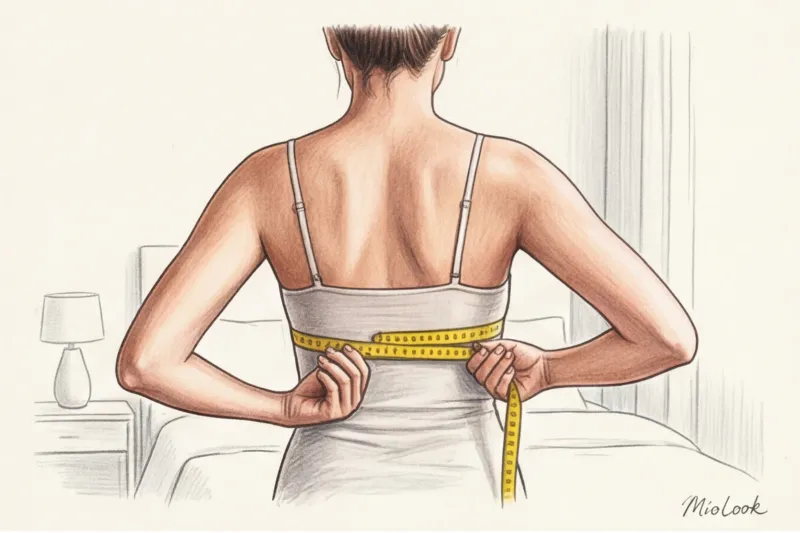
Measurement one: underbust (the foundation of your support)
This is where the mass market's biggest mistake lies. You need to take two measurements:
- Free: Just wrap the tape under your chest in a way that is comfortable for you to breathe.
- Tight: Exhale all the air from your lungs and pull the band as tight as possible, cutting right into your skin.
Why is this necessary? The elastic bands of modern bras stretch. If your average measurement between these two is 78 cm, you need a band size 75, not 80. The band size is always rounded down, otherwise, after a month of wear, when the elastane relaxes a little, the bra will slip down your neck.
Measurement two: chest circumference (taking into account shape and gravity)
Measure around the fullest part of your breasts (the nipples). Important: if your breasts are full or have lost firmness, take this measurement at a 90-degree angle—this way, gravity will help you measure the entire breast tissue volume.
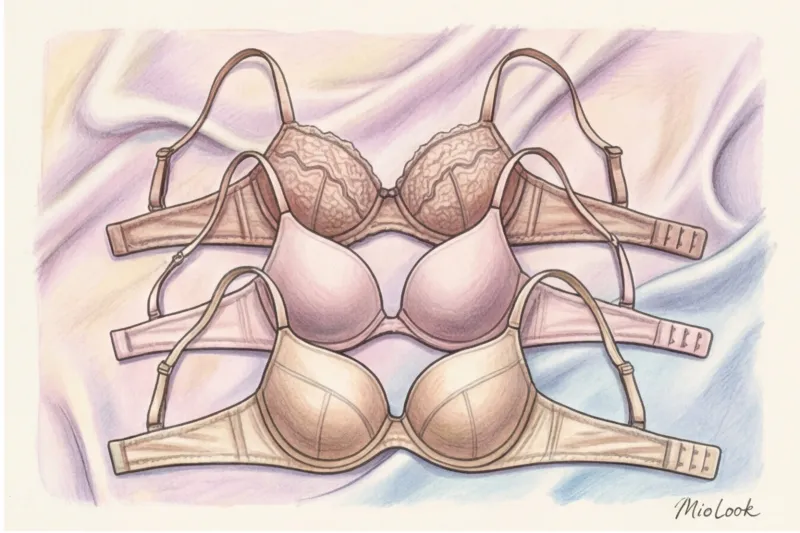
The difference between your bust and underbust measurements determines your cup size (12-14 cm is B, 14-16 cm is C, 16-18 cm is D, and so on). But remember: this is only a guideline, not a final decision.
The Interchangeable (Sister) Size Method: When the Numbers Don't Work
Perhaps the most valuable insight I can give you is the concept of Sister Sizes. A cup size doesn't represent a static measurement. A D cup on a 70 waistband and a D cup on an 85 waistband are two completely different sizes.
The gist of the method is that if you decrease the band size by one step, you must increase the cup size by one step to maintain the same capacity volume.
Sizes 80C, 75D, and 70E have exactly the same cup size! However, the band fit will be different.
How do you apply this? Let's say you're in the fitting room. You're wearing a 75D: the cup fits perfectly, but the band can be pulled down 10 centimeters in your back. What do 90% of women do? They ask for a 70D. And suddenly, the cup size becomes catastrophically small! The correct action is to ask for a 70E. You've reduced the band size (so it holds) but increased the letter, maintaining the desired cup size.
Try MioLook for free
A smart AI stylist will select the perfect look based on your measurements and your existing wardrobe.
Start for freePerfect Fit Checklist: 5 Control Zones in Front of a Mirror
Forget the numbers. A good bra fitter trusts not labels, but your eyes and physics. After putting on your bra, stand in front of the mirror and perform a diagnostic.
Band: Main Support and Two-Finger Test
The axiom of corset design: 80% of the weight of the breast is supported by the belt, and only 20% by the straps.
When you buy a new bra, it should be able to be fastened. only on the outermost (free) hooks The remaining rows are needed to tighten the waistband as the elastane stretches after six months of wear.
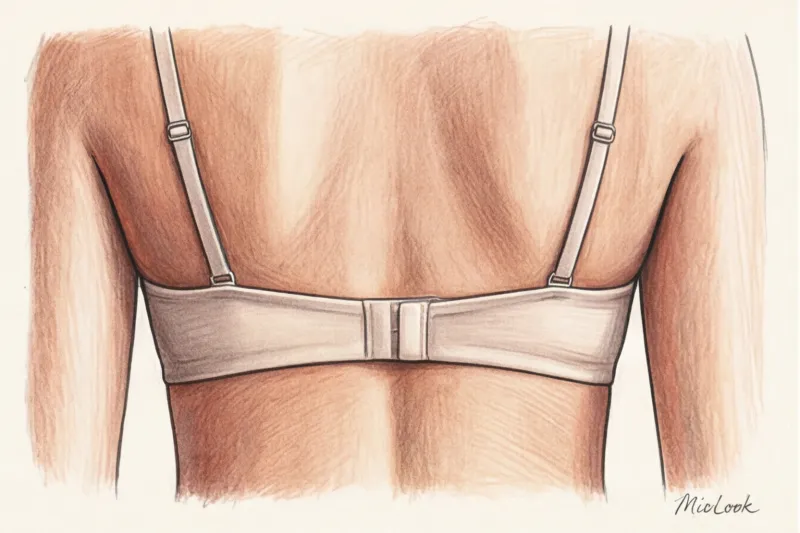
The band line at the back should be strictly horizontal. Test this: try pulling the band line at the back with two fingers. If it extends more than 3-4 centimeters, it's too big. Choose a smaller band and a larger cup size.
Bridge and Bones: The Anatomy of Comfort
The gore is the central part of the bra between the cups. Ideally, it should fit snugly against your sternum, separating your breasts. If it hangs loose, the cups are too small, and your breasts are simply pushing the structure outward.
When it does NOT work: This rule doesn't apply to women with pectus excavatum or very close-fitting breasts. In these cases, the bridge will physically be unable to lie flat, and I recommend choosing plunge styles (with a low bridge).
Cup, Straps, and the Scoop and Swoop Magic Test
You can't assess the fit until you do the 'Scoop and Swoop.' Bend forward, reach into the cup, and literally scoop all the breast tissue from your armpits and back into the cup.
Only then should you look at the edge of the cup. If it cuts your breasts in half, creating a "quad" (four breasts) effect, the cup is too small. If the cup fabric wrinkles, it's too big. The straps should be taut enough to allow two fingers to fit under them with gentle pressure. If they leave red marks, your band isn't working properly, and the straps are taking all the weight.
The main bra-fitting mistakes that ruin the architecture of your look
Even a premium bra for €120, bought in the wrong size, will ruin your silhouette.
A common mistake is buying underwear, including shapewear, one size too small in the hopes of a "slimming" effect. This physically squeezes the body tissue above and below the waistband, creating a "caterpillar" effect that treacherously shows through the thin knit of office dresses.
The second mistake is ignoring the phases of the cycle. According to WGSN, many women experience a 0.5–1 cup size increase in their breasts during the second phase of their cycle. Having one universal bra in your wardrobe for the entire month is a dream. I always put together capsules for my clients with loose, seamless styles for the days when their bodies are more swollen.
Your perfect look starts here
Join thousands of users who look flawless every day with intelligent selections from MioLook.
Start for freeHow Breast Shape Affects Your Choice: From Balconette to Plunge
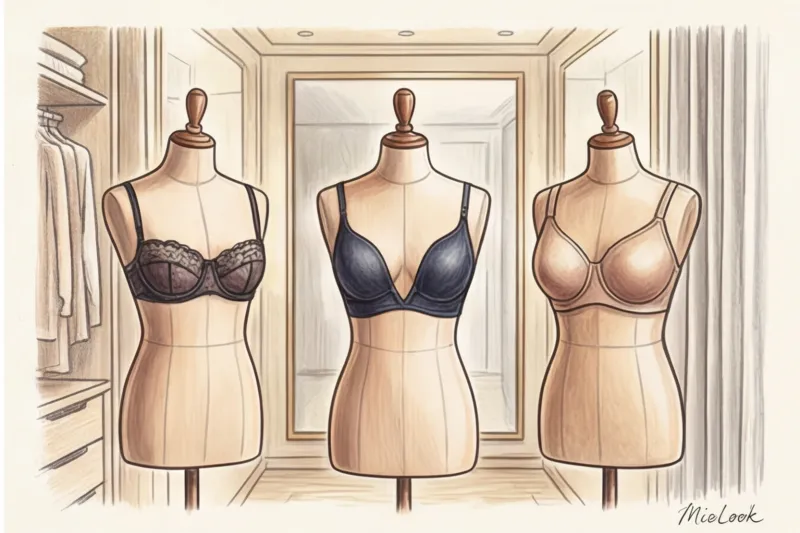
Size isn't everything. A perfect 75D can fit perfectly in a balcony style, but feel empty in a full-coverage cup. Why?
- Teardrop-shaped breasts (volume from below): Balconettes (demi-skirts) are a perfect fit. They add volume at the bottom, creating a beautiful neckline.
- Wide-set chest: Plunge styles with side support will shift the bust towards the center, removing volume from under the arms.
- Asymmetry: The norm for 90% of women. The main rule of the stylist: a bra is always chosen according to greater breasts! A thin silicone or fabric insert is simply placed into the smaller cup.
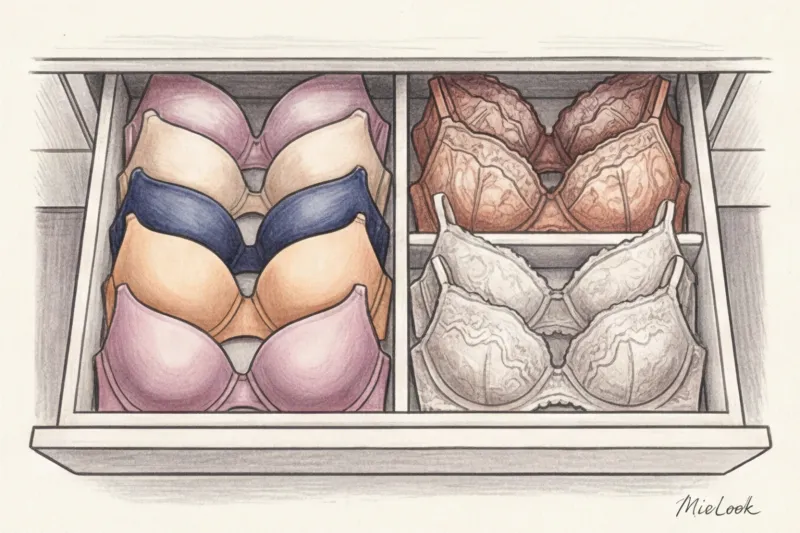
To avoid getting lost in your ideal styles, I recommend digitizing your successful purchases. In the app MioLook You can save your measurements and a photo of your fit so that the AI algorithm can take your body geometry into account when creating looks.
Action Plan: Your First At-Home Bra Fitting Session
Ready to become your own bra-fitter? Here's your plan for the evening:
- Take out your favorite bra. Put it on, do a 'Scoop and Swoop,' and check the band for stretch with two fingers. If it reaches your shoulder blades, it's time to upgrade.
- Take two correct measurements with a measuring tape according to our algorithm.
- Calculate your base size using the table and then be sure to write down two sister size.
- Go to your favorite online store (high-quality basic mass-market models currently cost in the range of €30–60, specialized brands - from €70) and order the same model in three of your sizes.
Properly chosen underwear is the invisible, yet most powerful, tool in your wardrobe. It doesn't just allow clothes to fit as the designer intended. It changes your posture, relieves tension in your neck, and transmits a completely different energy to the world. Take these 15 minutes to take measurements, and you'll never settle for compromised discomfort again.