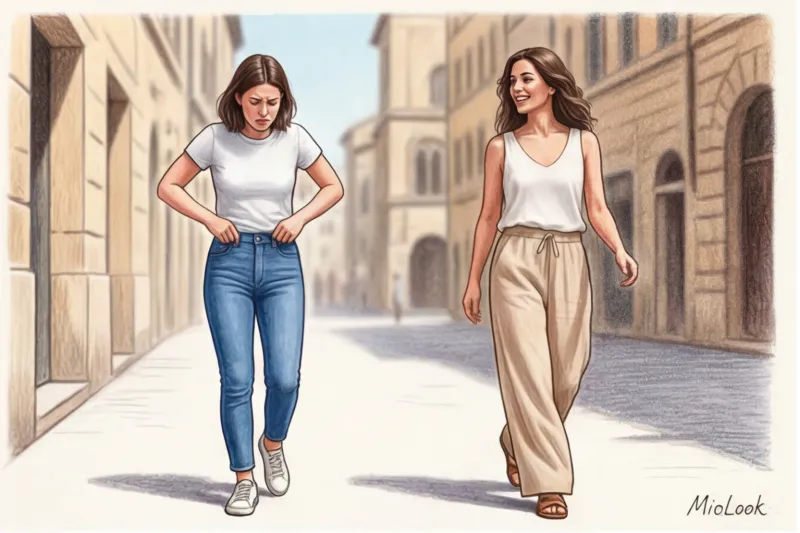
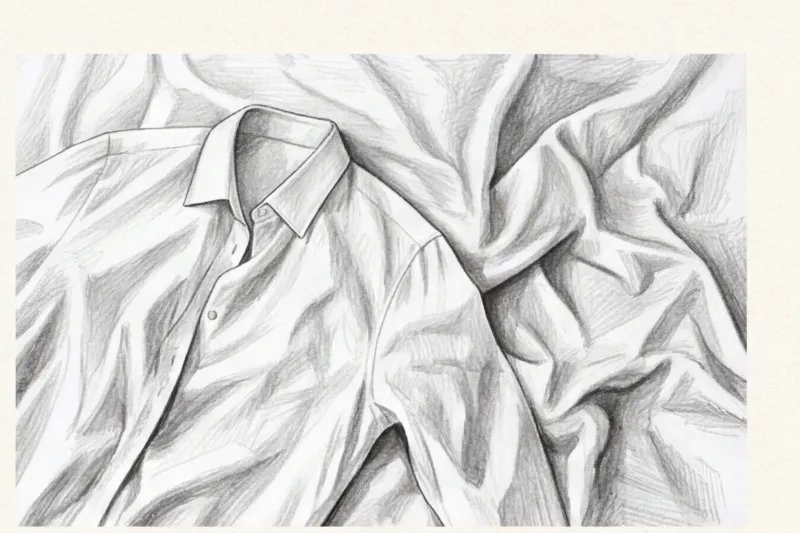
Recently, one of my clients sent me a panicked screenshot: "Sofia, the app just amputated the sleeves of my favorite linen Massimo Dutti shirt!" She was trying to add a summer capsule collection to her digital wardrobe, but instead of a stylish piece, she got a strange, ragged-edged vest stump on the screen. We quickly figured out the reason: the shoot took place on a snow-white bed.
When it comes to creating the perfect base, the most common question I get asked in consultations is: What is the best background for photographing clothes? , so that the neural network correctly removes all unnecessary elements. Our brain automatically suggests: we need a crystal-white background, just like in online store catalogs! But the truth is, computer vision algorithms hate white in everyday life. We've covered the basic rules in more detail in our The complete guide to digitizing your wardrobe , and today we'll delve into the physics of color and how neural networks look at your things.
Why AI "cuts off" sleeves: How algorithms see your clothes
To understand why details are missing, you need to stop thinking like a human for a minute. A neural network doesn't understand the concept of "this is a long sleeve COS sweater, it should reach the wrist." To it, your photo is simply a mathematical matrix consisting of millions of pixels of varying brightness.
Modern image segmentation algorithms (most often these are U-Net type architectures) are engaged in the so-called Edge Detection — edge detection. They literally scan the frame millimeter by millimeter, looking for sharp contrast differences between adjacent pixels. When I personally marked complex textures like mohair to train MioLook neural networks, I learned one strict technical rule. The algorithms require a minimum 30% difference in RGB codes between the object's edge and the background for accurate clipping.
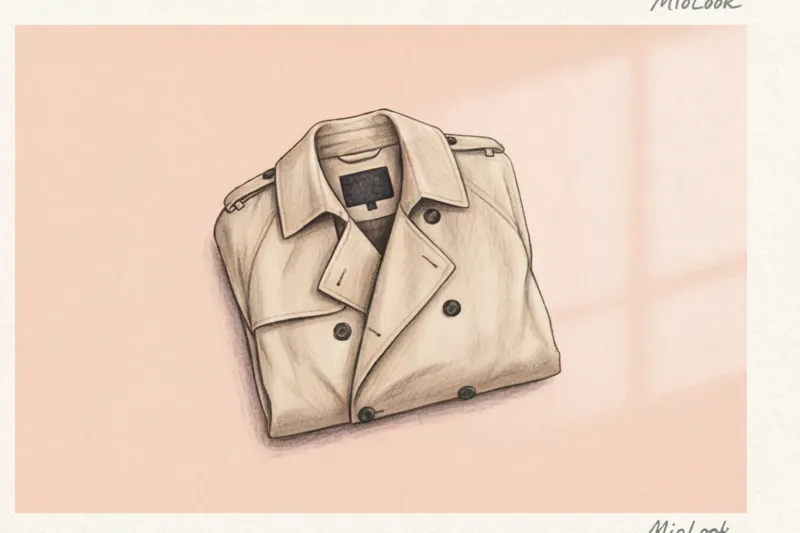
If the edge of your light beige trench coat merges with the beige laminate, the artificial intelligence goes blind. Pixels "merge," and the program mercilessly erases the area, treating it as a piece of flooring.
Try MioLook for free
A smart AI stylist will select the perfect look based on your wardrobe.
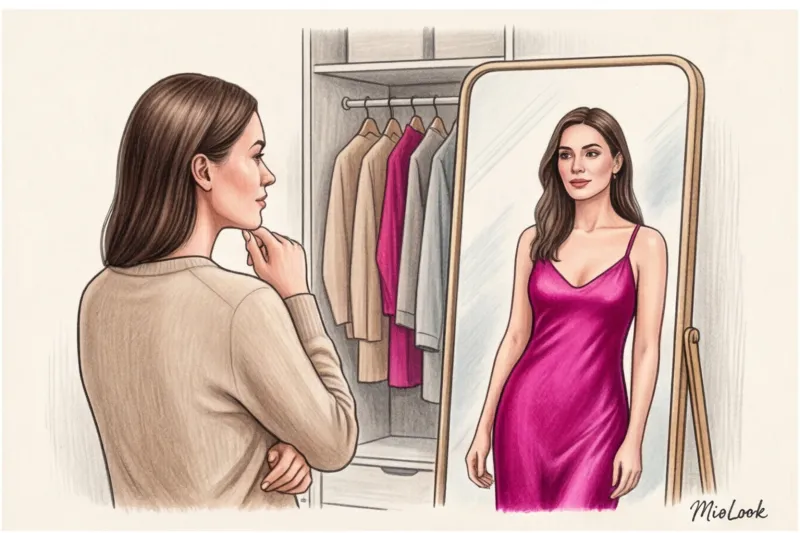
Start for freeWhat's the best background for photographing clothes? Debunking the white myth.
The myth that clothes always look better on white comes from e-commerce. But a professional studio cyclorama with four light sources and a home photo taken with a smartphone camera are fundamentally different physical conditions.
Why is white so dangerous for home digital photography? First, it instantly fools the automatic white balance. Try photographing a white T-shirt on a piece of paper near a window: your smartphone's camera sensor will try to compensate for the excess brightness, resulting in a dirty gray look. Second, light surfaces reflect light back into the lens, creating halos around the edges of the garment.
In my practice I always use rule of opposites: Light-colored items are photographed against a dark or rich background, and dark-colored items against a light background. But what if you need a "universal soldier" for capturing 80% of your closet?
As noted by the PANTONE Color Institute in their 2024 Optical Calibration Guides, matte neutral gray is the absolute standard. It produces no glare, does not distort the color rendition of adjacent objects, and provides sufficient contrast for both a black wool jacket and a crisp white T-shirt.
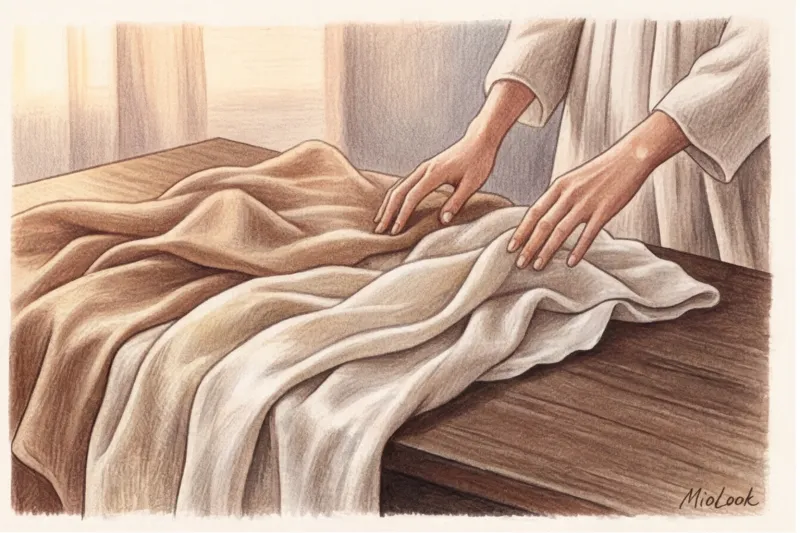
Why a bed and wrinkled sheets are the worst choice
According to Computer Vision Systems Developers (2023), up to 80% of background removal errors in virtual wardrobe applications are due to false shadows.
The folds in your sheets create micro-shadows. The neural network interprets this sharp transition from light fabric to dark depression as the boundary of a new object and "bites" into the silhouette of your garment. Furthermore, the soft surface of a mattress distorts the geometry of the cut. A tailored oversized jacket thrown over a down comforter will look like a shapeless sack in a digital photo.
Top 4 Best Home Backdrops for Digitizing Your Wardrobe
So, we've ditched sheets for good. Over the years as a stylist, I've tested dozens of home locations and identified four options that deliver studio-quality results without the expense.
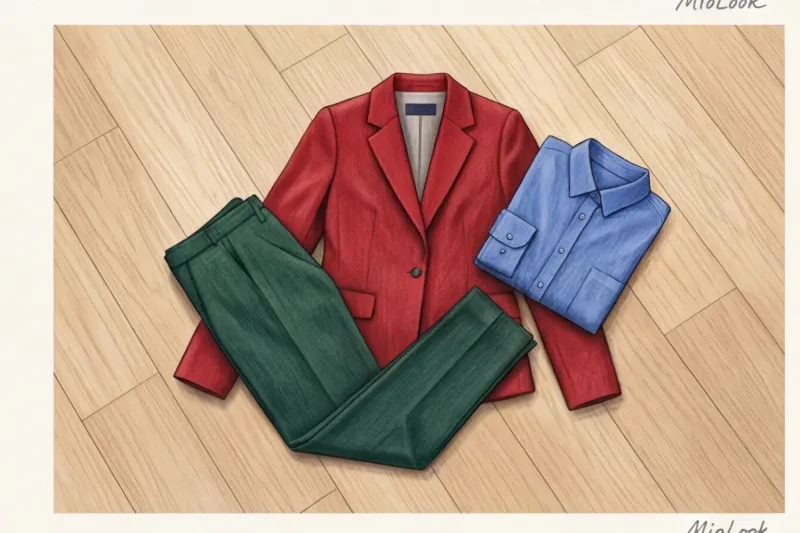
- Smooth wooden floor (laminate or parquet). Choose areas without a pronounced, contrasting wood grain. The warm wood tone contrasts beautifully with most items. The exception is brown clothing.
- Plain wall (matte paint). A great option for photographing long dresses on a hanger. Pros: the garment hangs naturally, maintaining its drape. Cons: it's difficult to achieve even lighting, and the garment itself often creates a harsh shadow on the wall.
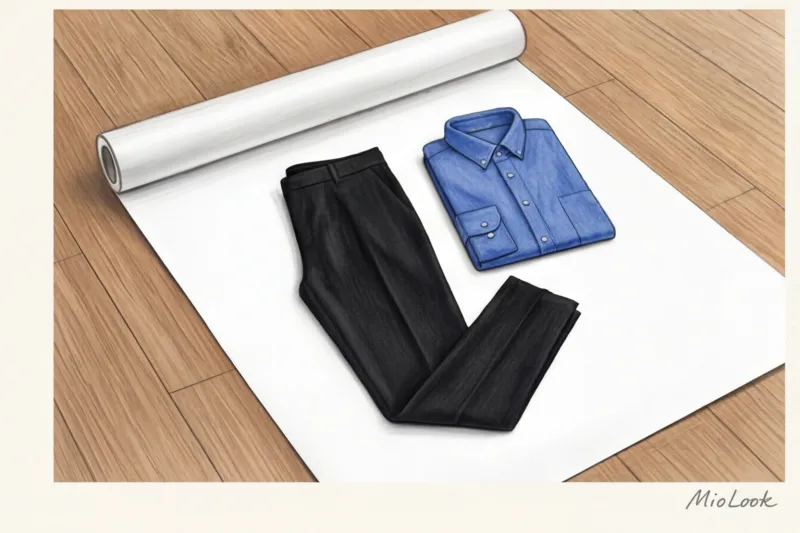
- A1 sheet of Whatman paper or craft paper. My favorite budget photo studio. A roll of thick matte paper from a stationery store will cost you just €2–5 and will last for months. Choose from dusty pink, muted blue, or light gray.
- Fleece or cotton blanket. The main requirement is that it be absolutely wrinkle-free. It should be stretched across the floor, securing the corners with books. Fleece is ideal because it has a completely matte texture and completely absorbs light.
Your perfect look starts here
Join thousands of users who look flawless every day with the MioLook smart wardrobe.
Start for freeComplex Textures: How to Photograph Wool, Silk, and Sheer Fabrics
This is where true textile science begins. Clothing isn't a flat piece of plastic; it's a complex architecture of threads with its own light reflectivity (albedo). Matte wool absorbs light, but silk acts like a mirror.
"One time, a client of mine decided to photograph a silver silk skirt against a red Persian carpet. In the photo, the skirt had a rich pink undertone—it literally absorbed the background color through the reflection."
This is why shiny fabrics (satin, silk, sequins) should be photographed exclusively against a neutral matte gray background.
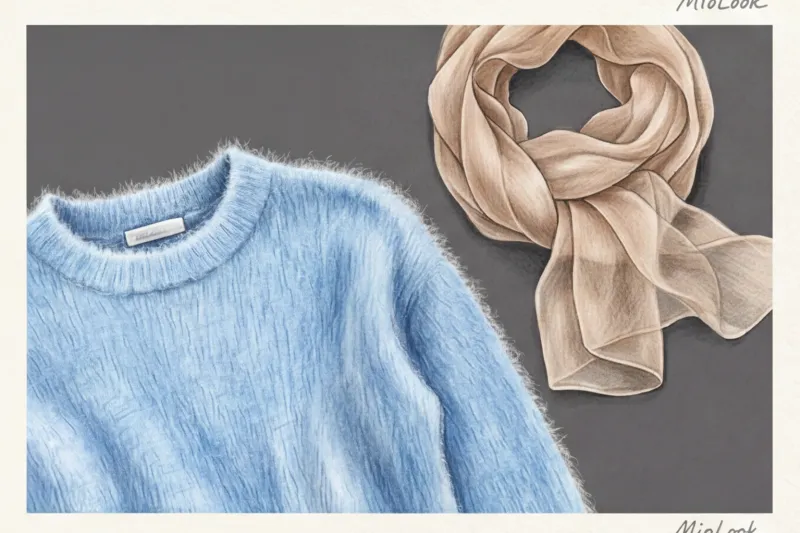
Fluffy textures like mohair, alpaca, and angora present a special challenge. If you photograph a fluffy cardigan against a colorful background, the AI won't be able to detect the finest fibers and will simply "cut off" the edge, making the sweater appear stiff. For such items, a contrasting, solid background is essential.
But for translucent fabrics (chiffon, organza), a lining of a contrasting, but muted color is required. Fair Limit: This tip does NOT work with black translucent lace. If you place black lace on a contrasting white background, the neural network may cut out "holes" within the pattern itself. Such items will need to be photographed against a medium-gray background, accepting possible minor artifacts.
Lighting vs. Background: How Harsh Shadows Break Algorithms
You can buy a perfect grey drawing paper for €5, but if you're shooting under a yellow kitchen chandelier in the evening, all your efforts are wasted.
Overhead artificial light creates harsh, dense black shadows directly beneath the garment. The algorithm, mindful of the contrast-seeking rule, interprets this dense black shadow as part of your dark trousers. As a result, clothing selection app your trousers get a strange asymmetrical "hernia" on the side, which spoils the whole virtual look.
The secret to perfect clipping is diffused light. Shoot near a window during the day, preferably on a cloudy day (clouds act as a giant natural softbox). The light should fall from the side or overhead to minimize shadows from the lens. If the window shadow is still too harsh, place a makeshift white reflector on the opposite side—a simple sheet of white cardboard will do.
Ready to get started?
Try the MioLook free plan and digitize your wardrobe without commitment or extra costs.
Start for freeChecklist: Preparing the Perfect Shot for MioLook in 1 Minute
Let's put it all together. Forget about spending hours manually removing backgrounds. Here's the step-by-step plan I give my clients before they start loading items into their virtual closet:
- Choose a matte finish in a contrasting shade. No glossy tables or colorful carpets.
- Make sure there are no deep folds in the background. Smooth out the paper or pull the blanket tightly.
- Lay the item out physiologically. Show her real silhouette: pull the sleeves slightly to the sides (so that they do not merge with the body), straighten the collar, and slightly mark the waist with folds.
- Do a merge test. Look at your smartphone screen before pressing the button: if the edge of the item blends into the background by at least 10%, change the backing.
- Film strictly parallel to the floor. Hold your phone at chest level, directly above the garment. Shooting at an angle will distort the proportions, turning the crop top into a tunic.
The quality of the original photo directly determines how accurately your virtual stylist can work with your looks. Spend just 15 minutes organizing the right home location with craft paper or a smooth blanket, and you'll forget about "eaten" sleeves forever. Start with the simplest and most contrasting items in your closet to get a feel for how light works, and within half an hour, the digitalization process will become a gentle meditation.