Why drying acne before applying makeup is the biggest mistake that cheapens your look
Imagine this: you buy a flawless Jil Sander wool suit for around €1,200, wear it to an important presentation, and suddenly notice in the elevator mirror that all the attention is focused not on your prestigious look, but on your face. The foundation on your chin has cracked, forming yellowish patches, and a halo of dry flakes has formed around every blemish. A client, a top manager at a large bank, once came to me with exactly this problem. Her wardrobe was perfect, but her aggressive approach to treating her breakouts was ruining the whole impression.
Women with acne often perceive their skin as an enemy that must be strictly controlled: wiped with an alcohol-based lotion, applied with a thick mattifying base, and sealed with a layer of powder. This is a disastrous mistake. A smart approach preparing problem skin for makeup It's not based on masking or drying, but on creating a smooth texture and restoring the lipid barrier. We've already covered the fundamental principles of facial care in more detail in our guide. Basic Facial Skin Care: The Secret to Long-Lasting Makeup , and today I'll tell you how these rules work in conjunction with decorative cosmetics and clothing selection.
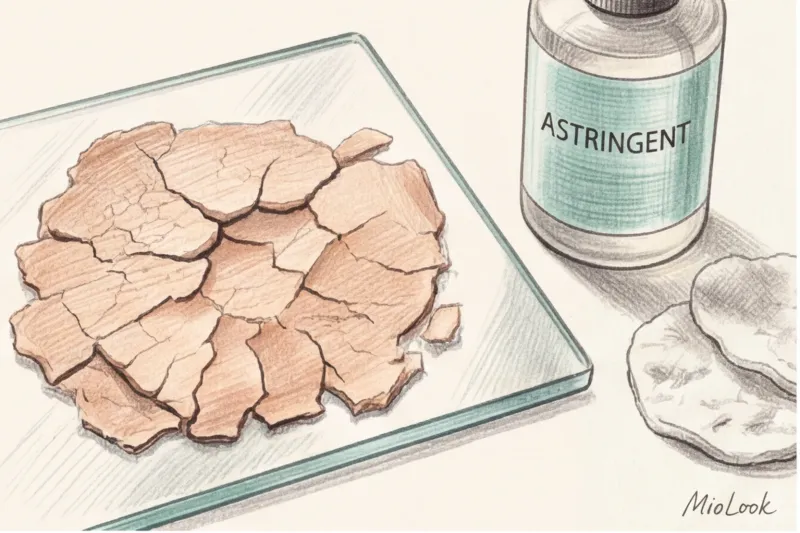
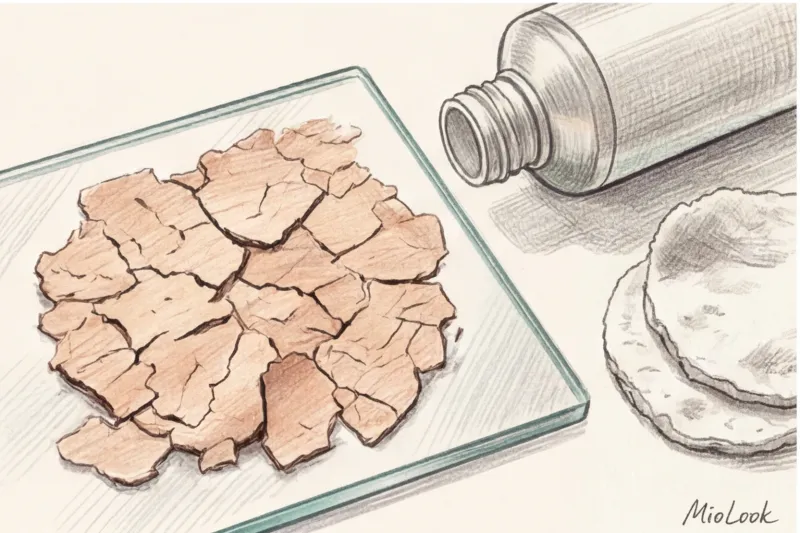
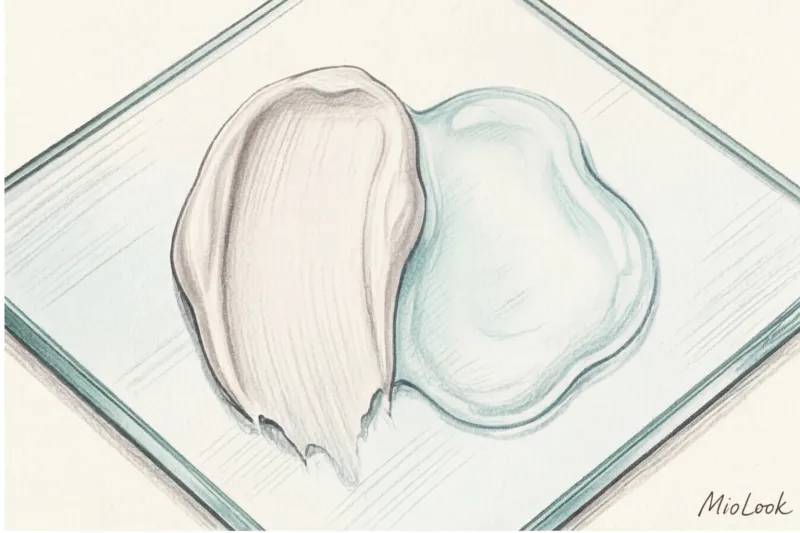
Let's look at the physics of the process. Any foundation is an emulsion consisting of water, oils, and dry pigments. According to research published in Journal of Clinical and Aesthetic Dermatology (2023) Dehydrated skin, trying to protect itself from harsh drying products, begins to produce 2-3 times more sebum. When you apply foundation to this "dried" skin, it instantly absorbs the moisture from the cream. Only dry pigment remains on the surface, which sinks into pores and highlights even the slightest flaking. As a result, by lunchtime, your face is shiny but also looks tight.
Step-by-step preparation of problem skin for makeup: my working protocol
Over 12 years of working as a stylist and image consultant, I've often had to prepare clients for photo shoots or performances under harsh spotlights. I've noticed one pattern: 70% of makeup longevity depends on what you apply to your face. to Foundation. Layers of care should be ultra-thin, and products should be intensely moisturizing but non-comedogenic.
My basic, foolproof protocol eliminates any aggressive interventions on the day of an important event. No harsh scrubs or thick creams based on pure shea butter. Just gentle exfoliation and deep hydration.
Your perfect look starts here
Join thousands of users who look flawless every day with MioLook. A smart AI stylist will help you choose clothes that complement your appearance.
Start for freeCleansing: Why 'Squeak' Is the Enemy of Long-Lasting Tone
Washing your face until it "squeaks" destroys the skin's hydrolipid mantle (its ideal pH is around 5.5). If you use a gel with harsh sulfates before applying makeup, you've already lost the battle for foundation longevity. I strongly recommend replacing harsh cleansers with gentle foams or papain-based enzyme powders. Enzymes gently dissolve dead skin cells without mechanical friction. Skin becomes smooth, meaning your foundation will lay evenly, like a "second skin," rather than getting stuck in the skin's microrelief.
Toning and acids: how to avoid burning your base
Aggressive peels (such as those with 30% glycolic acid) are strictly contraindicated before applying makeup, as they cause hyperemia (redness) and increase sensitivity. However, gentle acids are essential for pore control. Use toners with 1–2% salicylic acid (BHA). Salicylic acid is oil-soluble and gently penetrates pores, dissolving sebum plugs without over-drying the skin, as long as the toner doesn't contain denatured alcohol.
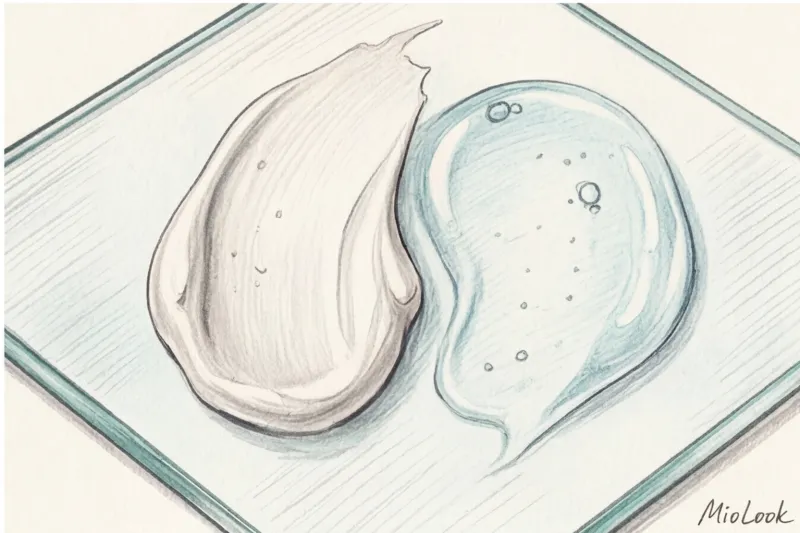
Hydration: The Secret That Changes Everything
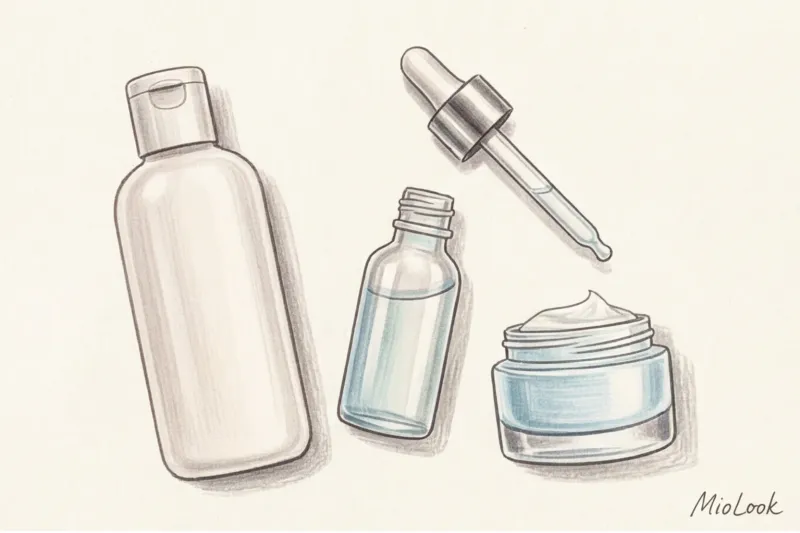
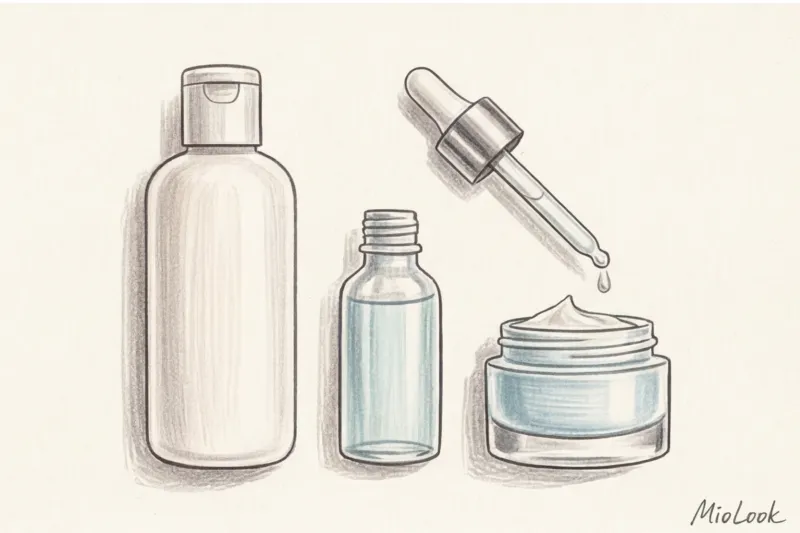
It may sound counterintuitive, but the more acne you have, the more moisture your skin requires before applying makeup. Thick, heavy creams from the mass market often contain mineral oil, which creates a greenhouse effect. Replace them with lightweight lamellar emulsions or gels containing hyaluronic acid (budget €15-€30, professional €50-€90).
The main rule here is the "three-minute rule." Apply a serum—wait three minutes. Apply a light cream—another three minutes. Let the products "set" completely, otherwise they'll mix with your foundation and form messy pellets.
Acne-Prone Skin Primers: Marketing vs. Reality
Silicone "pore sealers" are perhaps the most overrated product in any woman's makeup bag with problem skin. Yes, the dimethicone in them does blur pores for the first 40 minutes. But what happens next? In the dry office air, the silicone film begins to peel off from dehydrated skin, creating a patchy texture. Underneath, the film creates an ideal, airless environment for bacteria to thrive. Cutibacterium acnes.
"Poorly prepping your skin forces you to use twice as much foundation. Heavy primers often destroy the pigment's adhesion to the skin, making your makeup look obvious and harsh," notes world-renowned makeup artist Lisa Eldridge.
Does this mean primers are completely unnecessary? This restriction doesn't apply to all textures. If you have deep atrophic scars (post-acne), a microscopic drop of silicone primer, applied with your finger, only Applying it directly to the scar pit will really save the situation. But applying such a base all over your face is a crime against your skin. For the entire face, choose hydrating serum-primers that work like double-sided tape: they hydrate the epidermis and attract foundation.
Color Correction: How to Neutralize Redness Without a Mask Effect
As a certified colorist, I love working with Johannes Itten's color wheel. The basic rule of coloristics is that complementary (opposite) colors neutralize each other. Red pigments in inflammation are neutralized by green. But the devil, as always, is in the details.
Why do €10 green concealers from mass-market stores often make your face look gray and dirty? Because manufacturers make them in a pure, pastel mint shade. This color will only work on very fair, porcelain skin. If your skin tone is medium, olive, or tanned, a pure mint color against warm skin pigments will create a sallow, gray bruise. You need a concealer with yellow or olive undertones.
- Application is strictly point-based: The concealer is applied BEFORE the foundation with a micro-brush exclusively to the red pimple, without touching the healthy skin around it.
- Expectation: Let the concealer set for 30-40 seconds before applying foundation on top.
- Alternative: If you have extensive redness (such as rosacea), use a warm peach or yellow concealer instead of green—it will cover the redness more gently and won't leave gray marks.

How Makeup and Clothing Work Together: Harmony for Problem Skin
Have you ever noticed how some clothes make your skin look clean and fresh, while others make blemishes glow like neon? As an image consultant, I constantly work with this optical effect. Clothing in the portrait zone acts as a photo reflector.
If your skin is experiencing acne flare-ups, avoid pure reds, salmon, purple, and fuchsia shades near your complexion. These colors reflect off the skin and visually enhance any redness by 30-40%. Replace them with deep emeralds, muted blues, or classic neutrals (camel, graphite).
Another critical aspect is fabric texture. Shiny materials (silk, satin, viscose with a satin weave) reflect light and emphasize volume. If you have acne breakouts, a silk blouse will visually accentuate them. I recently styled a shoot for a client with severe acne: we swapped her glossy silk top for a matte jacket made of thick cotton (around 180 g/m²), and her skin instantly looked calmer and more even in the lens. Matte fabrics (wool, cashmere, linen) absorb light and visually smooth the skin's texture.

Ready to get started?
Try a free plan—no commitments required. Upload your items to the MioLook smart wardrobe and get ready-made combinations that perfectly suit your body type.
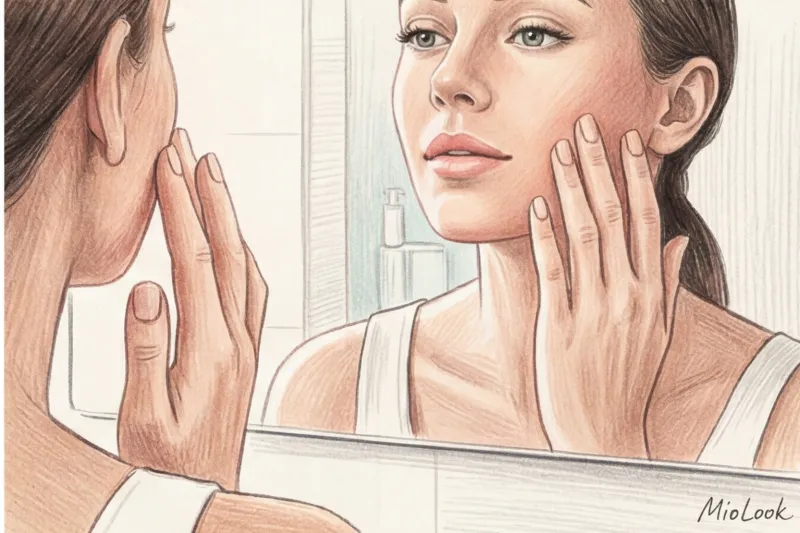
Start for freeChecklist: 5 Signs Your Skin Is Ready for Foundation
Before you reach for your sponge and foundation, do a quick checkup. Place the back of your hand on your cheek. Your skin is ready if:
- There is no feeling of tightness: You can smile widely without your face looking like stretched parchment.
- Temperature is normal: The skin should be cool and firm to the touch (if it is hot, it means there is an active inflammatory process or a reaction to acids - give it another 10 minutes to calm down).
- No sticky layer: The skincare products are completely absorbed. My fingers don't stick to my cheeks.
- The peeling is smoothed out: Dry areas around healing inflammations do not stick out as scales, but are softened by the emulsion.
- Redness is neutralized: The brightest spots are precisely covered with a corrector of the correct undertone and it is already fixed.
Makeup for acne-prone skin isn't about hiding behind a layer of plaster. It's about mastering texture, light, and color. Stop aggressively drying out breakouts, give your skin quality hydration, choose matte fabrics near your face, and you'll see how even a light foundation will create the illusion of flawless, luxurious skin that will last all night.