Have you ever noticed that sometimes a complete lack of makeup makes your face look fresher than painstakingly concealing signs of aging? You apply flawless foundation in the morning, leave the house, and by lunchtime, you accidentally glance in the elevator mirror—and see a tired woman, older than her years. Foundation has settled into your smile lines, turning a subtle shadow into a harsh wrinkle.
We have already discussed the physiology of age-related changes in more detail in our The complete guide to lifting makeup after 35 But today I want to talk about the most insidious area of the face. As a stylist working with the premium segment, I often see how improper makeup can ruin the impression of even the most expensive look.
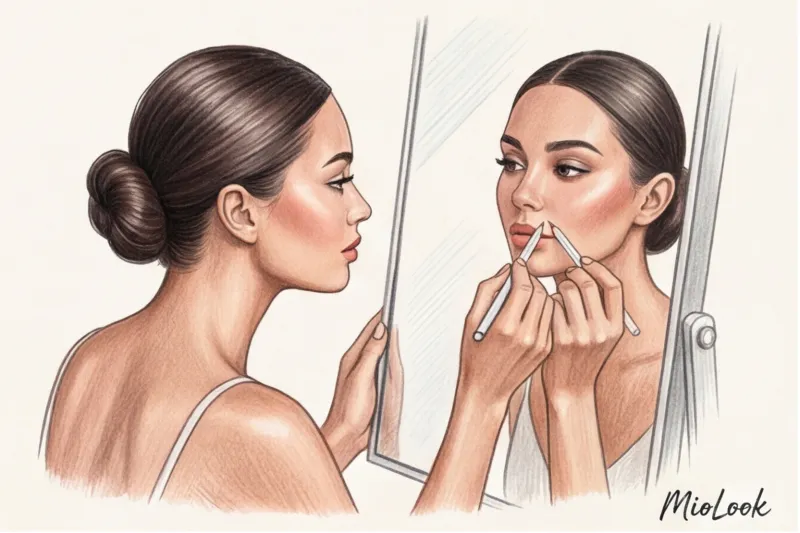
Let's figure it out, How to hide nasolabial folds with makeup without turning your face into a motionless mask, and why your wardrobe plays no less a role in this process than the contents of your makeup bag.
The Anatomy of a Shadow: Why Nasolabial Folds Become Visible
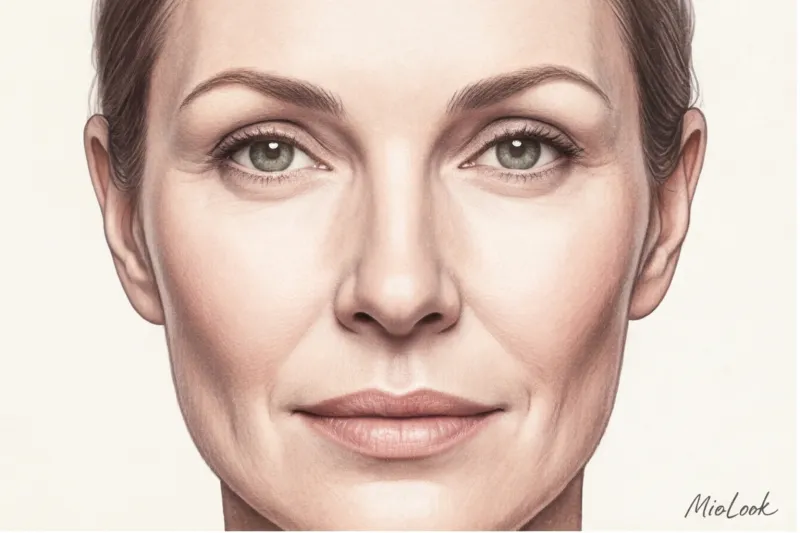
Before you reach for the brushes, you need to recognize your enemy. The nasolabial fold is more than just a wrinkle. It's a complex structural feature that forms not because the skin has "broken," but because of changes in the volume underneath.
According to research published in Aesthetic Surgery Journal (2023) Starting at age 30, we lose approximately 1–1.5% of our collagen annually. Skin thins, but that's only half the problem. The main culprits are gravitational ptosis and the displacement of fat pads. The volume that was present on the apples of the cheeks at age 20 slowly slides downward, overhanging the area around the mouth.
The result is a step. And where the step is, a shadow falls. What ages us in the mirror is not the line itself, but the gray-blue shadow that lies in its depths. And it is with the shadow, and not with the relief, that we have to work.
The biggest myth of beauty blogs: why you can't just fill in the crease with concealer
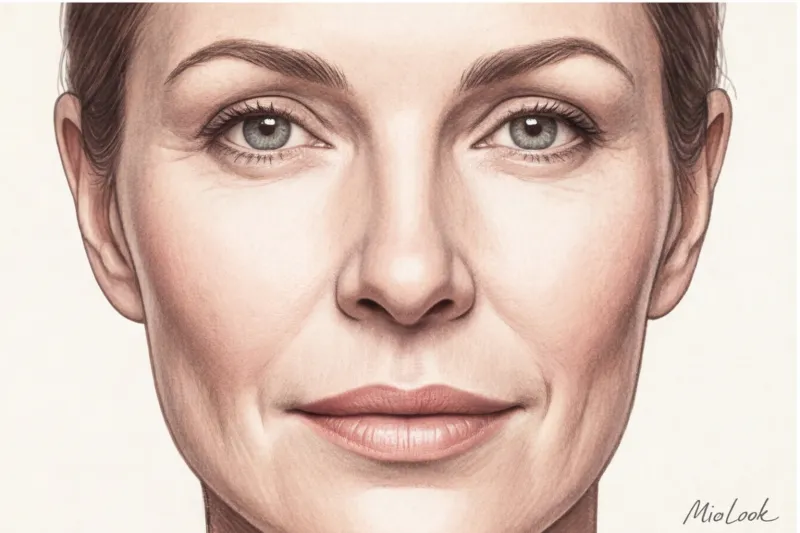
Videos garnering millions of views on social media depict bloggers using a thick, light concealer to create a "mustache" around their lips, blending it with a sponge to achieve a flawless complexion. The problem is, this only works under a ring lamp and only on skin in its 20s.
One of my clients, a top manager at an IT company, once wrote to me in a panic right from a conference. Her makeup artist had given her a "long-lasting matte foundation" for a stage presentation. By midday, after hundreds of smiles and vigorous articulation during the speech, the thick layer of camouflage had cracked. The makeup had slipped into her nasolabial folds, giving her a haggard look that even her impeccable Max Mara suit couldn't save.
Layered-cake effect in the high-expression zone
The area around the mouth is the most active part of our face. We talk, laugh, and eat. Research by cosmetic labs shows that 40% of heavy concealers crease in this area after just two hours. The more layers of foundation and heavy concealer you apply, the more severe the crease will be when facial expressions break through this coating.
Baking is the enemy of lifting
This is the main mistake I regularly see. The "baking" technique (applying a thick layer of loose powder with a damp sponge to set it) is absolutely contraindicated for lifting makeup.
"Dry powder textures act like microscopic sponges. They draw moisture from already thinned, aging skin, turning fine lines into deep trenches. Applying powder to the nasolabial folds visually ages a woman by 5-7 years."
Your perfect look starts here
Join thousands of users who look flawless every day with MioLook. Our smart algorithm will help you create a wardrobe that will highlight your beauty.
Start for freeThe Architecture of Light: How to Hide Nasolabial Folds with Makeup
Since we can't smooth out the contours with makeup (let's leave that to cosmetology), we must create an optical illusion. Our goal is not to conceal the crease, but to brighten the shadow falling within it. To do this, we'll use the principles of coloristics from professional makeup artistry.
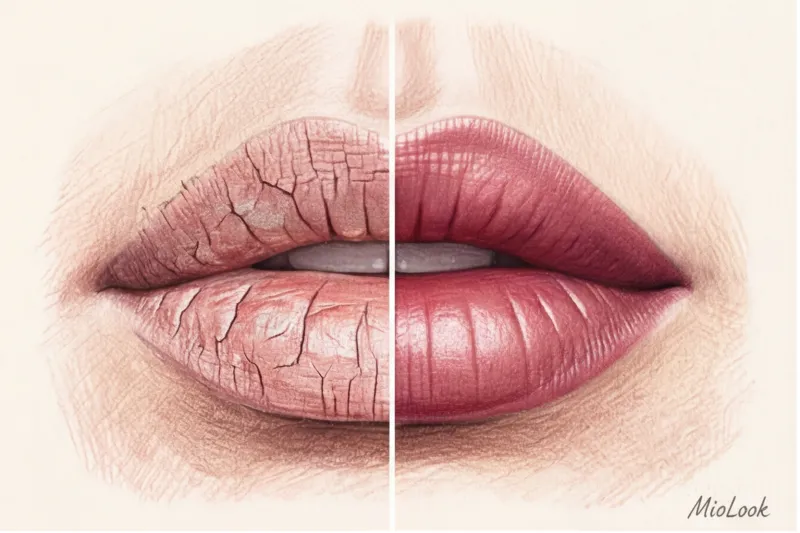
Step 1: Moisturize with serums (not nourishing creams!)
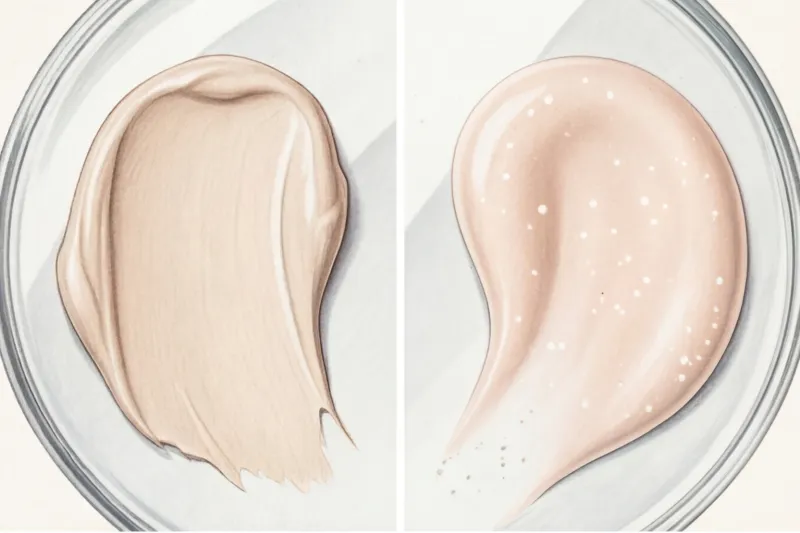
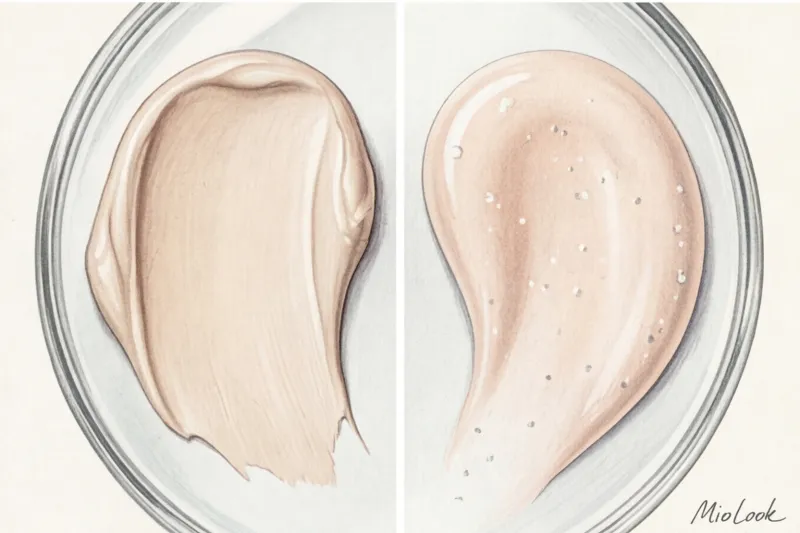
The foundation for success begins before applying makeup. Many people mistakenly apply thick, nourishing creams to wrinkles, hoping to smooth them out. In reality, a thick base causes any concealer to run.
Use lightweight primers or serums with hyaluronic acid microspheres. They act like fillers: they absorb moisture and swell slightly, pushing out minor imperfections from within. The skin becomes smooth, but not slippery. By the way, proper skin preparation is half the battle if you want to create a sophisticated complexion. French style makeup.
Step 2: Shadow Color Correction (Pro Secret)
Look at your nasolabial fold in daylight. You'll see that the shadow there has a grayish or bluish undertone. Applying a regular beige concealer over it will create a dirty, sallow look.
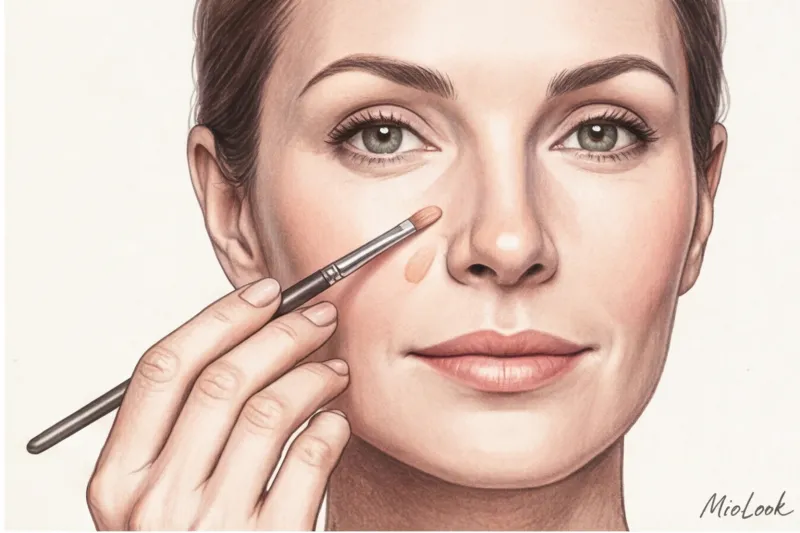
According to the Itten color wheel, blue-gray is neutralized by warm orange. Take a peach or salmon color corrector. Apply just one micro-drop directly to the bottom of the crease (where the shadow is darkest) and tap it in with the pad of your ring finger. The warm pigment will instantly "melt out" the grayness.

Step 3: Spot highlighting (illusion of volume)
Now take a light-reflecting concealer half a shade lighter than your skin tone. Apply it in dots, not in a solid line—at the corner of your nose and in the middle of your crease. Blend in the direction of the light. up , onto the overhanging roller to visually smooth out the difference in height. Never stretch the skin when blending with the sponge—use light, patting motions.
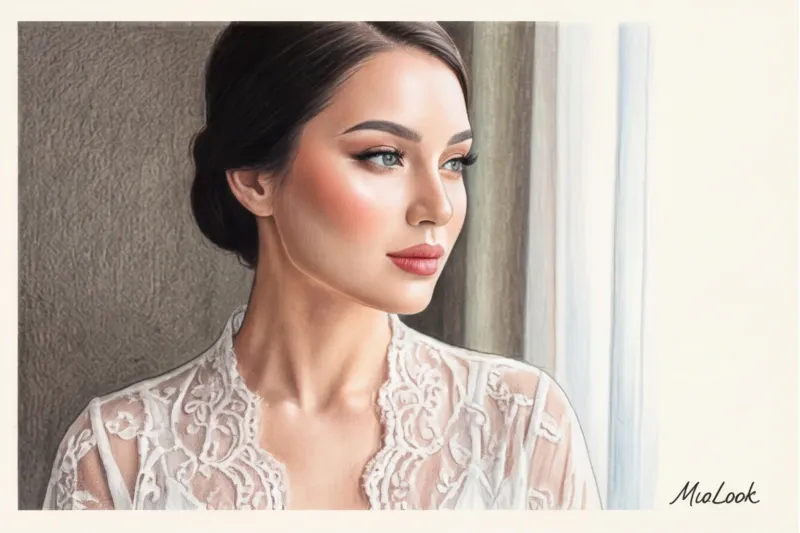
Distraction: Shifting Focus and Incorporating Wardrobe
Makeup doesn't exist in a vacuum. As a stylist, I always evaluate the entire look. You can create perfect shadows on your face, but if you wear a matte turtleneck in black or turquoise, it will absorb all the light around your face and cast new, harsh shadows on your nasolabial folds.
Enable portrait zone:
Replace matte knitwear near your face with reflective fabrics. A silk blouse in pearl, cream, or dusty pink works like a professional photographer's softbox. It reflects light upward, highlighting your chin and softening the shadows in the nasolabial fold. Want to see which shades suit you? Try uploading your images to MioLook — Artificial intelligence will analyze your contrast and suggest ideal colors for the portrait area.
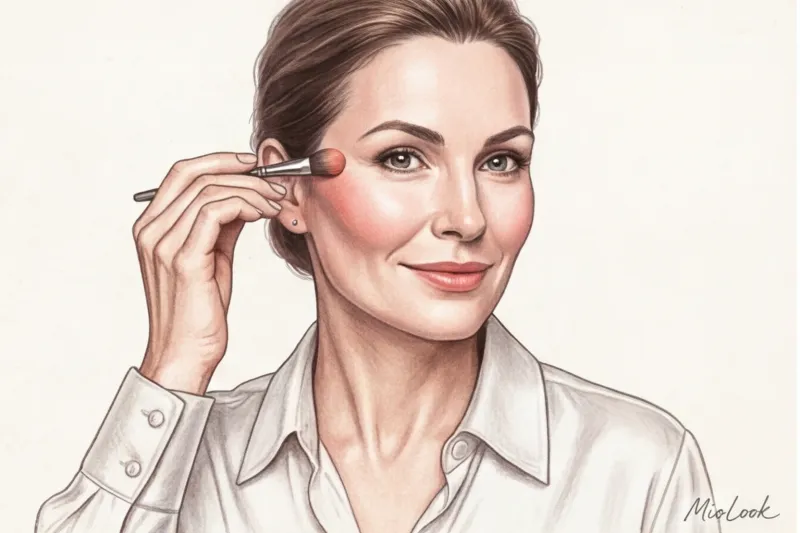
High Blush:
Shift the focus from the lower third of your face to the upper. Apply blush not to the classic "apples" of your cheekbones (which sag with age), but to the protruding part of your cheekbones, blending the color diagonally toward your temples. This creates a powerful visual lifting effect. This technique is especially often used when creating old mane makeup , where the emphasis is on the sculpture of the face.
Choosing the Right Textures: What's Worth Investing In?
I always tell my clients: you can skimp on mascara or lip liner, but facial products must be of impeccable quality. Mass-market products often resort to coarsely ground pigments, which inevitably settle into pores and wrinkles.
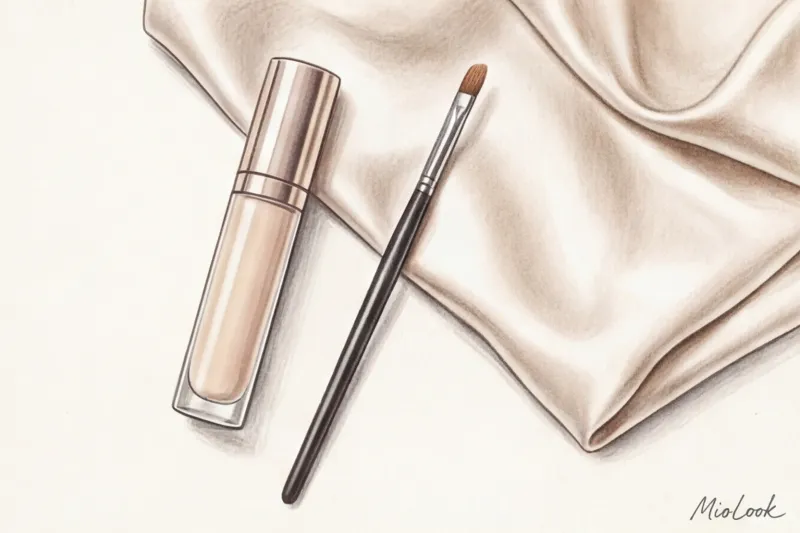
- Fluid concealer (Illuminating concealer): Forget about labels Full Coverage or Matte Look for ingredients including squalane, peptides, and light-reflecting particles. The texture should resemble a lightweight serum. Premium options cost between €40 and €60, but their use is minimal—one tube will last for 6-8 months of daily use.
- Tools: A huge, damp sponge isn't suitable for precise application to wrinkles. Invest in a small, synthetic barrel brush (similar to an eyeshadow blending brush). It allows you to precisely tap the product into the bottom of the crease without smearing it all over your cheek.
Ready to get started?
Try the MioLook plan for free—no commitments required. Organize your smart wardrobe and create looks that highlight your natural beauty every day.
Start for freeChecklist: Check your lifting makeup before you go out
Makeup may look luxurious in the soft light of a bathroom, but the outdoors is unforgiving. Be sure to do a quick patch test before leaving the house.

- Smile test: Smile broadly in front of the mirror, hold this expression for a couple of seconds, and relax your face. If you see pigment pooling in a stripe, gently tap the area with a clean finger, removing any excess product.
- Light test: Stand near a window with cool daylight, then check your face under overhead artificial lighting. The shadow should appear less deep, not like a washed-out spot.
- Blotting with a napkin: If an oily sheen appears in the nasolabial fold area during the day, highlighting the contours, avoid powdering this area! Use a thin, mattifying tissue and simply blot away any excess sebum.
Important clarification: You need to be honest with yourself. This optical trick does NOT work on severely dehydrated, flaky skin—the pigment will simply cling to the dry flakes. Also, makeup cannot completely erase deep, structural grade-three wrinkles; it only visually softens them.
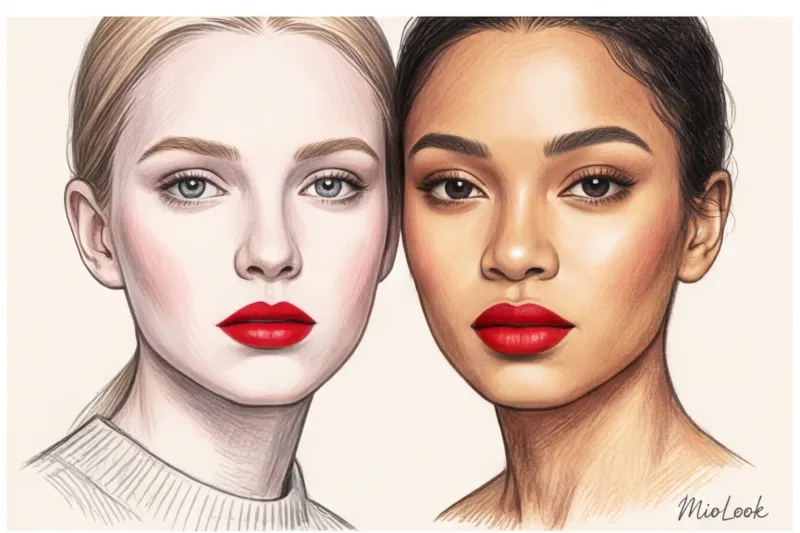
Effective adult makeup isn't about trying to replicate your 20-year-old self. It's about properly distributing light and shadow, highlighting your well-groomed appearance. Don't try to plaster over your facial expressions—leave your face free to express emotion, simply by subtly toning down shadows that add to a tired look. And remember, your smile distracts from wrinkles far better than the most expensive concealer in the world.