The Anatomy of Invisible Support: Why Taping Is Replacing Classic Underwear
September, Paris. Backstage at Fashion Week. A model has exactly 40 seconds to swap a heavy tweed jacket for a slip dress made of the finest silk, cut on the bias. Under these circumstances, a classic bra is an architectural disaster. Any seams, straps, or even smooth cups inevitably disrupt the flowing geometry of the silhouette. It's here, amidst the hangers and hot spotlights, that rolls of elastic come to the rescue.
Today the question is, How to apply breast tape , has ceased to be a strictly professional secret of stylists. It's no longer an Instagram trick to create the illusion of being two sizes bigger, but a precise engineering task of creating an invisible frame. We've already discussed the concept of this approach in more detail in our complete guide to The perfect lingerie for an open dress: invisible styling.
Why are traditional silicone bras (so-called invisible bras) rapidly losing their relevance? During a shoot in Rome, when the studio temperature reached 35 degrees Celsius, I witnessed a classic silicone failure: under a heavy velvet dress, the bras literally melted from the slightest sweat. Silicone is completely non-breathable. Tapes, borrowed from sports medicine, act like a second skin, wicking away moisture and withstanding hours of dancing.
Choosing a Material: How Kinesio Tape Differs from Fashion Tape
According to reports from the analytical agency WGSN (2024), the trend for "naked dresses" and translucent textures has increased sales of specialized fashion tapes by hundreds of percent. But herein lies the beauty industry's main marketing ploy.
Take a look at the ingredients of a popular fashion tape from an expensive boutique for €25 and compare it to a roll of sports kinesiology tape from your local pharmacy for €6. You'll see an identical formula: 95% cotton, 5% elastane (or spandex), and hypoallergenic acrylic adhesive. The price difference can be up to 300% simply due to the pink packaging and the word "fashion" on the label.
Sports physiotherapists confirm that high-quality cotton tape has 140–170% stretchability, which is fully consistent with the elasticity of human skin. For working on the décolleté area, you don't need special tape; you just need the right tool.
Ideal Tape Properties: A Pre-Purchase Checklist
- Width: The standard 5 cm is suitable for sizes A and B. For breasts of size C and larger, look for a width of 7.5 cm or even 10 cm—this will reduce the number of layers and reduce the strain on the skin.
- Shade: Buy tape that matches your skin tone, not the universal black or white. Camera flashes will show through thin silk, and contrasting tape will be treacherously visible.
- Paper backing: The reverse side must have a centimeter grid. This is critical for cutting the strips symmetrically.
Try MioLook for free
A smart AI stylist will select the perfect look for your body type and wardrobe.
Start for freeGolden Rules of Skin Prep (Spoiler: Scrubs Are Your Enemy)
The most common reason why tape peels off after an hour or, conversely, comes off along with the top layer of skin is improper preparation. Most women decide to indulge in a spa ritual before a big night: a hot shower, a harsh scrub, and a nourishing cream. This is a fatal mistake for taping.

Dermatologists warn: the stratum corneum is your natural defense. If you use a scrub or acid peel 24 hours before the procedure, the acrylic adhesive will bond to living skin cells. Removing the tape is guaranteed to cause a mechanical burn. The skin must be intact, dry, and completely free of oil.
Three steps to safe preparation:
- No micellar water. It contains glycerin and surfactants that leave a microfilm. Use regular alcohol wipes from the pharmacy to wipe the application area.
- Absolute dryness. After wiping, let the skin dry for at least 2-3 minutes.
- Protection of the areolas is a strict law. The skin in this area is incredibly thin and sensitive. If you don't have special silicone nipple shields, simply cut a circle from a regular cotton pad and place it under the center of the tape. Never apply acrylic adhesive to the areolas.
How to apply breast tape: 4 architectural patterns for complex cuts
In clothing design, pattern construction is governed by the laws of physics. The same applies to kinesiology tape. The main rule I explain to every client is: The tape works only due to the stretch in the middle of the tape..
The first and last 2-3 centimeters of the strip are called "anchors." They are glued with zero tension If you pull the tape by the very ends and stick them in place, the tape will begin to peel off within ten minutes, pulling the skin with it. Let's look at some basic patterns that will come in handy if you choose... What to wear on a first date or getting ready for a grand entrance.
Plunging V-neck
This pattern is ideal for dresses with a midriff neckline. Your goal is to create support at the sides while leaving the center completely open.
- Measure the tape from the bottom of your chest to your collarbone.
- Glue the bottom anchor (2 cm) strictly under the chest, without tension.
- With one hand, lift the breast to the desired position, and with the other, remove the backing, pull the tape 30-40% and move it along the outer contour of the breast towards the shoulder.
- Fix the top anchor (last 2 cm) without tension.

Backless & Strapless
Here we're creating an invisible "balconette." The straps shouldn't extend down the back or up to the shoulders.
- Cut several short strips (10-15 cm).
- Glue them horizontally and slightly diagonally, starting from the armpit to the center of the sternum.
- Each subsequent strip should overlap the previous one by half (like a tile). This will create a dense framework that pushes the volume upward.
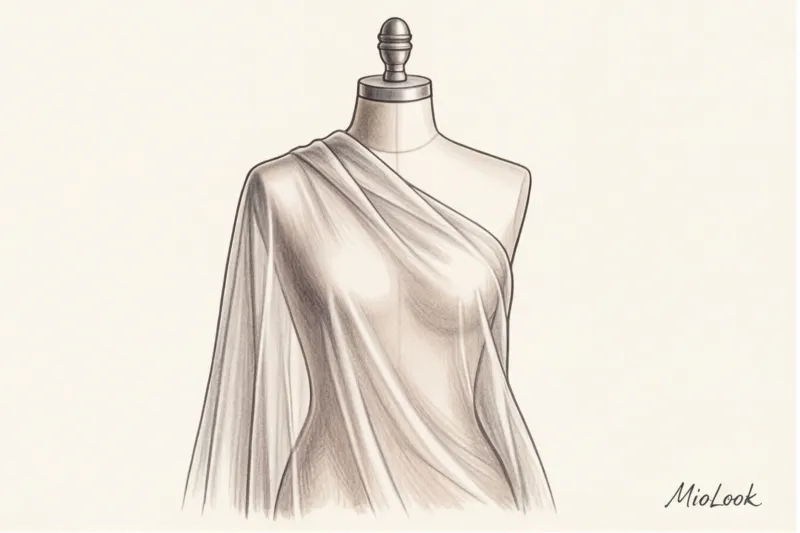
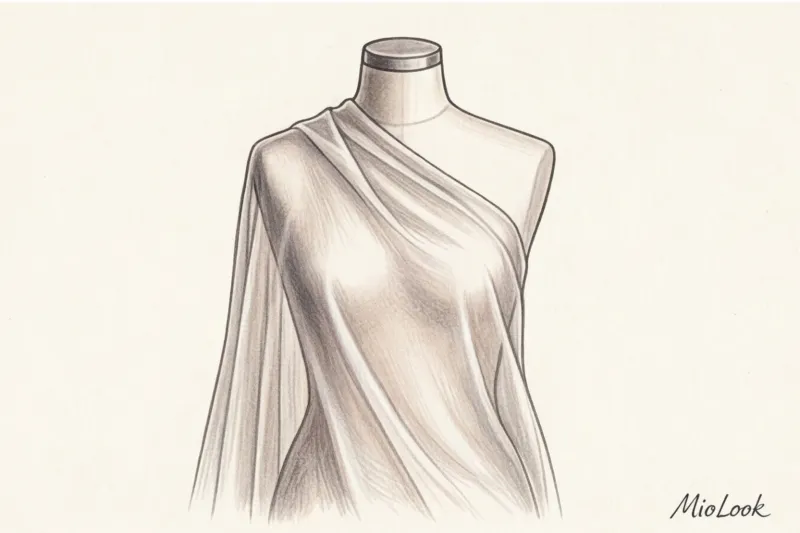
One-shoulder asymmetry scheme
When one shoulder is open, we use the suspension bridge principle, transferring all the weight to the “working” side.
- Start gluing the tape from the lower contour of the open chest, directing the vector diagonally across the sternum to the closed shoulder.
- Create two or three of these diagonal lines for security. This will compensate for the lack of fabric on one side and prevent the neckline from slipping.
Your perfect look starts here
Join thousands of users who look flawless every day with MioLook. Create your own virtual capsule collection.
Start for freeCommon mistakes beginners make: why tape peels off or ruins the silhouette
In 12 years of working behind the scenes on film, I've seen a lot of mistakes, but three in particular are repeated with alarming regularity.
Mistake number one: the “flattened” breast effect. This occurs when a woman takes one long tape and pulls it horizontally across both breasts with maximum force (tension greater than 50%). Instead of a beautiful cleavage, the result is a flat, monolithic appearance. The tape should gently lift the tissue, not compress it.
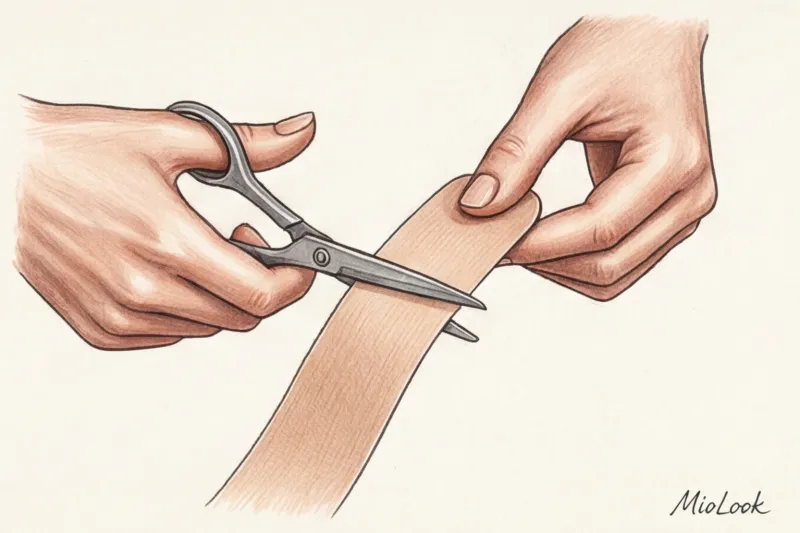
Mistake two: sharp corners. This is my favorite insider lifehack. If you simply cut a piece of tape from a roll, it will be left with four sharp, straight corners. When rubbed against the lining of your dress, these corners will curl, and the tape will peel off. Always round the ends of the tape with scissors before removing the paper backing.
Error number three: incorrect direction of thrust. When applying the tape, pull the tape itself over the breast, securing it in the desired position, rather than trying to stretch the skin with the adhesive. Otherwise, painful red blisters will appear along the edges of the anchors.
Safe removal: how to remove tape without microtrauma
The worst thing you can do after a long night of partying is try to rip off the tape quickly, like a regular bandage. The thing is, the acrylic adhesive is thermoactive. Your body heat literally fuses it to your skin within a few hours.
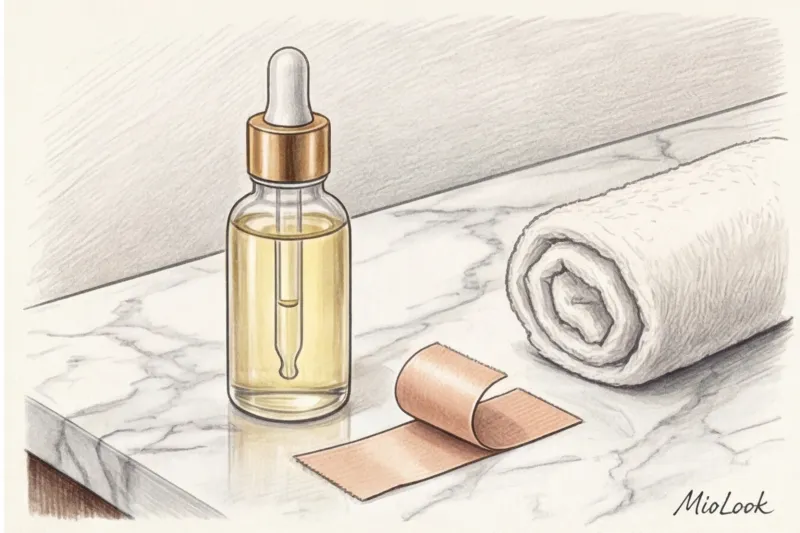
To remove the tape without tears or redness, you'll need regular baby oil or any basic cosmetic oil (even olive oil from your kitchen will do). Saturate the tape generously with the oil directly over the fabric. Cotton absorbs liquids well. Leave it on for 10-15 minutes. The oil will break down the acrylic adhesive.
After this, do not pull the tape upward (away from you). The safe removal technique is rolling. Hold the skin with one hand and slowly roll the tape parallel to the skin with the other. If the tape is difficult to remove, add another drop of oil.
Checklist: Putting together an SOS kit for your dream dress (and how to integrate it into MioLook)
To be prepared for any dress code, from a formal corporate party to a friend's wedding, pack a small cosmetic bag that will always be on hand.
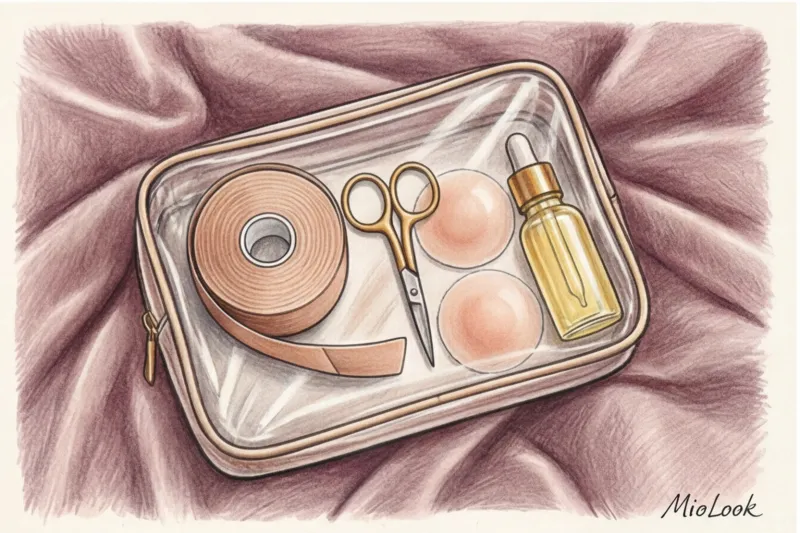
Your arsenal should include:
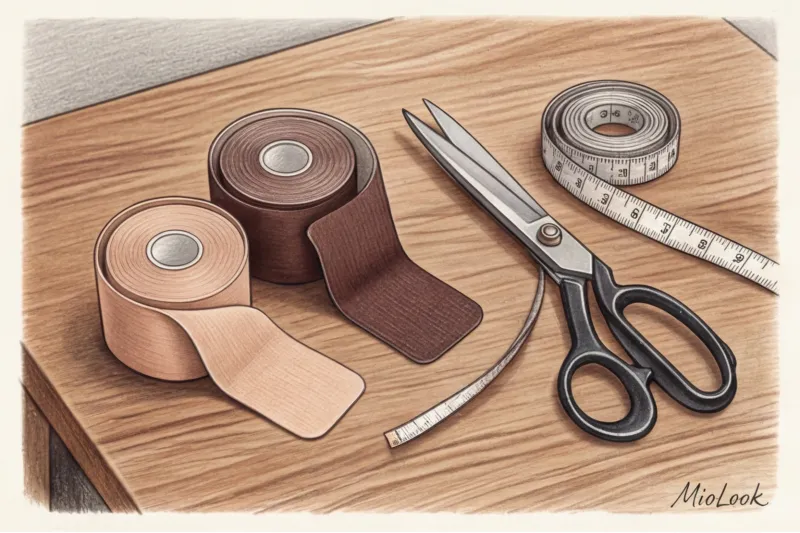
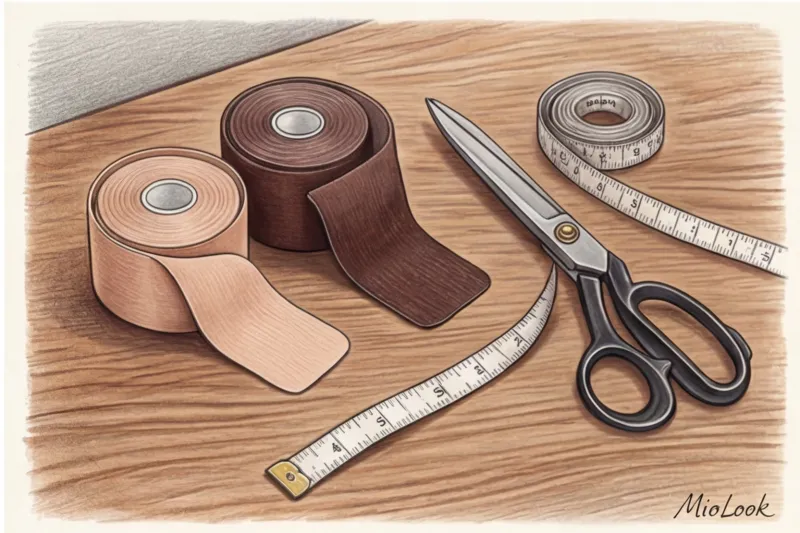
- Wide kinesio tape (7.5 cm) in your skin tone (price range €6–12).
- Sharp tailor's or cosmetic scissors for trimming corners.
- Alcohol wipes (2-3 pieces).
- Silicone or fabric areola pads.
- Mini bottle with cosmetic oil for delicate removal.
When you integrate functional lingerie into your routine, wardrobe management takes on a whole new level. I recommend my clients digitize complex dresses in an app. MioLook , using special tags: deep neckline , open back or "requires tapes".
When the smart MioLook algorithm suggests you an image for an upcoming event - for example, you will be looking for inspiration for What to wear on a date , - you will immediately see whether this silk top requires preliminary technical preparation.
Once you master the correct tension geometry, you'll never again be held hostage by straps and underwire. Complex cuts, flowing fabrics, and deep necklines will no longer cause stress. A proper frame is the foundation that allows you to focus on what matters most: your self-image and confidence.