Буквально месяц назад моя клиентка в панике прислала мне фото. Она попыталась спасти свои новые лоферы Prada за $800 от легкой потертости, последовав вирусному совету из TikTok — густо намазала их питательным кремом для рук. Результат? На матовой телячьей коже появилось огромное невыводимое жирное пятно, а сама потертость никуда не исчезла. Вместо пяти минут профессиональной коррекции ей пришлось отдавать обувь в премиум-мастерскую на полную перекраску.
За 12 лет работы стилистом я видела сотни испорченных пар. Мы привыкли относиться к обуви либо как к расходному материалу, либо как к музейному экспонату. Но грамотный уход — это просто защита ваших инвестиций в гардероб. В этой статье мы разберем профессиональный реставрационный подход и выясним, как убрать царапины на кожаной обуви без риска отправить ее в мусорное ведро. Подробнее о базовой рутине мы рассказали в нашем полном гиде по уходу за кожаными вещами, а здесь сфокусируемся именно на 'хирургическом' вмешательстве.
Анатомия повреждений: почему появляются царапины и как оценить ущерб
Кожа не монолитна. Это сложный многослойный «сэндвич», и то, что мы видим на поверхности — лишь верхушка айсберга. Стандартная кожа хромового дубления состоит из самой дермы (мездры), грунтовочного слоя, пигментной краски и прозрачного финишного покрытия (часто полиуретанового).
Когда вы задеваете носком туфли ступеньку, происходит одно из двух. Либо вы сдираете только верхний лак — это потертость. Либо пробиваете все слои до самой структуры кожи — это царапина.
«По статистике обувных реставраторов, 80% повреждений, которые выглядят для владельца как абсолютная катастрофа, затрагивают лишь верхний финишный слой толщиной 0.1 мм. Они убираются за 15 минут правильной химией».
Почему идея просто «замазать все обувным кремом» работает плохо? Все дело в физике. Царапина меняет угол преломления света. Даже если вы заполните углубление черным пигментом, рваные края кожи будут иначе отражать свет, и дефект останется заметным. Ваша задача — не закрасить, а восстановить ровную плоскость.
И не стоит недооценивать важность этой процедуры. По данным исследований Ассоциации SATRA (2023), обувь — это первый элемент гардероба, на который обращают внимание 70% людей при знакомстве или на деловой встрече. Сбитые мысы мгновенно разрушают даже самый дорогой образ.
Организуйте свой гардероб с умом
Храните фото обуви, планируйте ремонт и собирайте образы в одном месте. Умный AI-стилист MioLook поможет вам всегда выглядеть безупречно.
Начать бесплатноМифы из интернета: как НЕ надо реставрировать кожу
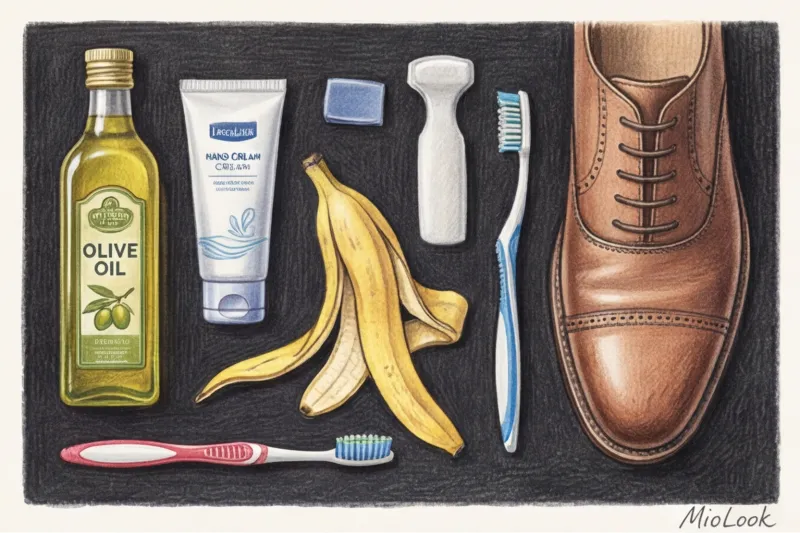
Интернет переполнен вредными советами. Если вы введете запрос про удаление царапин на кожаной обуви, первые ссылки предложат вам натереть туфли оливковым маслом, банановой кожурой или нагреть их строительным феном.
Фен действительно может визуально сгладить микро-заломы на дешевой обуви, потому что он просто плавит полиуретановое покрытие. Но одно неверное движение — и вы сожжете финишный слой до образования пузырей. Это необратимый процесс.
Почему крем для рук убьет ваши туфли
Самая частая ошибка — использование человеческой косметики. Кожа на ваших руках живая, она постоянно обновляется и впитывает влагу. Кожа на туфлях — мертвая, прошедшая сложный процесс химического дубления.
Косметические кремы и пищевые масла (вроде оливкового) содержат невысыхающие жиры. Они не полимеризуются на воздухе. Попадая в царапину, они пропитывают мездру, делают ее рыхлой, притягивают уличную пыль и запускают процесс окисления. Через полгода волокна в этом месте начнут банально гнить. Профессиональная обувная косметика состоит из твердых восков и летучих растворителей: растворитель доставляет пигмент и испаряется, а воск кристаллизуется, создавая защитный щит.
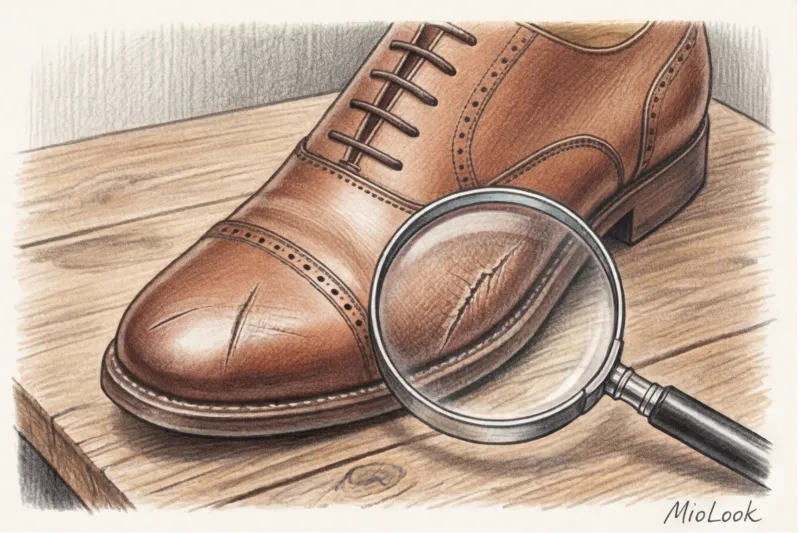
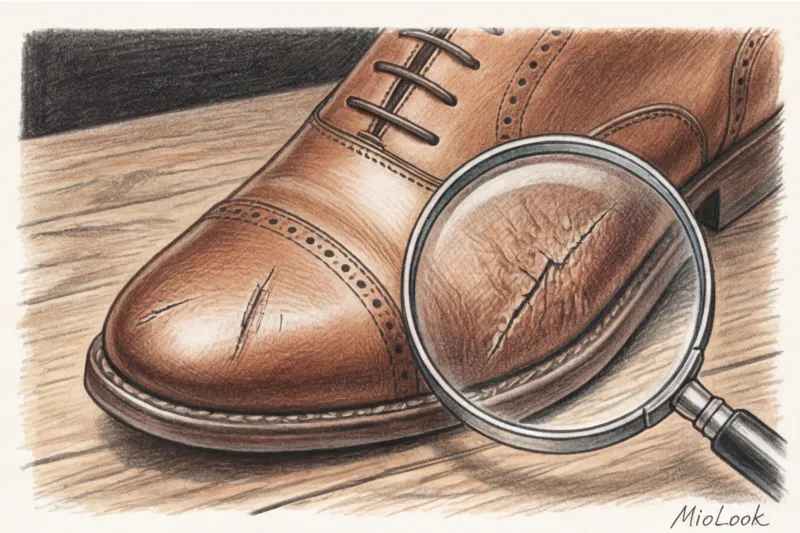
Оцениваем масштаб: 3 типа повреждений и стратегия спасения
Перед тем как начать спасательную операцию, проведите диагностику. Я всегда советую клиенткам использовать камеру смартфона в режиме макросъемки. Сфотографируйте царапину со вспышкой и приблизьте — вы сразу увидите, порваны ли волокна.
Мое золотое правило стилиста: если царапина глубокая (видно светлую изнанку кожи) и длиннее 5 сантиметров — не рискуйте, несите обувь в мастерскую. Домашние методы здесь бессильны, потребуется профессиональная шпаклевка и аэрограф. С остальным мы справимся сами. В приложении MioLook, где я помогаю клиентам вести инвентаризацию гардероба, мы просто ставим таким вещам статус «требует ремонта», чтобы случайно не включить их в образ на неделю.
Поверхностные потертости (scuffs)
Это темные или белесые полосы. Чаще всего они появляются от трения о резиновые коврики в машине, турникеты метро или колесики офисного кресла. Сама кожа не повреждена — на ней просто остался чужой материал (резина) или содран микрон родного лака. Решаются глубокой очисткой и легкой тонировкой.
Неглубокие царапины с задиром (tears)
Тот самый случай, когда вы зацепились за острую грань, и кусочек кожи отвернулся в виде маленькой «чешуйки», но не оторвался до конца. Это идеальный сценарий для склейки. Главное правило — ни в коем случае не отрывайте этот лоскуток!
Не знаете, с чем носить восстановленную обувь?
Загрузите фото любимых туфель в MioLook, и алгоритм подберет десятки стильных сочетаний из вашего гардероба.
Подобрать образКак убрать царапины на кожаной обуви: пошаговый алгоритм
Этот протокол я подсмотрела у лондонских обувных реставраторов. Он требует терпения, но гарантирует результат. Важное ограничение: этот метод не подходит для замши, нубука и лаковой кожи (patent leather). Также категорически запрещено сушить обувь на батарее между этапами — кожа пересохнет и треснет в новых местах.

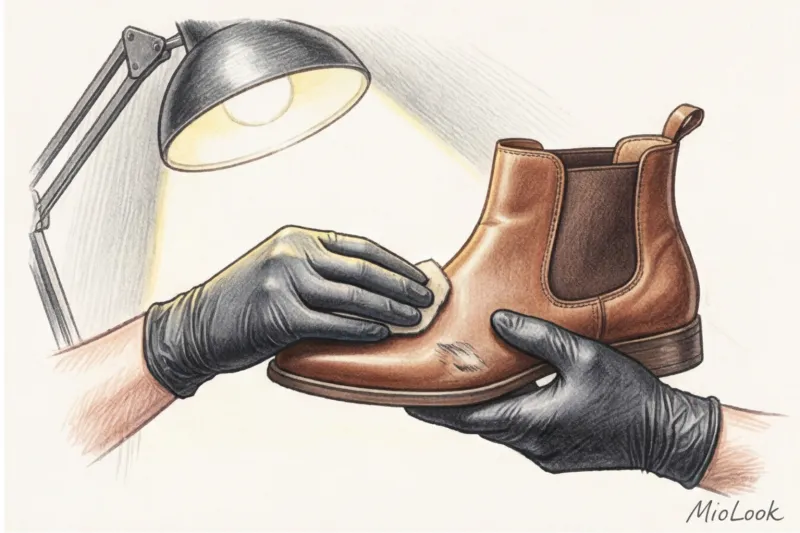
Этап 1: Глубокое очищение и подготовка
Нельзя наносить реставрационные составы поверх уличной грязи и слоев старого гуталина. Возьмите сильный очиститель (деглазер), например Saphir Renomat или его аналог. Нанесите каплю на хлопковую ткань и жестко протрите место вокруг царапины. Кожа станет матовой — вы сняли старый финиш. Теперь сцепление (адгезия) новых материалов будет идеальным.
Этап 2: Использование «жидкой кожи» и склейка задиров
Если есть оторванная «чешуйка», аккуратно нанесите под нее микрокаплю жидкой кожи с помощью зубочистки и прижмите на 10 минут.
Для обычных царапин жидкая кожа работает как шпаклевка. Секрет идеальной маскировки: берите цвет на полтона темнее самой обуви. Царапина, замазанная более светлым составом, бросается в глаза втрое сильнее. Наносите состав тончайшим слоем, сглаживая края пальцем в перчатке. Лучше положить три полупрозрачных слоя с просушкой по 20 минут, чем один толстый, который потом отвалится куском.
Этап 3: Полировка и фиксация результата (глассаж)
Когда жидкая кожа высохла, место ремонта будет матовым и тусклым. Теперь нам нужно выровнять текстуру. Возьмите твердый обувной воск (в жестяной банке, желательно с содержанием карнаубского воска).
Намотайте гладкую хлопковую салфетку на указательный и средний пальцы. Капните на мыс туфли одну маленькую каплю ледяной воды. Возьмите на салфетку микродозу воска и начинайте втирать круговыми движениями без сильного нажима. Вода не даст воску глубоко впитаться, и он начнет кристаллизоваться на поверхности, скрывая все переходы текстуры и создавая зеркальный блеск.
Особенности восстановления разных типов кожи
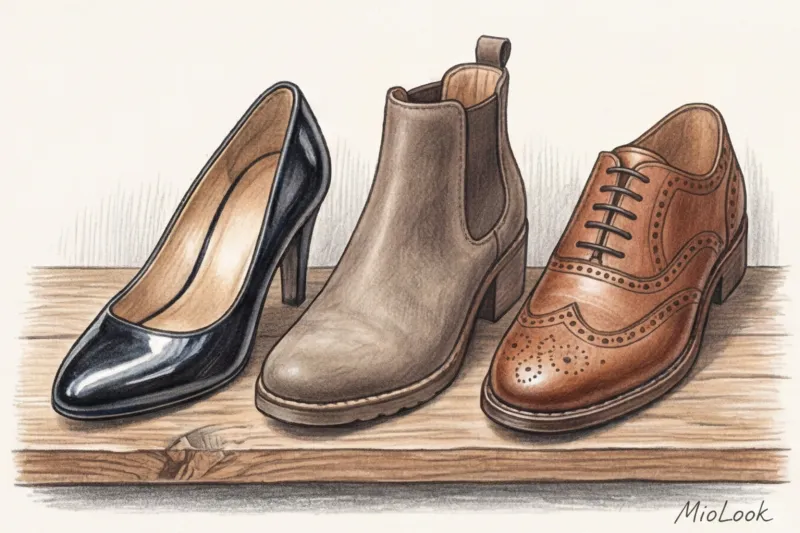
Одна из главных причин неудач в домашнем ремонте — вера в универсальные средства. Тот тюбик, что идеально заклеил кроссовки из Zara, навсегда испортит броги из премиум-бутика.
Анилиновая и растительного дубления (премиум)
Это самая дорогая и «живая» кожа без полиуретанового панциря. Она впитывает влагу за секунды. Если вы нанесете на нее жидкую кожу, останется уродливое пластиковое пятно. Такие царапины не шпаклюют, а «запитывают». Используйте только мягкие кремы (pommadier) на основе пчелиного воска и натуральных пигментов. Царапина не исчезнет физически, но потемнеет, напитается и станет благородной патиной — признаком дорогой обуви, которая красиво стареет.
Пигментированная и экокожа (база)
90% обуви в масс-маркете и среднем сегменте. Сверху у нее прочный слой акрила или полиуретана. Здесь работает обратное правило: дорогие питательные кремы для нее бесполезны, они просто высохнут на поверхности липкой пленкой. Зато здесь идеально работает жидкая кожа и акриловые финиши. Вы буквально воссоздаете пластиковый слой.
Добавьте эстетики в каждый день
Постройте капсульный гардероб, в котором каждая вещь идеально сочетается с другой. MioLook сделает это за пару кликов.
Начать бесплатноСкорая помощь в офисе: что делать, если вы поцарапали обувь перед встречей
Представьте: до важных переговоров или собеседования 10 минут, а вы в лифте замечаете белую глубокую борозду на черном мысе своих оксфордов. У вас нет времени на деглазеры и многослойную сушку.
В моем рабочем чемоданчике стилиста на съемках всегда лежит обычный восковой карандаш (подойдет даже качественный детский мелок нужного цвета) и бальзам для губ. Это классический «трюк из гримерки». Если царапина светлая на темной коже, заштрихуйте ее мелком, а сверху локально (строго только на саму царапину!) вбейте каплю бесцветного бальзама для губ или гигиенической помады. Воск заполнит пустоту, а жир из бальзама временно затемнит края.
Второй психологический трюк: отвлеките внимание. Если мыс обуви в целом чисто отполирован, микроцарапина на боковой части просто потеряется в бликах. Возьмите бумажную салфетку, плюньте на нее (да, простите, но ферменты слюны отлично работают в экстренной ситуации) и энергично отполируйте мыски. Глаз собеседника зацепится за блеск, а не за дефект.
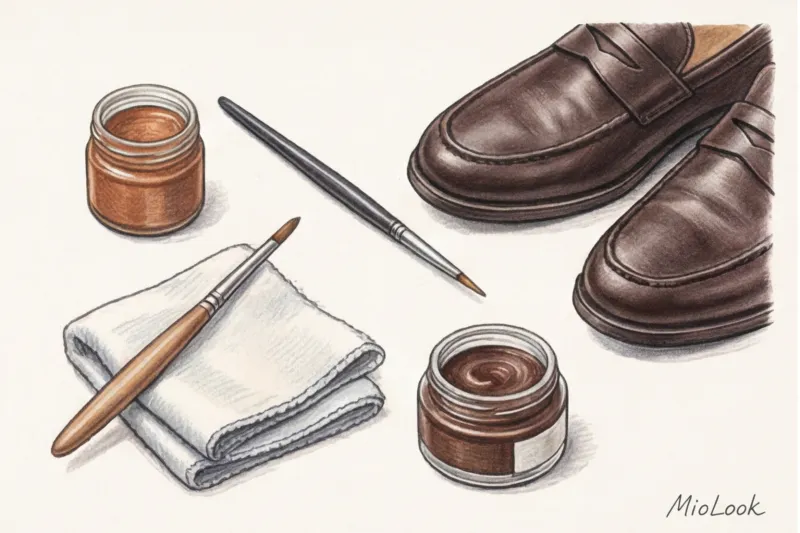
Чек-лист: собираем домашнюю аптечку для обуви
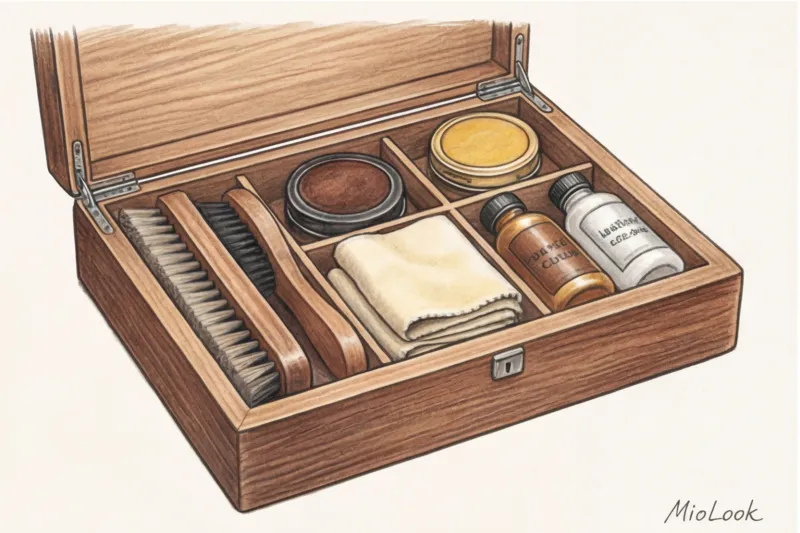
Регулярное увлажнение и правильная реставрация мелких царапин продлевает жизнь качественной кожаной обуви в среднем на 2-3 года. Вместо того чтобы покупать новую пару каждый сезон, соберите базовый набор, который сэкономит вам сотни евро:
- Щетка из жесткого конского волоса (не синтетика! Синтетика царапает финиш).
- Очиститель-деглазер (типа Saphir Renomat) для снятия старой косметики.
- Крем в стеклянной банке с пигментом (для питания и восстановления цвета).
- Твердый воск в жестянке (для защиты мысов и пяток).
- Тюбик жидкой кожи (базового цвета вашей обуви — черного или коричневого).
Уход за обувью — это не повинность. Мои клиенты часто признаются, что неспешная медитативная полировка туфель воскресным вечером стала для них отличным способом заземления и подготовки к рабочей неделе. Относитесь к своим вещам с уважением, используйте правильные технологии вместо сомнительных интернет-лайфхаков, и ваша обувь будет говорить о вашем статусе лучше любых визиток.